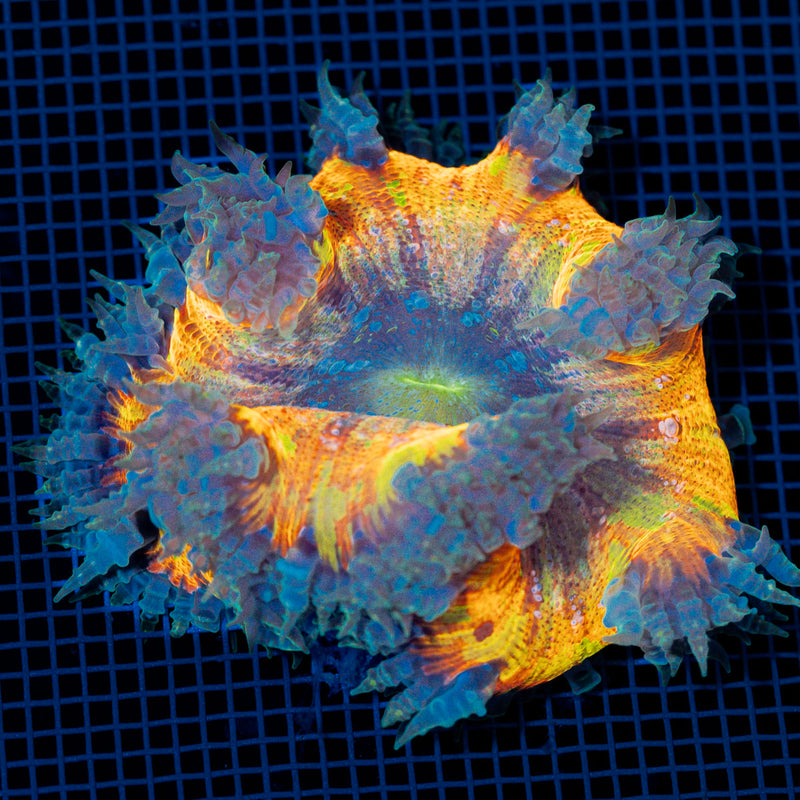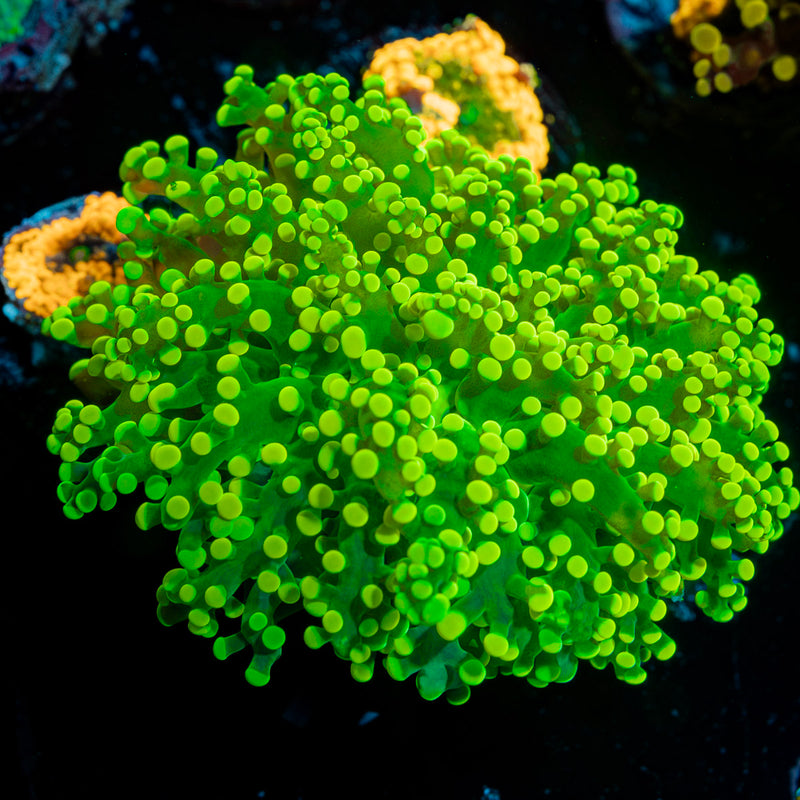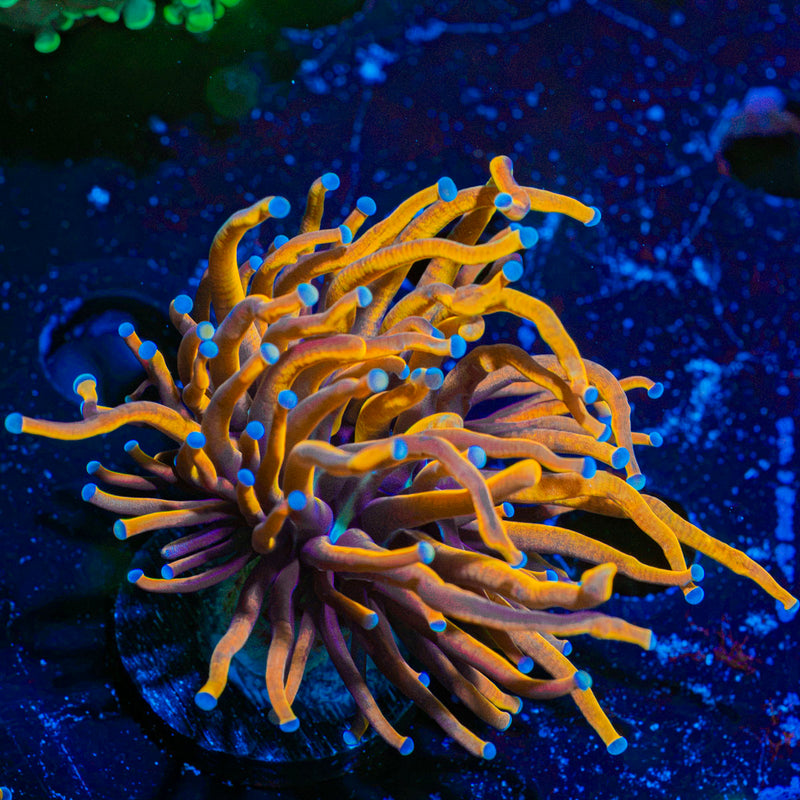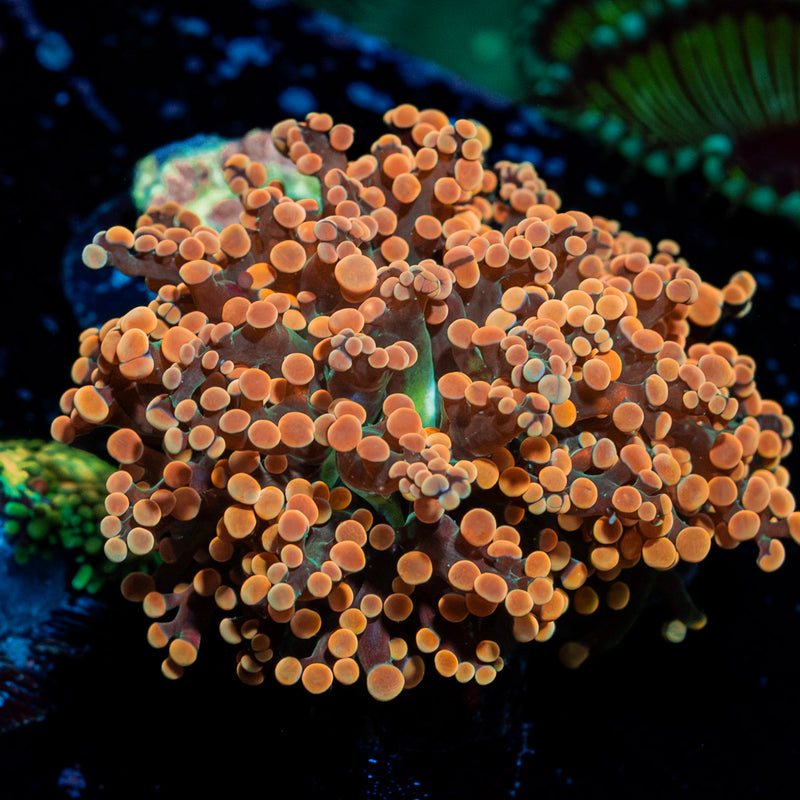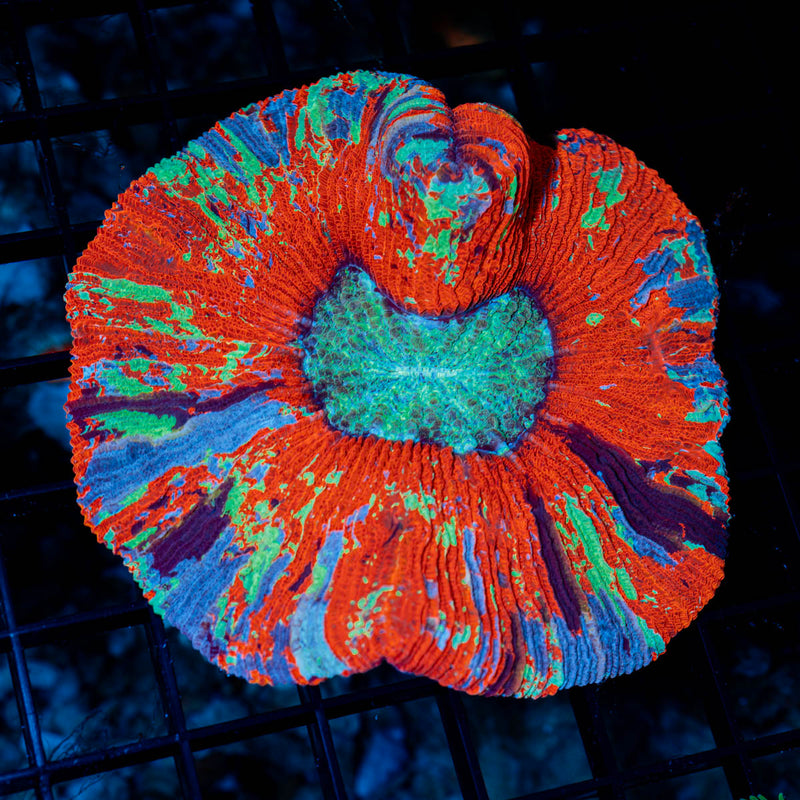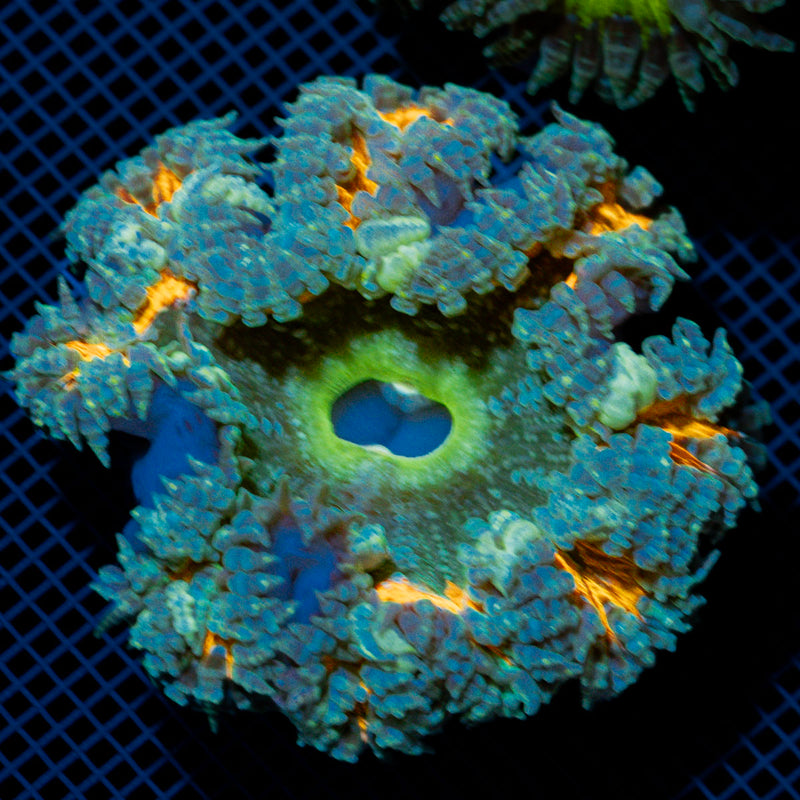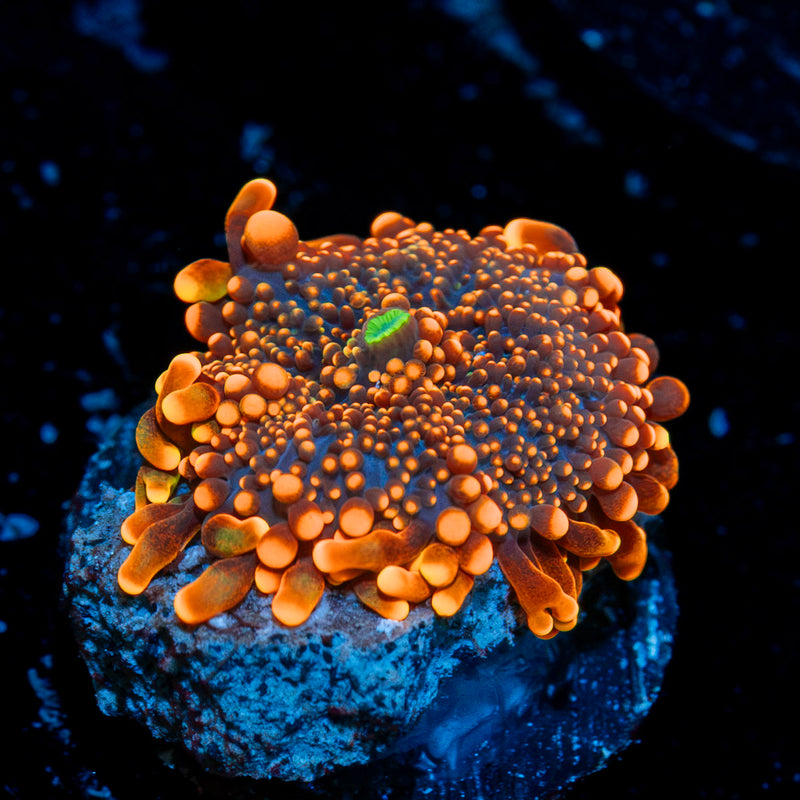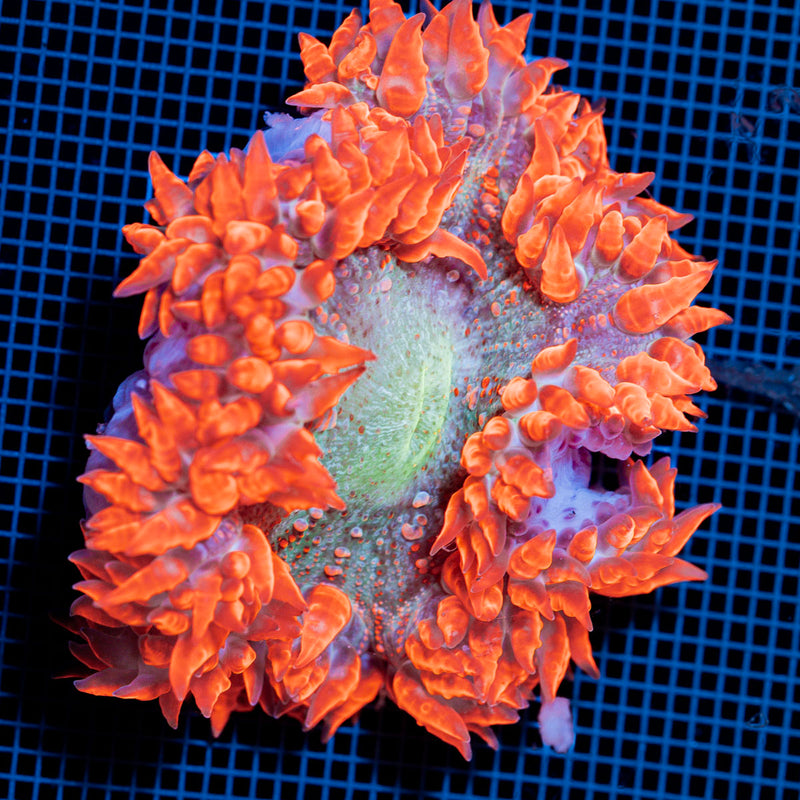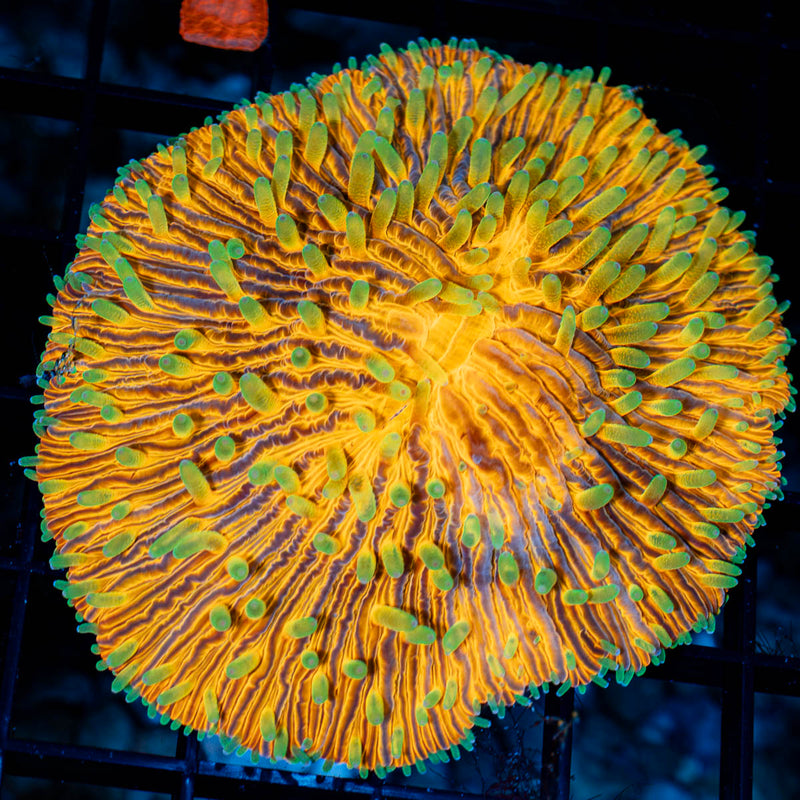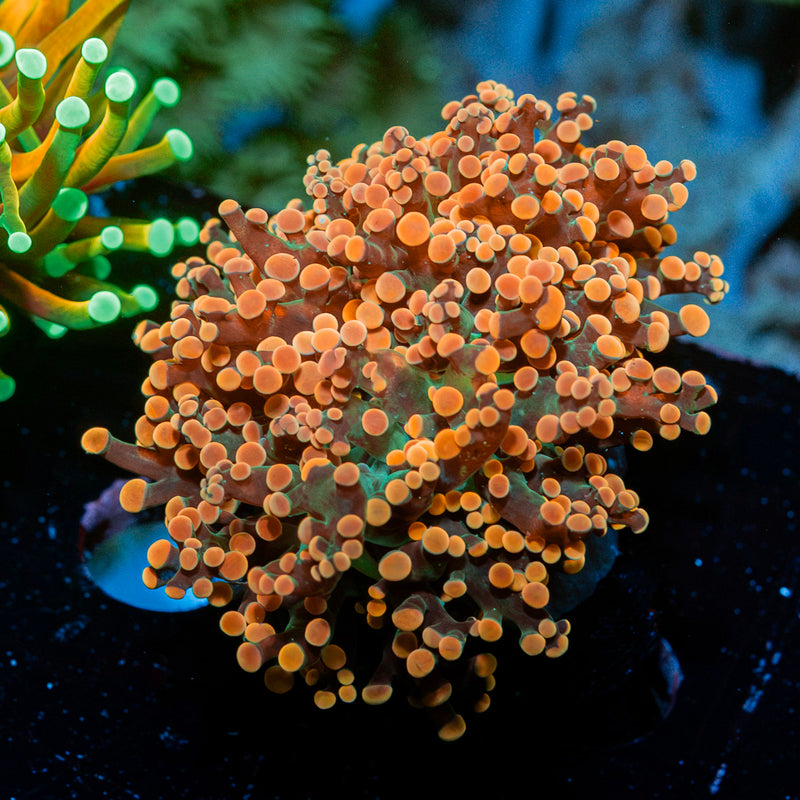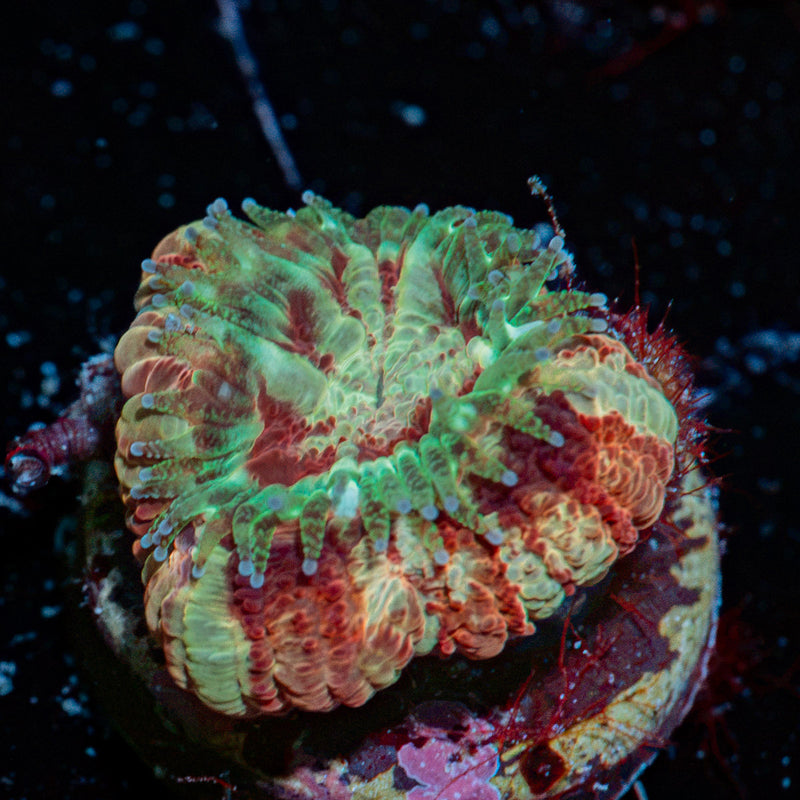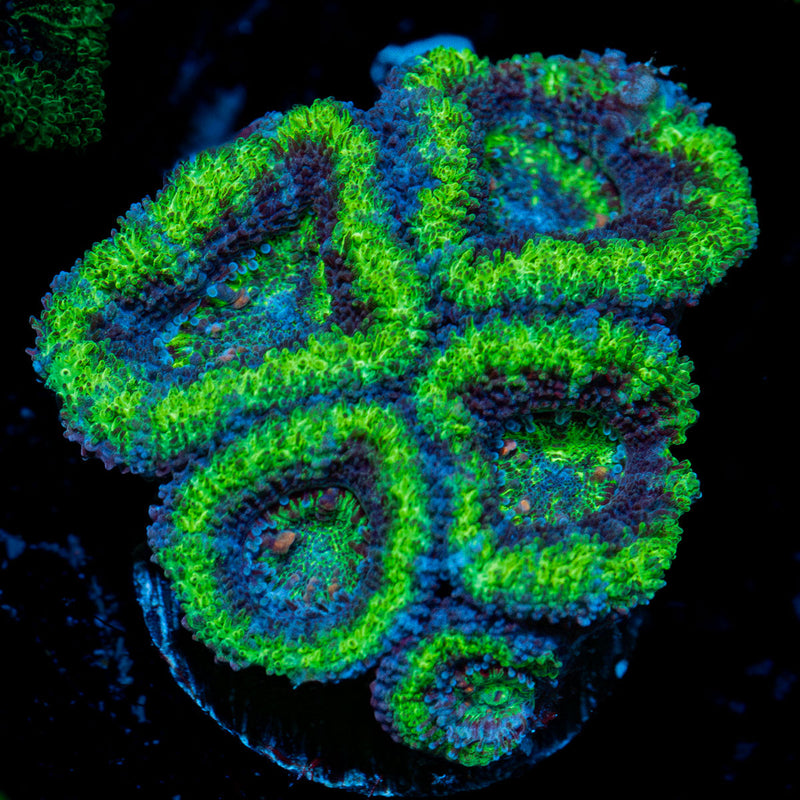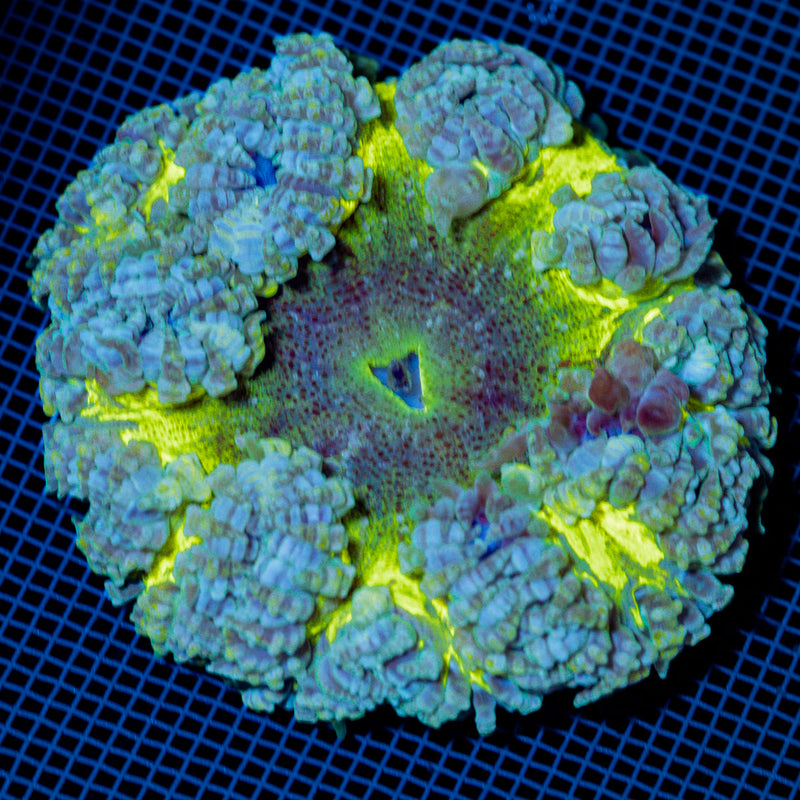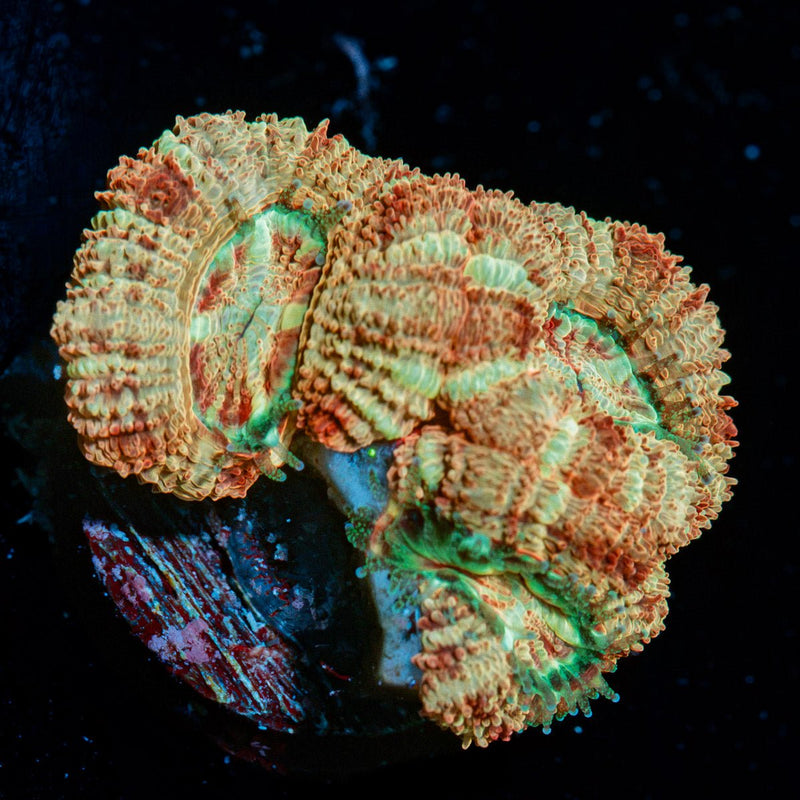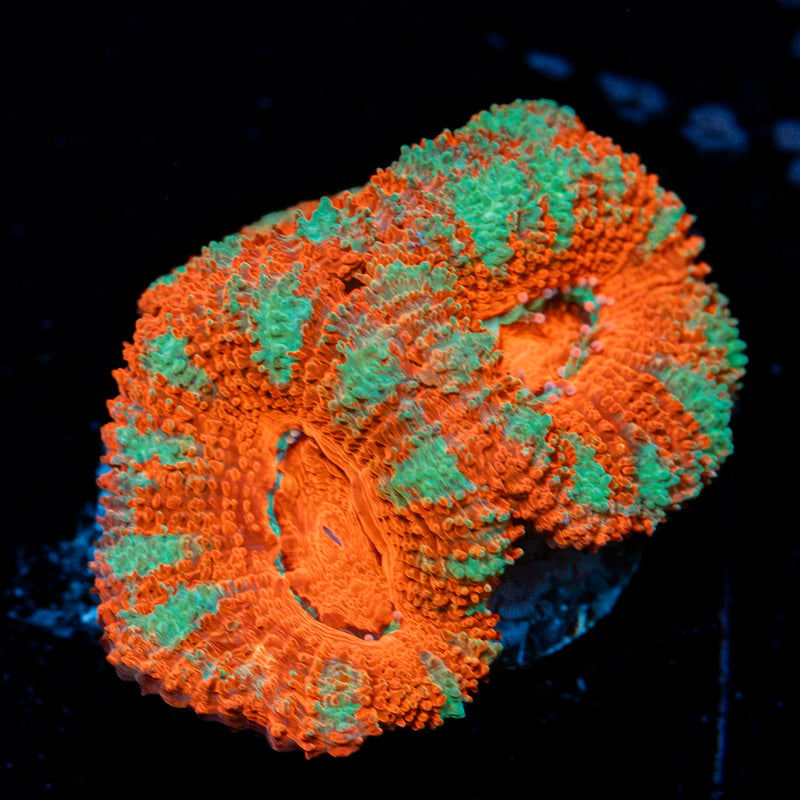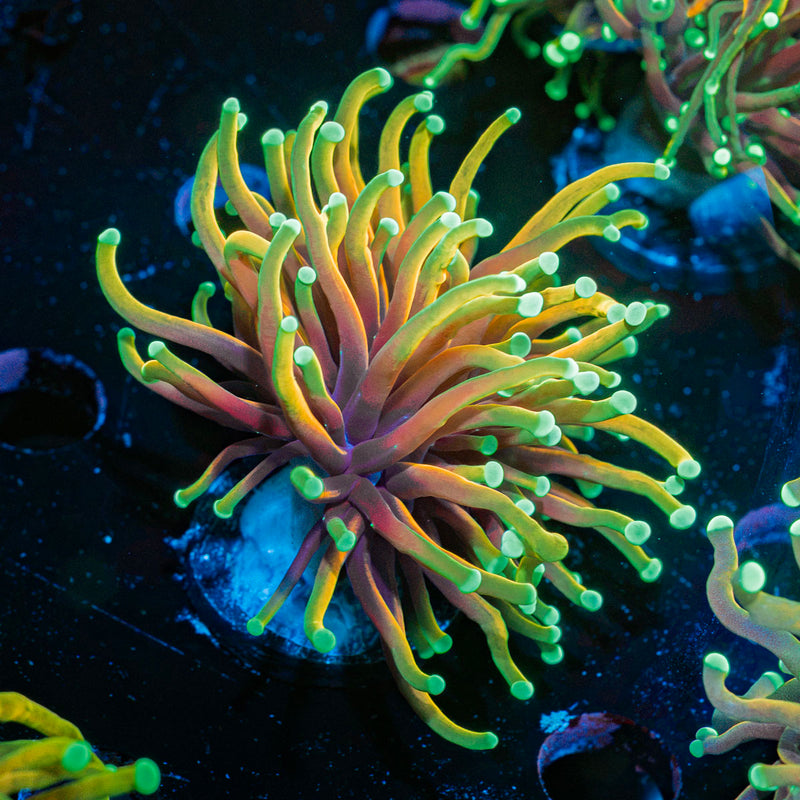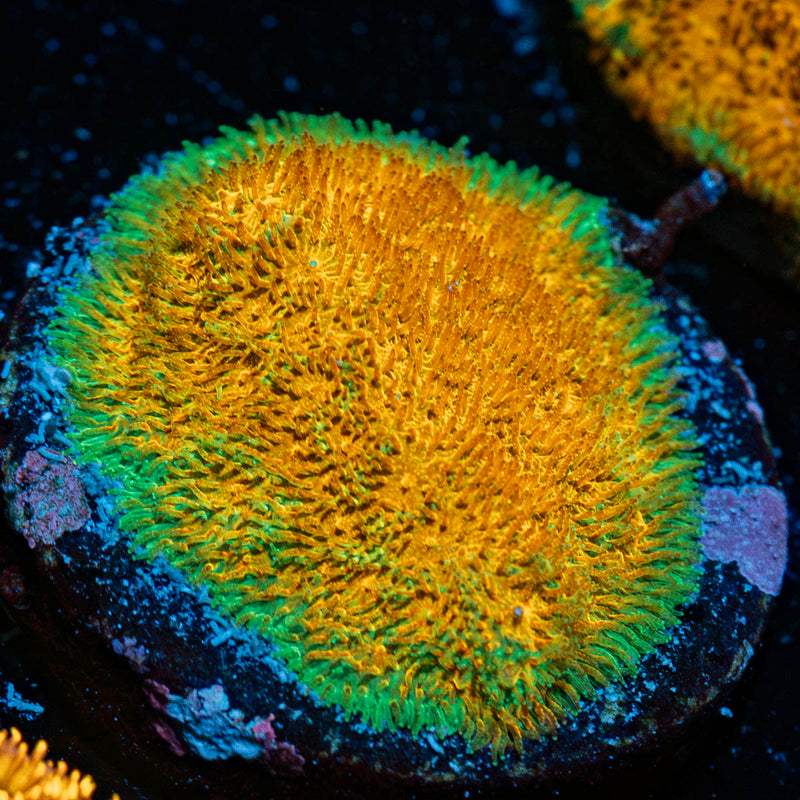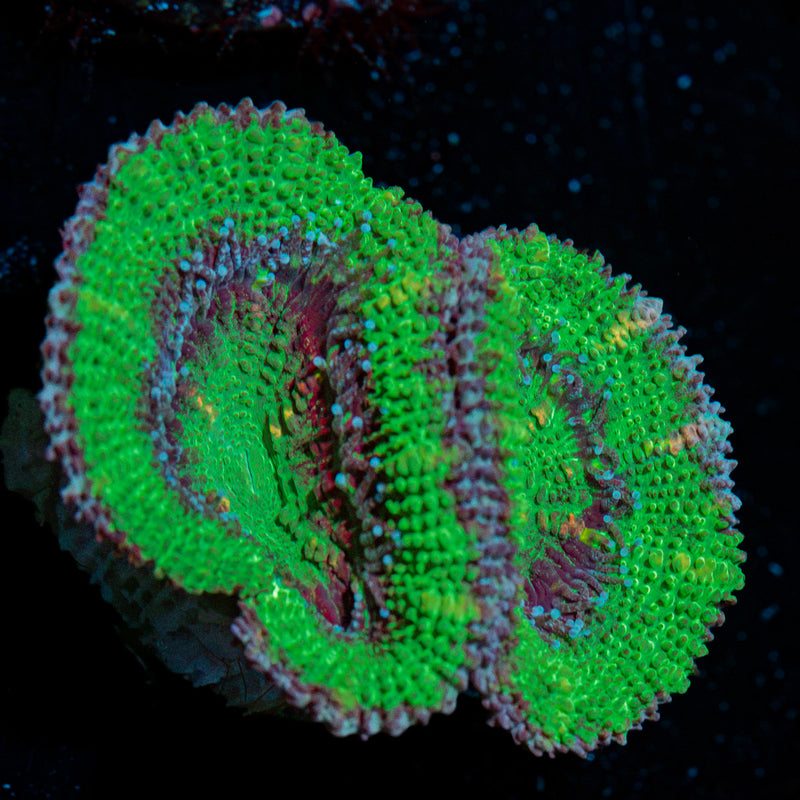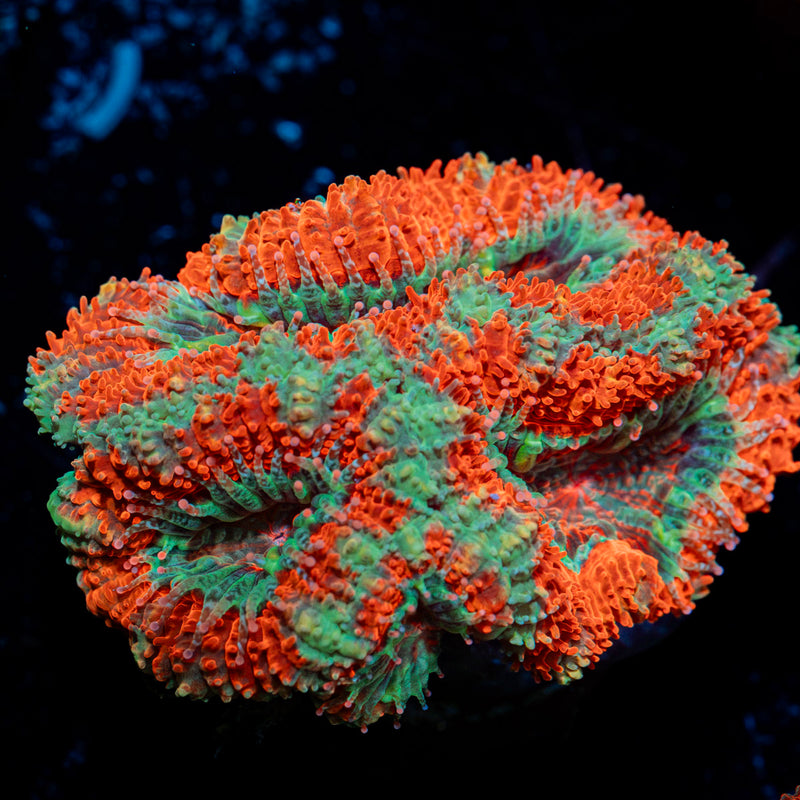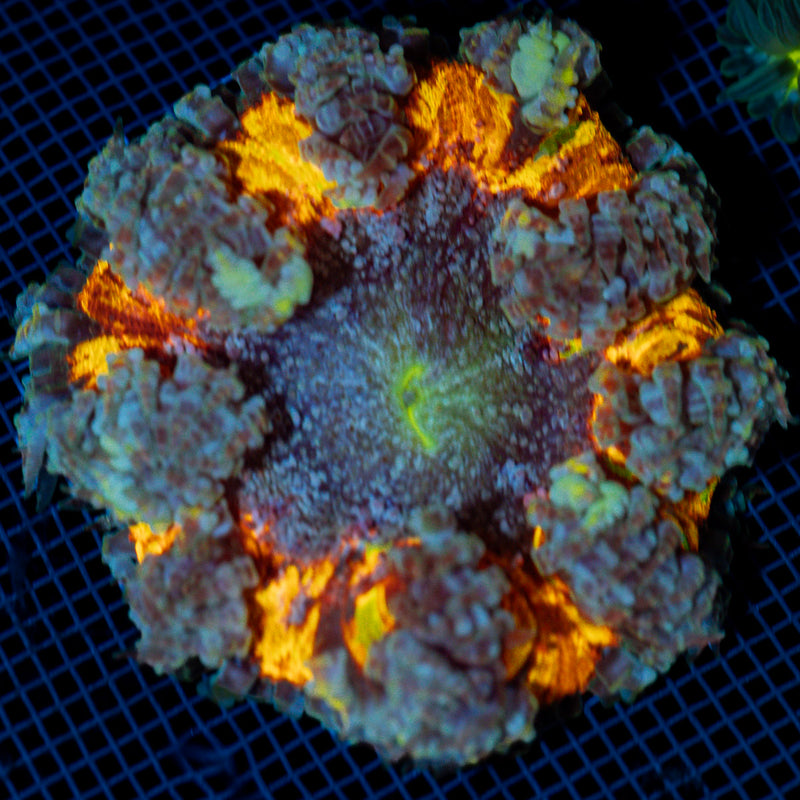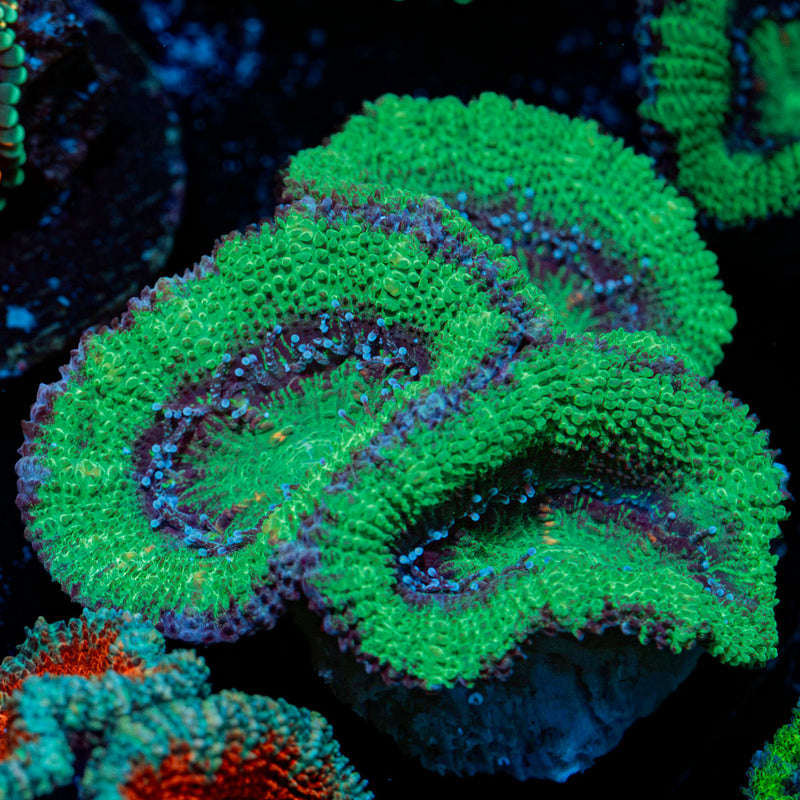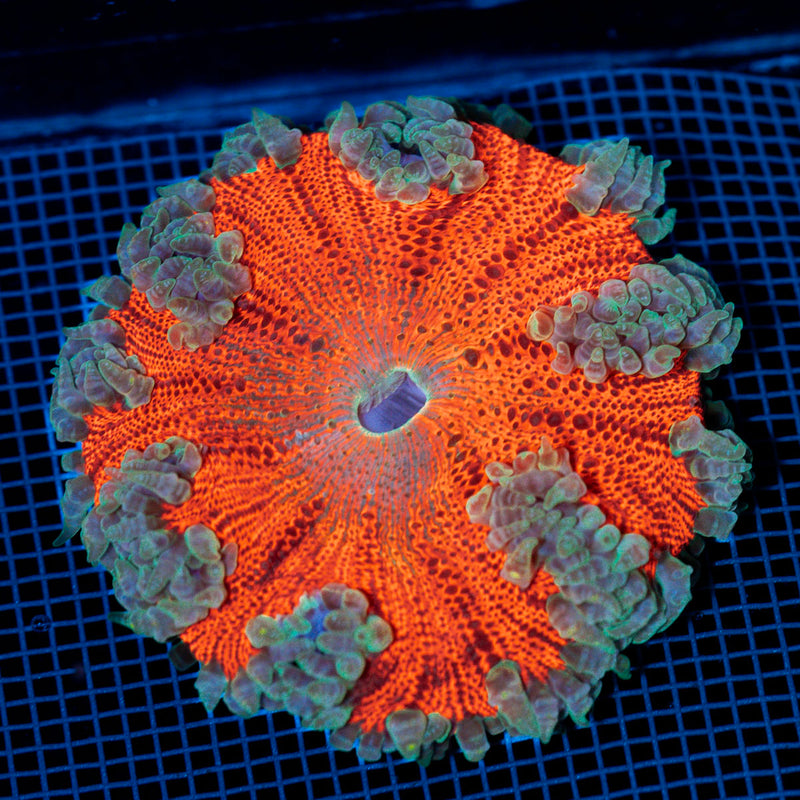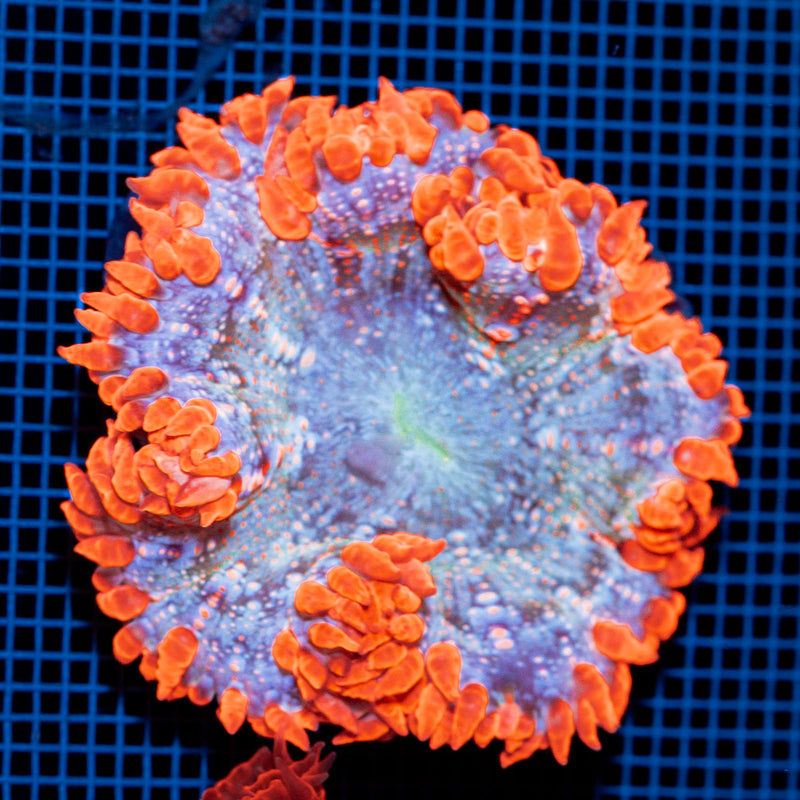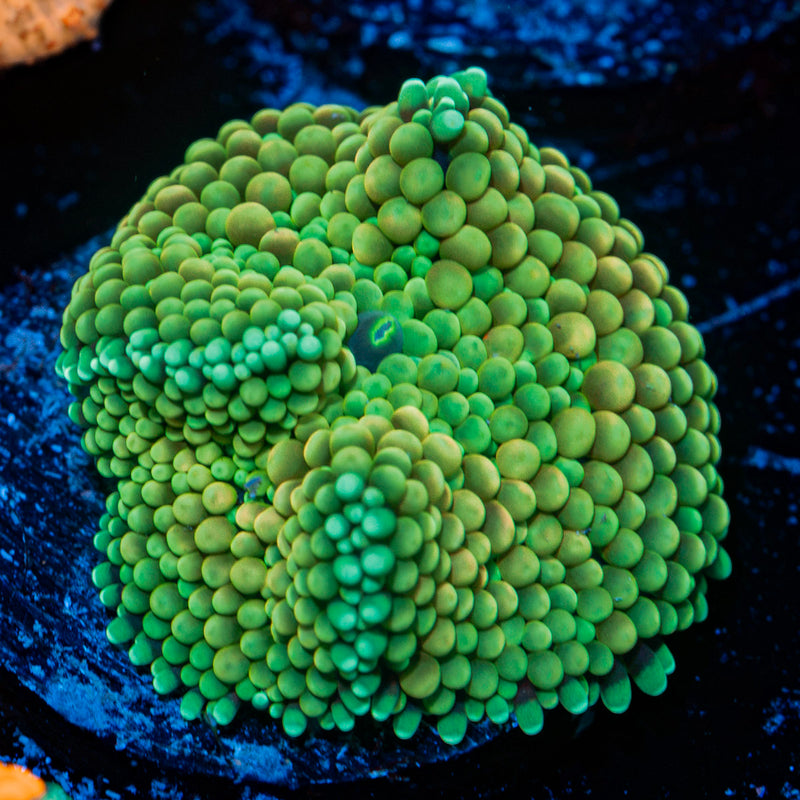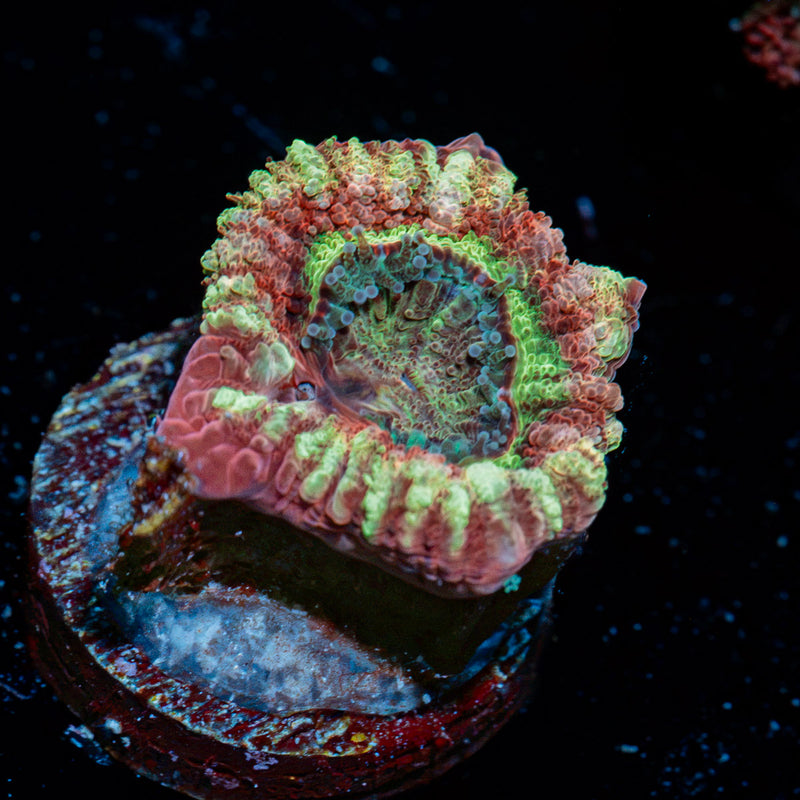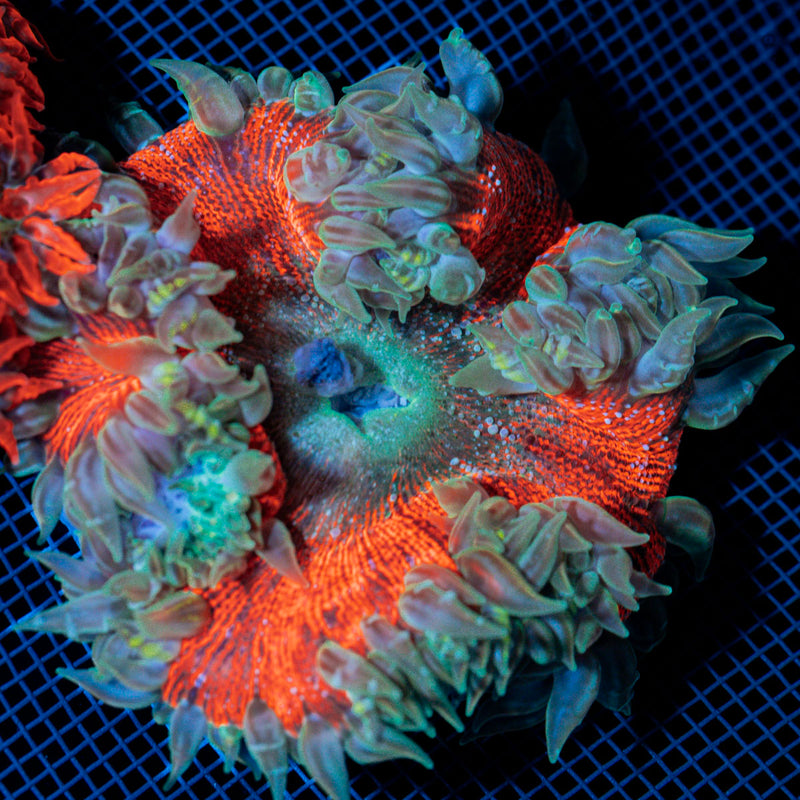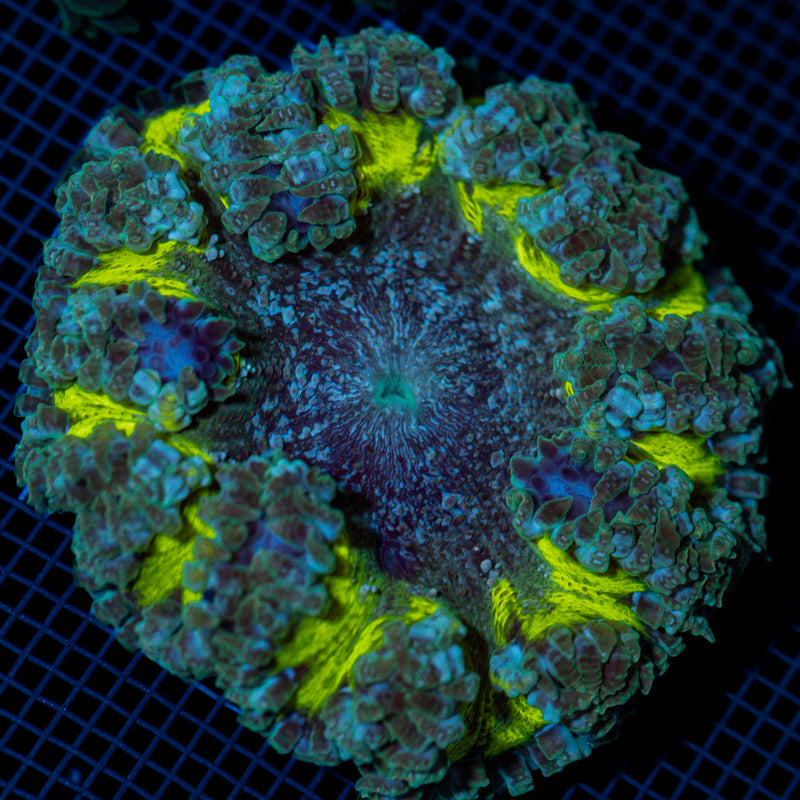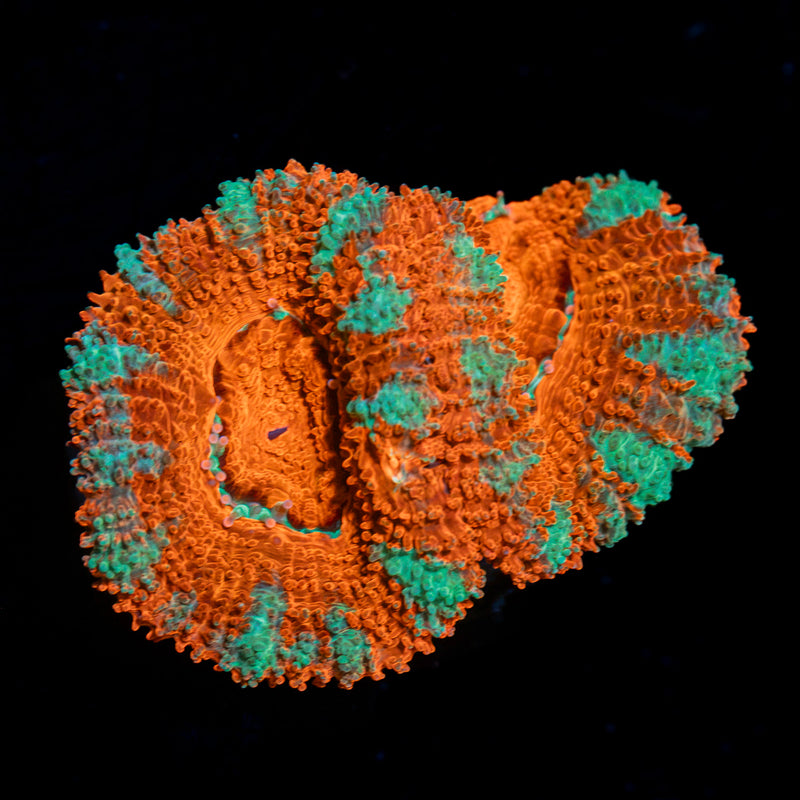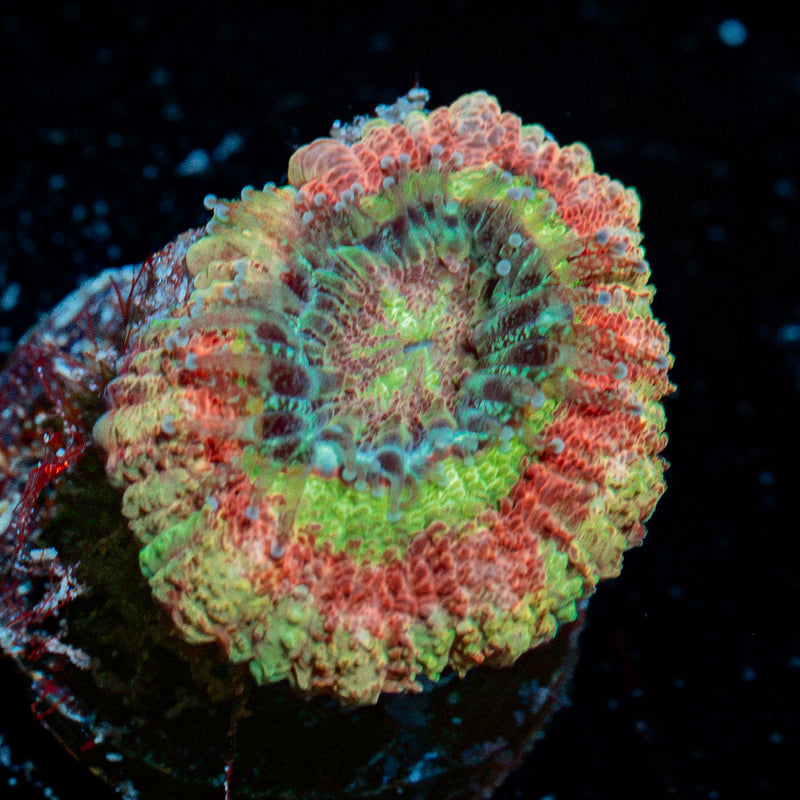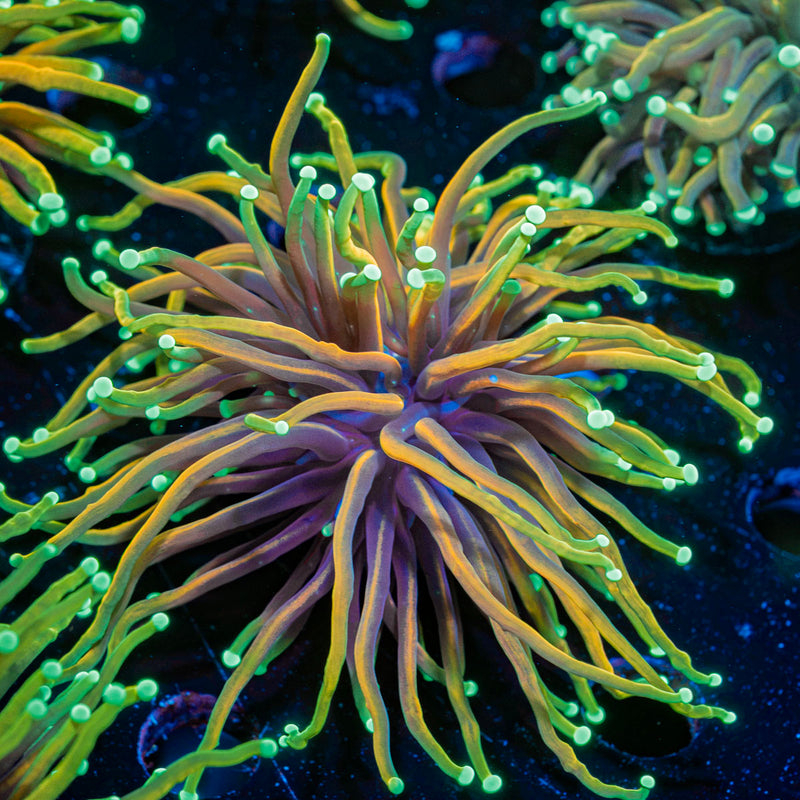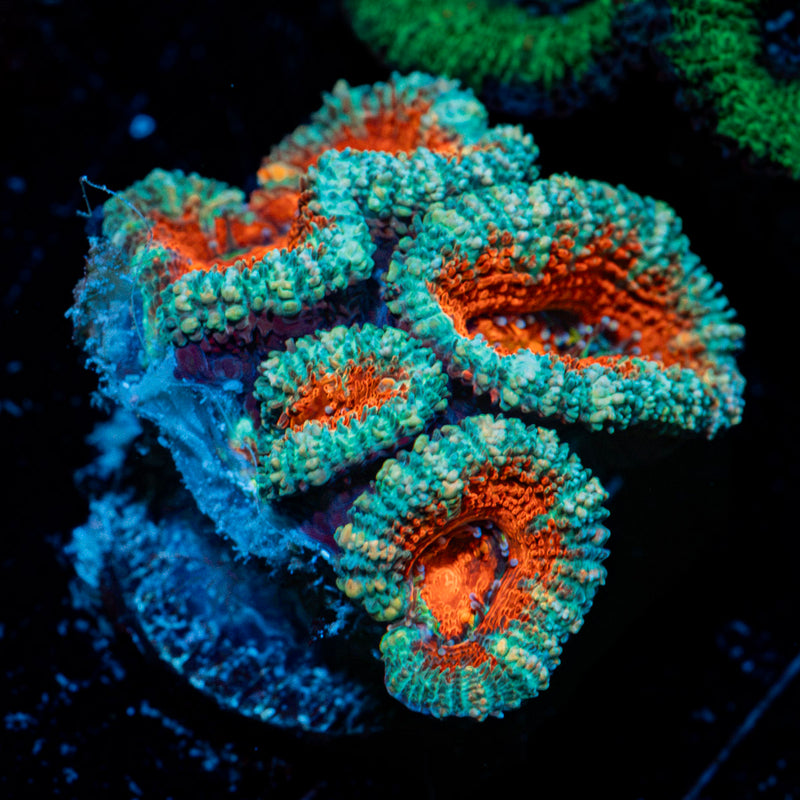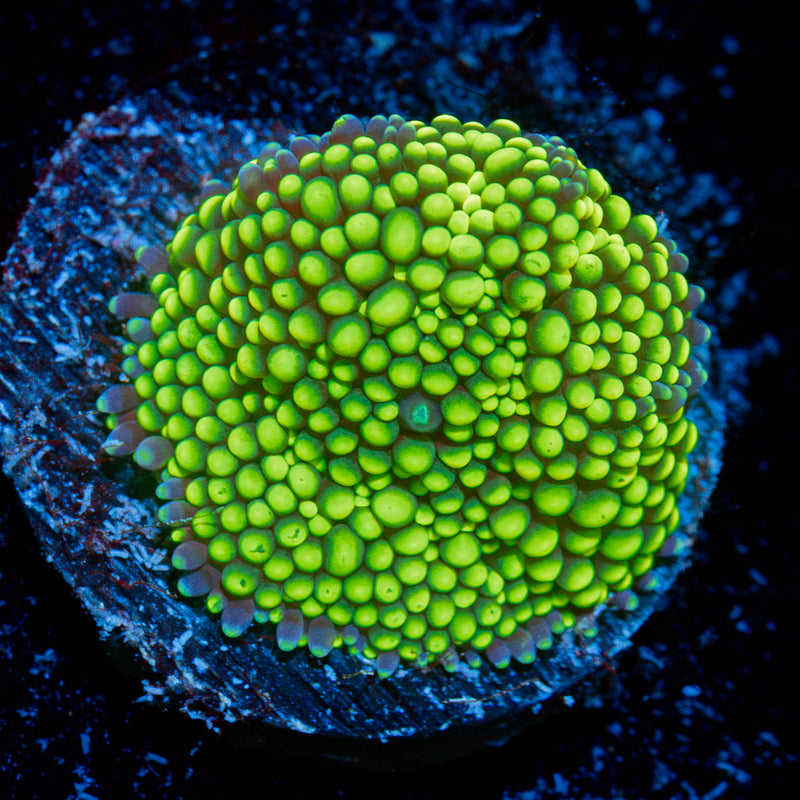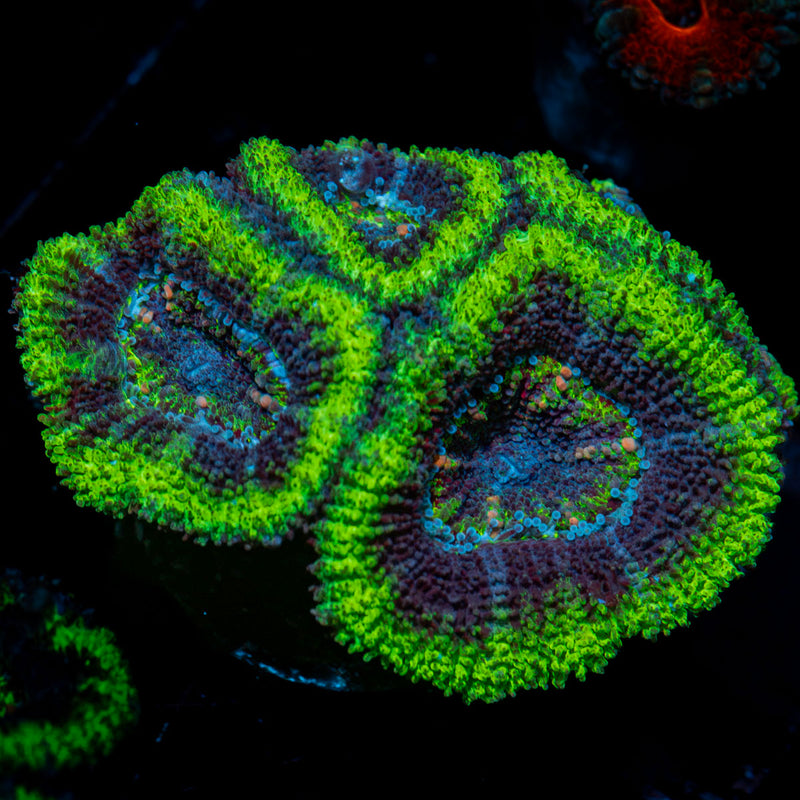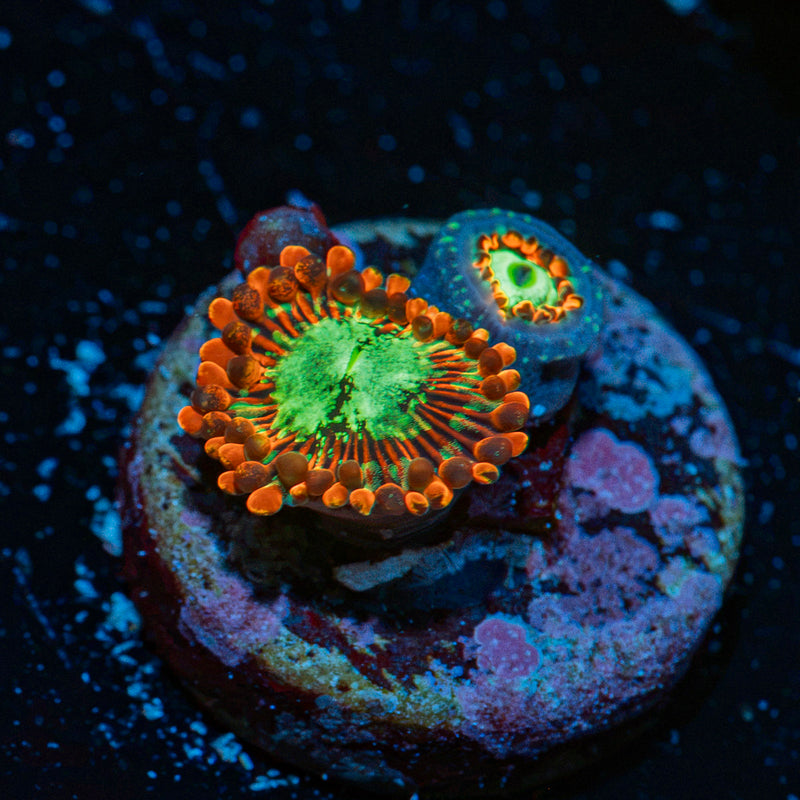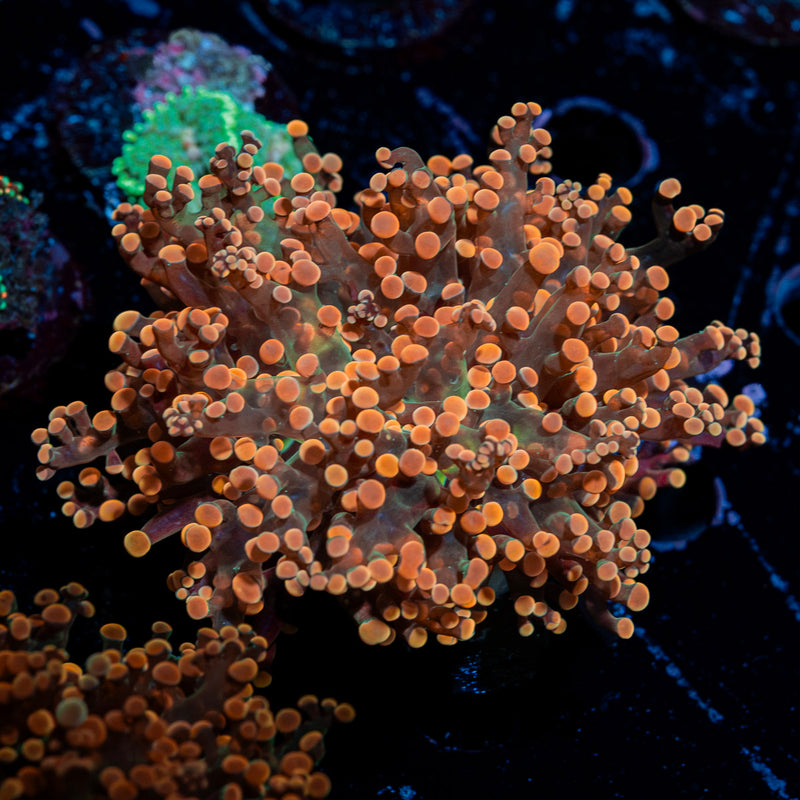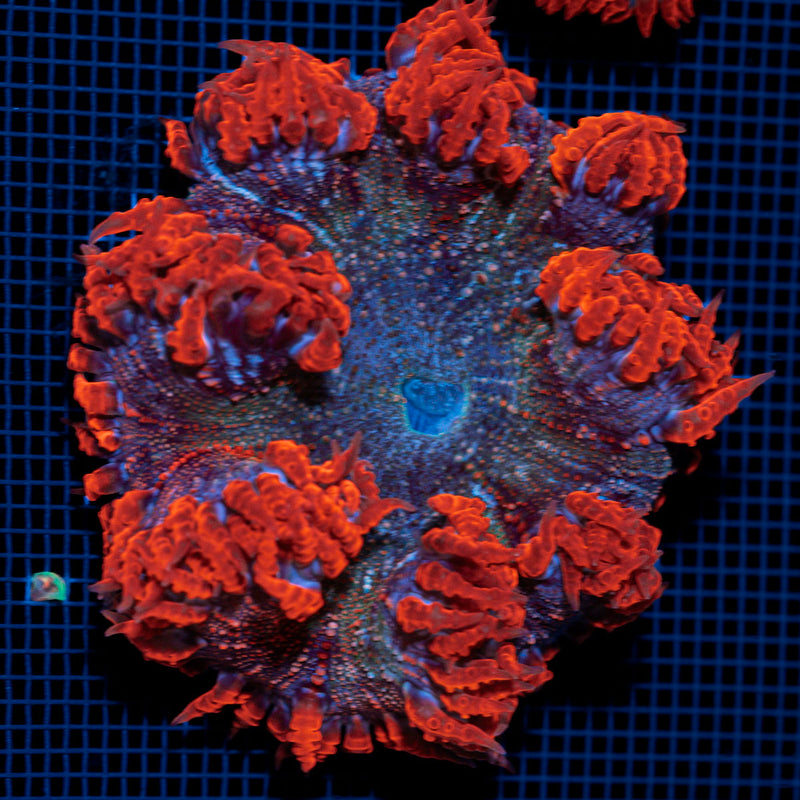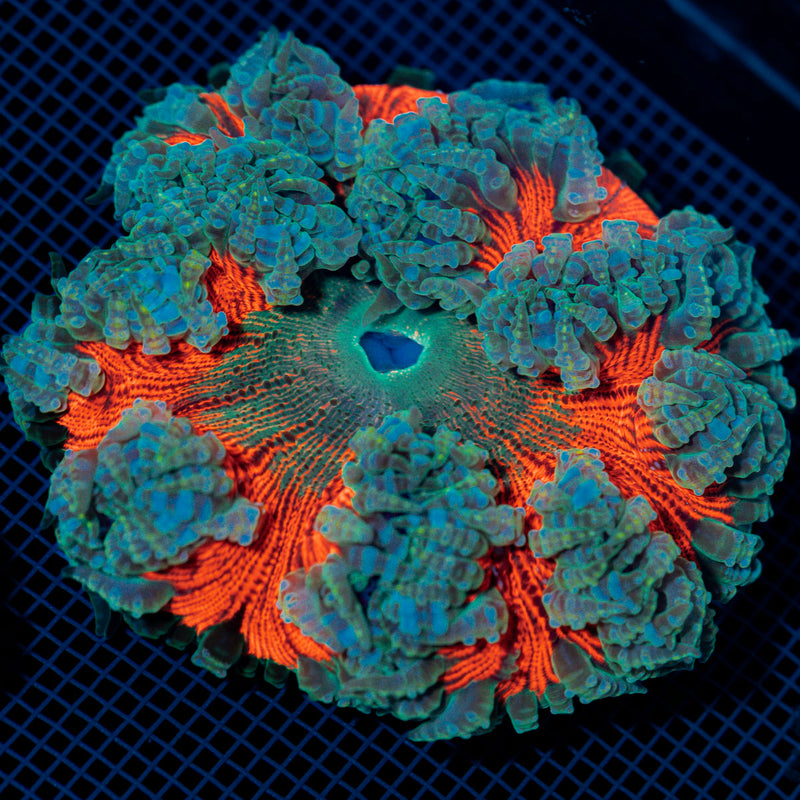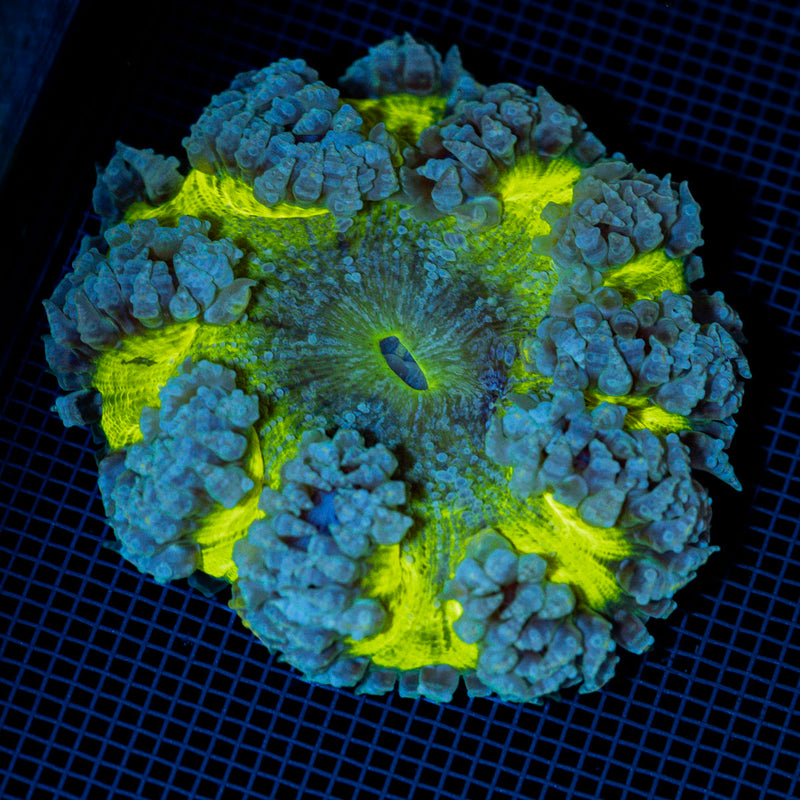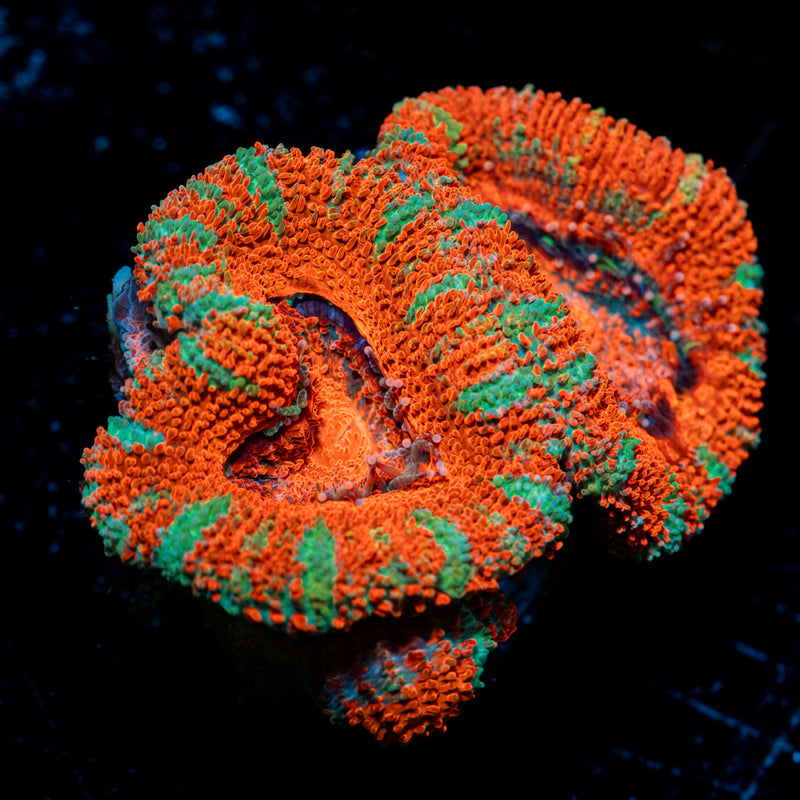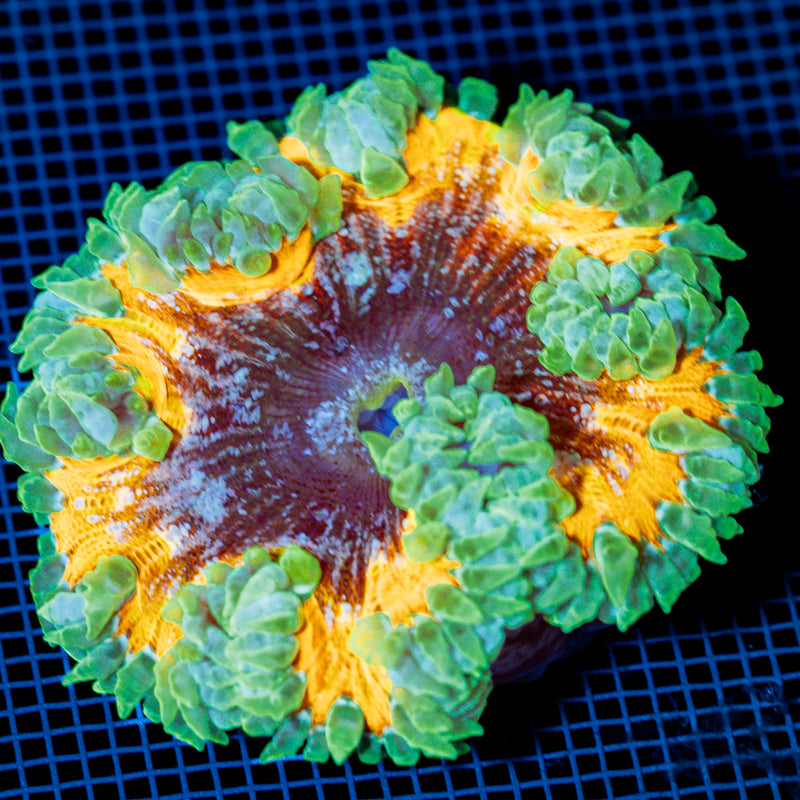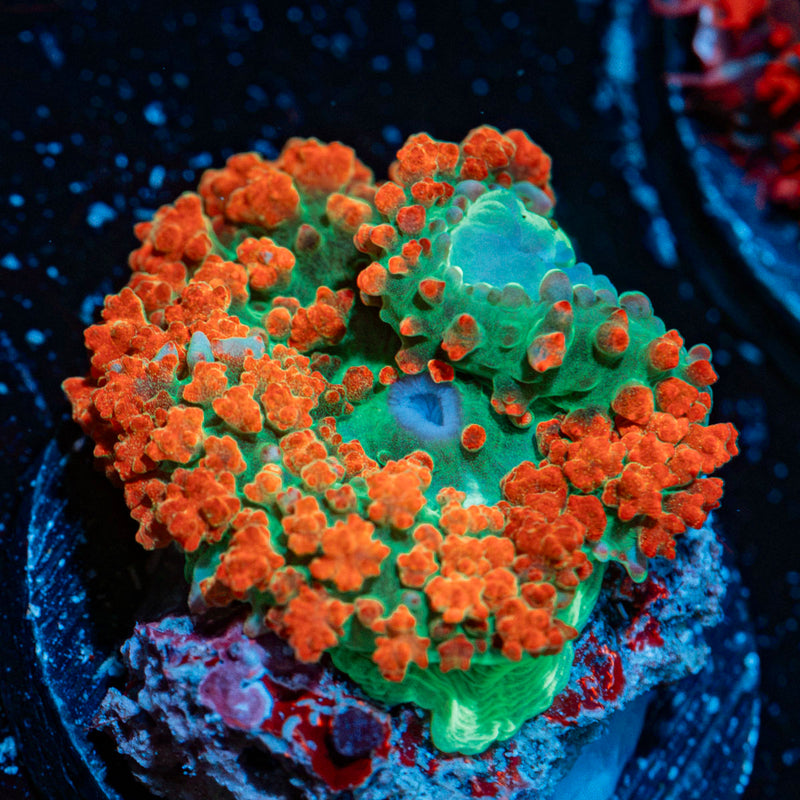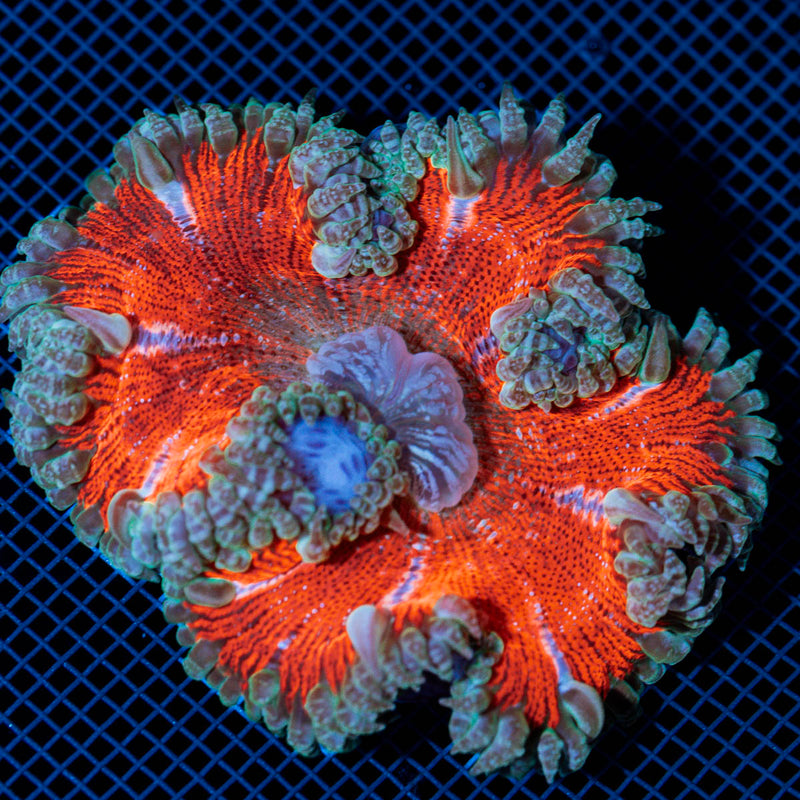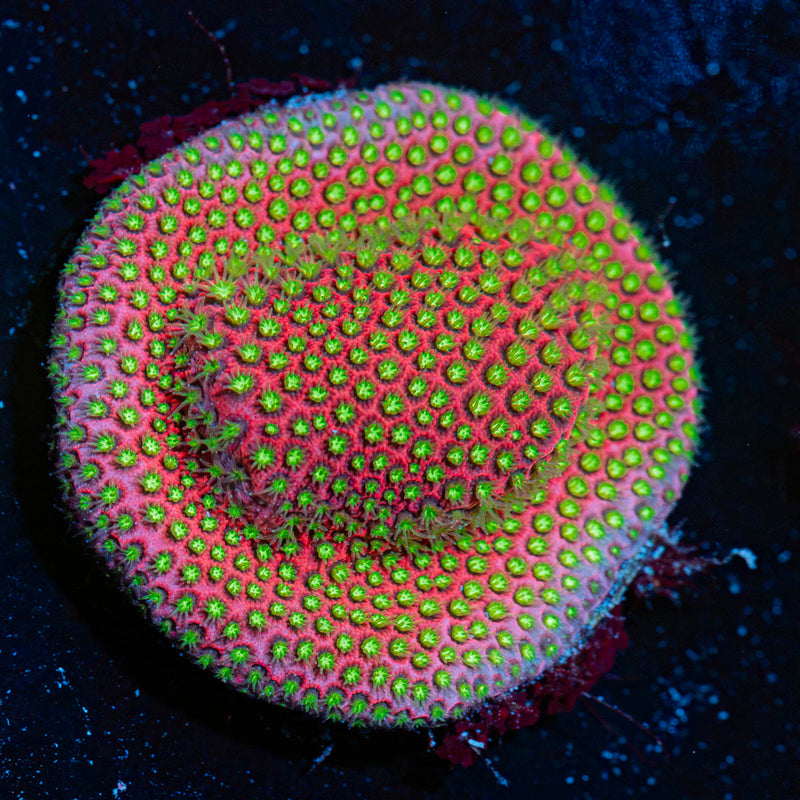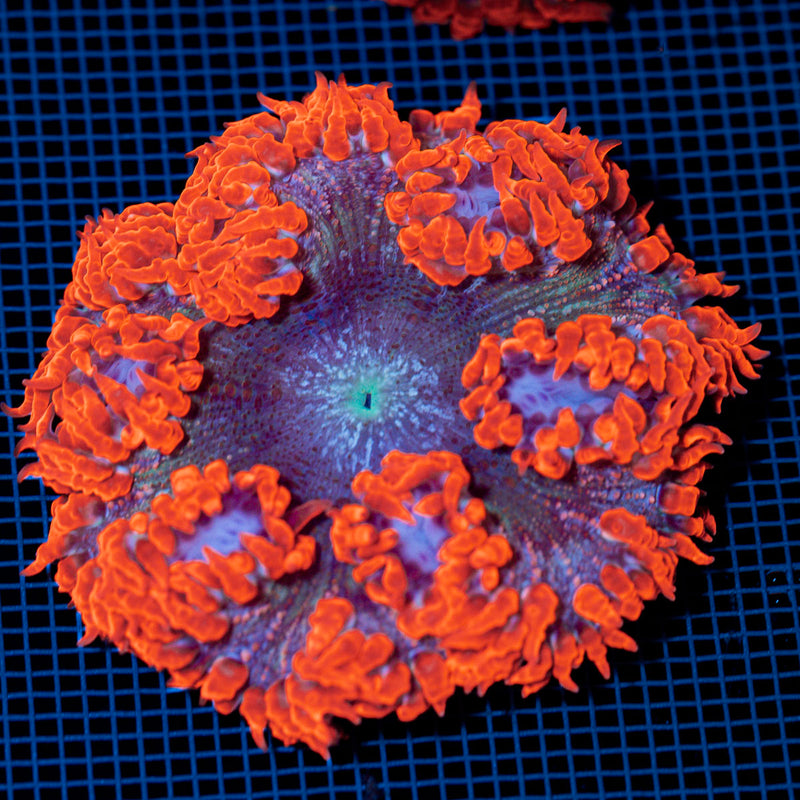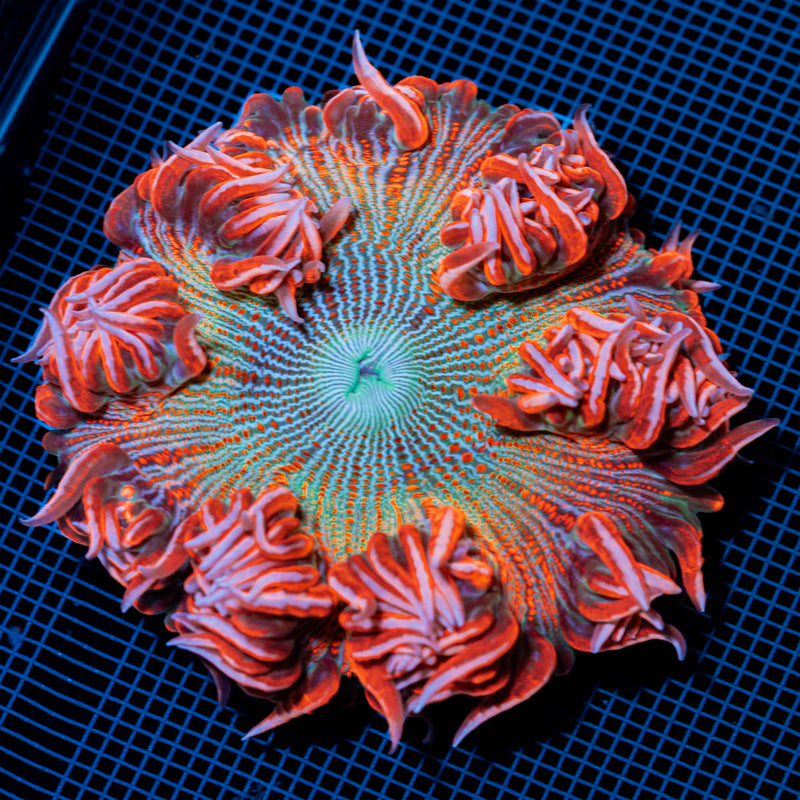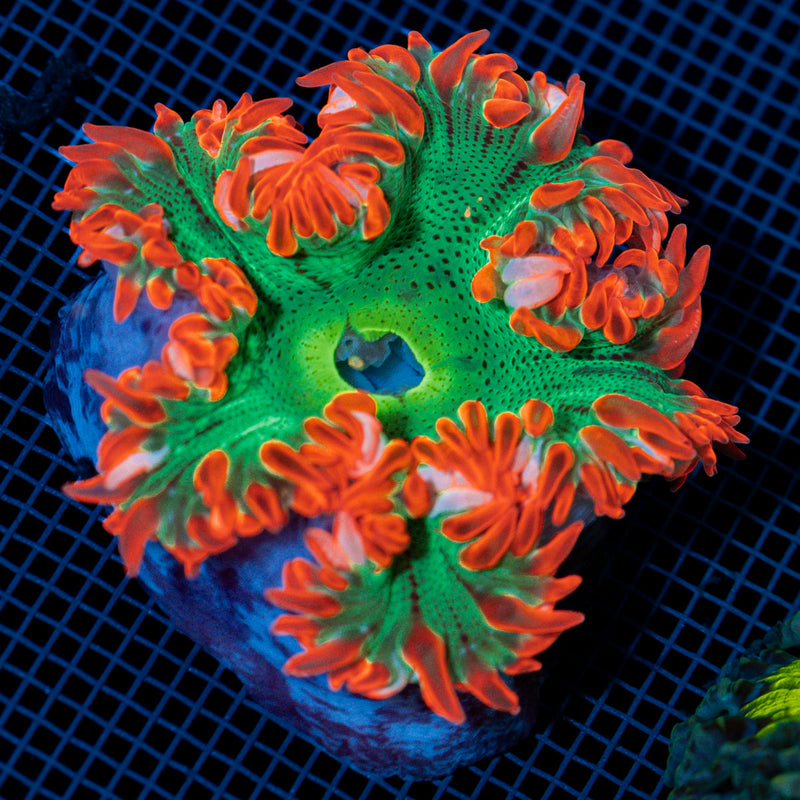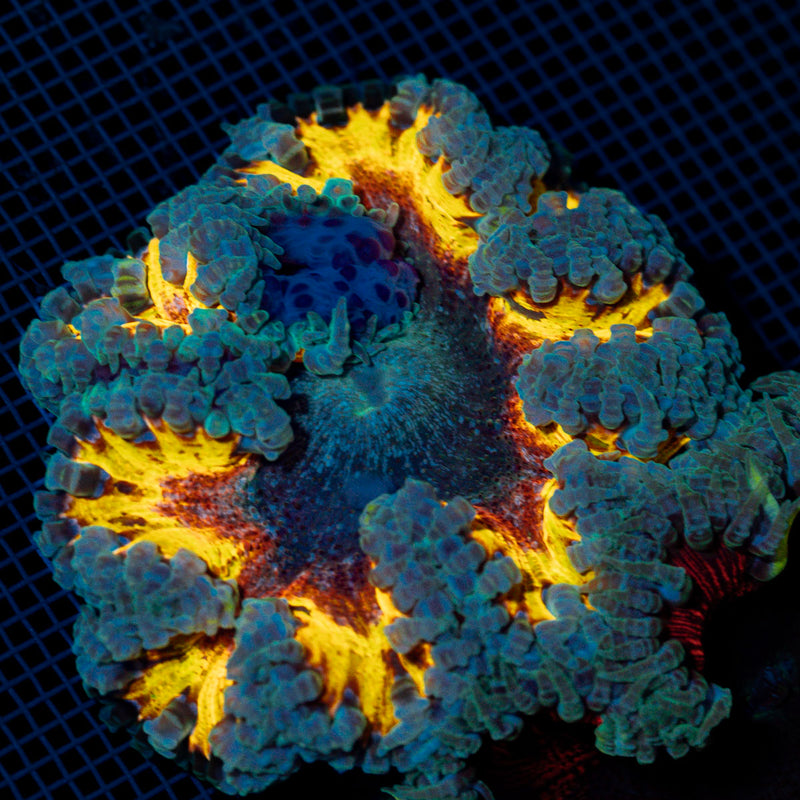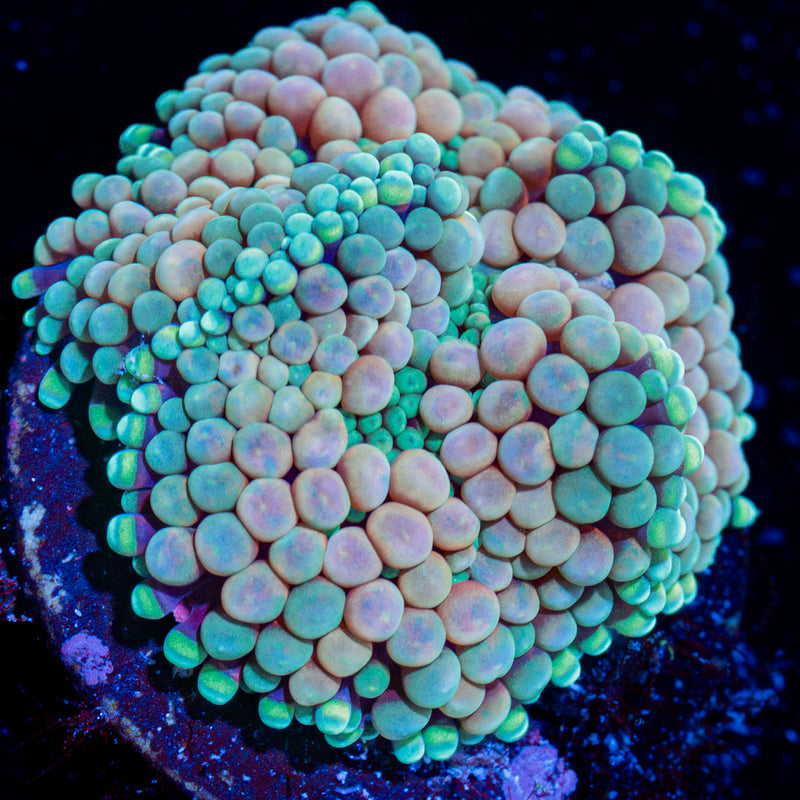
A new coral frag can arrive looking like a tiny living jewel - bright polyps, clean tissue, and plenty of promise for the aquascape. It can also carry hitchhikers that are hard to spot until they have settled into your display. This coral frag dipping guide gives new arrivals a careful first stop before they join the reef, helping you protect the healthy, colorful corals already thriving in your tank.
Dipping is not about assuming every frag has a problem. It is a sensible quarantine-minded habit, especially when you are building a mixed reef filled with zoanthids, LPS, SPS, mushrooms, and other prized pieces. A few calm minutes at the start can prevent a much bigger pest-management project later.
What a coral dip does - and does not do
A coral dip is a temporary bath made with aquarium water and a coral-safe treatment, mixed exactly according to the product label. The goal is to irritate, loosen, or kill certain mobile pests hiding on the coral tissue, frag plug, or skeletal crevices. Depending on the dip, that can include common unwanted visitors such as flatworms, nudibranchs, small crustaceans, and some worms.
The key word is mobile. Dips are helpful, but they are not a guaranteed clean bill of health. Many pest eggs can survive a dip, and a dip cannot solve every disease, bacterial issue, or stress response. It also will not make a struggling coral healthy. Think of it as a valuable layer of protection, not a replacement for responsible sourcing, careful inspection, stable water parameters, and quarantine when your setup allows it.
Different coral groups also respond differently. A sturdy aquacultured zoanthid frag and a freshly shipped, delicate Acropora may not need the same exposure time or handling. Always prioritize the treatment manufacturer’s directions over a one-size-fits-all recipe.
What to prepare before dipping a coral frag
Set up your dipping station before opening the shipping bag. New corals benefit from an unhurried process, and having everything ready keeps temperature changes and air exposure to a minimum. Use only clean, reef-dedicated containers and tools. Never use anything that has touched soap, household cleaners, or copper medications.
For a simple, reliable setup, gather these items:
- A clean container for the treatment bath
- One or two clean containers for rinse water
- Water taken from your aquarium
- A coral-safe dip and the correct measuring tool
- Gloves, eye protection, and coral tongs or a small pair of tweezers
Gloves are a wise choice for every coral, but they are especially important with zoanthids and palythoas. Some species can contain palytoxin, so avoid touching your face, work in a ventilated area, and wash up thoroughly when you are finished. Never cut, scrape, or blast zoanthids in a way that could create aerosolized material.
Coral frag dipping guide: the right order of operations
1. Acclimate for temperature first
Float the sealed shipping bag in your aquarium or sump for roughly 15 to 20 minutes. This gives the water inside time to move closer to tank temperature. Keep the bag sealed during this stage, and do not add shipping water to your aquarium.
Once the temperature has equalized, open the bag and move the coral into a clean container. Many hobbyists prefer a brief, gentle salinity acclimation if shipping-water salinity differs notably from their system. This is especially reasonable for sensitive SPS or when the coral has had a long transit. Others move promptly into tank-water dipping and rinsing to limit the frag’s time in shipping water. Both approaches can work, but the coral’s condition should guide you. If the bag water smells foul or the coral appears severely stressed, minimize handling and get it into clean, temperature-matched aquarium water promptly.
2. Inspect the frag before the dip
Under good lighting, look over the coral, plug, and underside of the plug. A small flashlight and a magnifying glass make this step much more effective. Watch for moving dots, egg spirals, bite marks, bare patches, unusual mucus, tiny snails, or algae-packed crevices.
Pay special attention to the base of branching SPS, folds in LPS skeletons, and the plug edge beneath encrusting corals. Pests often choose the places we are least likely to see. If you find an obvious egg mass, remove it carefully with tweezers or cut away the affected portion when practical. Do not assume the dip alone will handle it.
3. Mix the dip exactly as directed
Add the recommended amount of coral dip to your prepared aquarium water. More is not better. An overly concentrated bath can burn tissue, cause excessive slime production, or add avoidable stress to a coral that has already been shipped.
Place the frag into the bath and gently agitate the water from time to time. Do not shake the coral aggressively or use a powerhead unless the specific product directions call for it. The proper duration varies by formula and coral type, so use a timer and follow the label. While the coral sits, inspect the container for anything that detaches. Small pests can be surprisingly easy to identify once they are no longer hiding in coral tissue.
If the coral produces a lot of mucus, shows sudden major tissue loss, or appears to react badly, remove it from the dip and transfer it to rinse water. A dip is meant to be brief and controlled, not a test of endurance.
4. Rinse before the display tank
After the timed dip, transfer the frag into a separate container of clean aquarium water. Swish it gently to remove residual treatment and any loosened debris. A second rinse container adds another margin of safety, particularly when dipping several corals or using a stronger treatment.
Never pour dip water, rinse water, or shipping water into the display aquarium. Dispose of it after the process and rinse your tools thoroughly with fresh water before storing them.
5. Place the coral where it can recover
A coral that looks less inflated immediately after dipping is not necessarily in trouble. Many corals close up, slime, or appear dull after shipping and handling. Give the frag time, stable parameters, and an appropriate starting position rather than chasing an instant full-polyp extension response.
For many new additions, begin with moderate, indirect flow and lower to moderate light, then increase exposure gradually as the coral settles. This is especially useful when moving a frag from an unfamiliar lighting system into a high-output reef tank. A torch, hammer, or mushroom may need a very different placement than an Acropora or Millepora, so follow the care needs of the specific coral rather than using one placement rule for every species.
Should you remove the frag plug?
It depends on the coral and your comfort level. Removing a plug can eliminate a hiding place for pests and makes it easier to inspect the base of the coral. It can be particularly worthwhile with encrusting corals, zoanthids, and frags where the plug has visible algae, eggs, or suspicious growth.
There is a trade-off. Cutting or peeling a coral from its plug can damage fresh encrusting tissue, crack a delicate skeleton, or create a larger healing job. If the plug is clean and the coral is firmly attached, it is often safer to dip, inspect, rinse, and mount the frag as it is. If you do remove the plug, use clean bone cutters or a coral saw appropriate to the frag, then allow the coral a low-stress recovery period.
Quarantine adds protection that dipping cannot
The strongest approach is to dip first, then observe new corals in a separate, stable quarantine system for several weeks. This gives you time to watch for pest eggs that hatch after the original dip and to repeat treatment if needed. It also lets you monitor tissue health without exposing the entire display to a problem.
Not every hobbyist has room for a dedicated coral quarantine tank. If you do not, careful dipping and close observation are still far better than placing a frag directly from its shipping bag into the reef. Check the coral daily during its first couple of weeks. Look for fresh bite marks, unexplained recession, new egg clusters, or anything moving around the base after lights-out.
A calmer start for every new coral
The best coral-dipping routine is consistent, measured, and gentle. Start with healthy aquacultured frags, inspect every arrival, follow your chosen dip’s label, and give each coral a clean rinse before placement. That simple routine lets the new piece settle in with less risk and gives your established reef the protection it deserves.
When a vivid new frag finally opens under your reef lights, the extra care feels small. You are not just adding color to the tank - you are making room for that living jewel to grow into part of the reef you have patiently created.