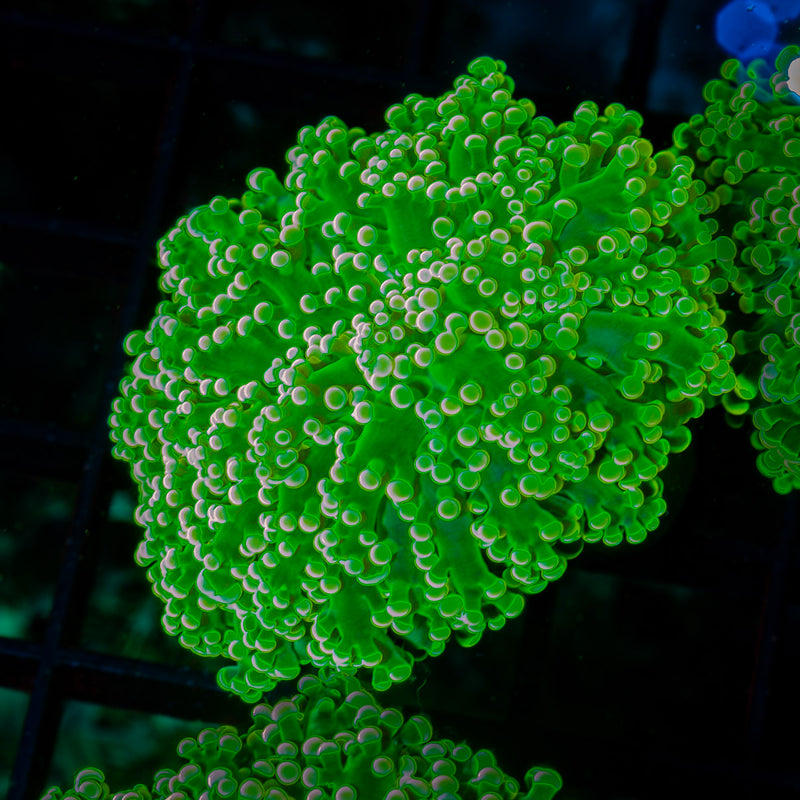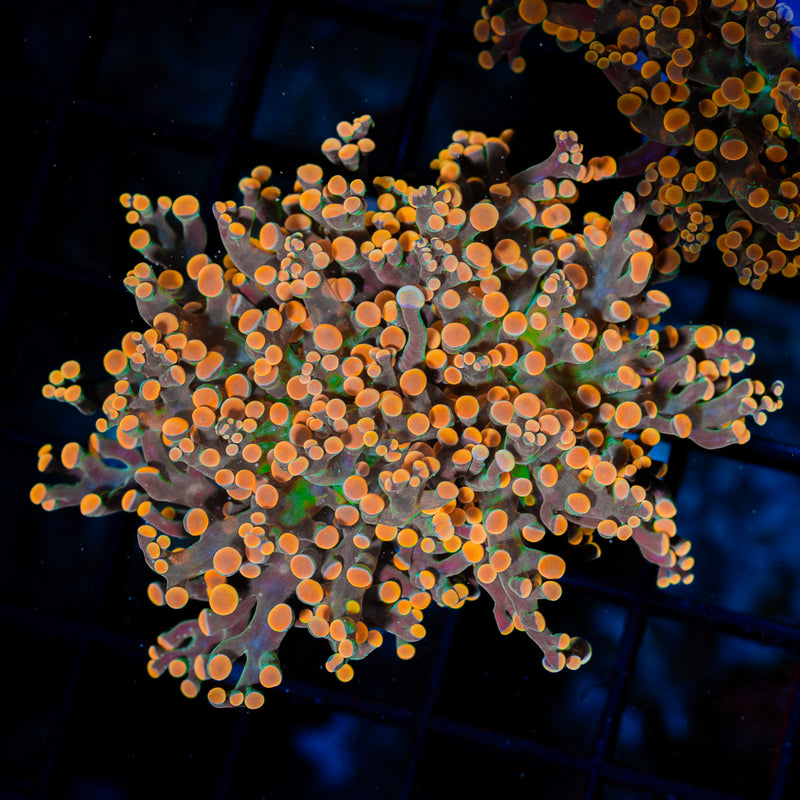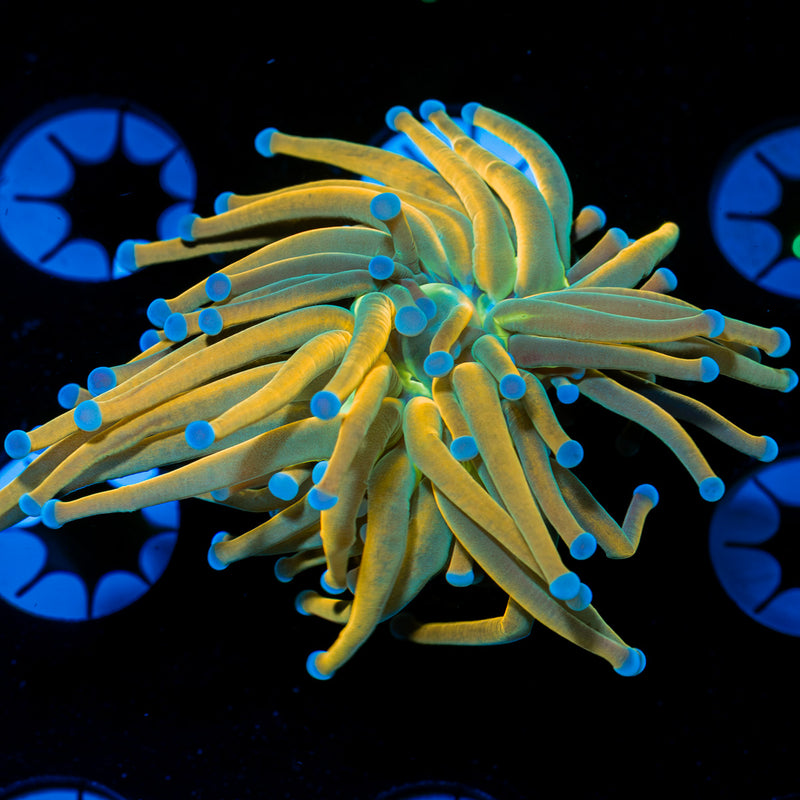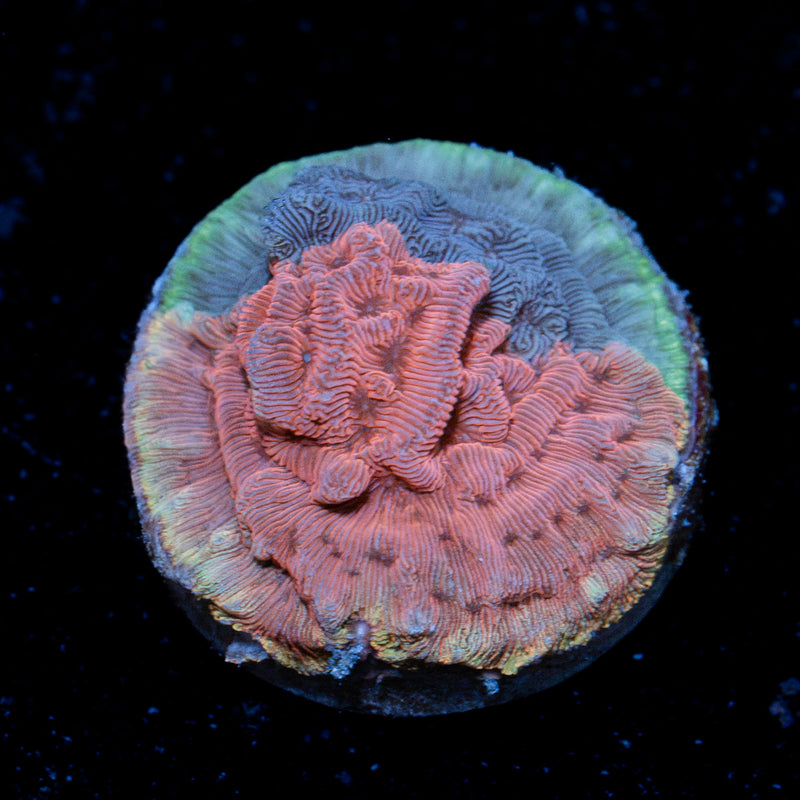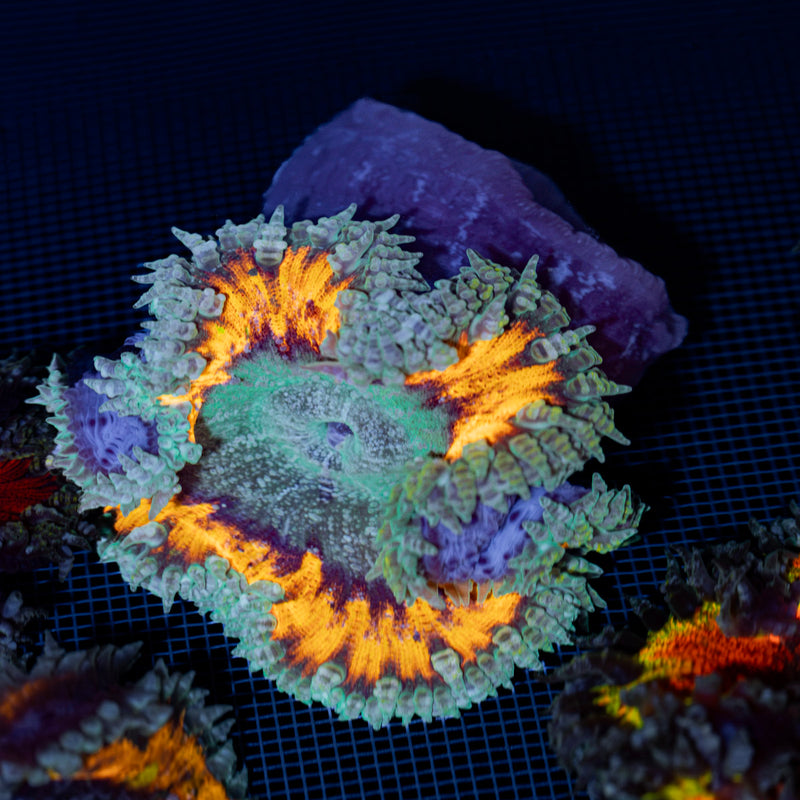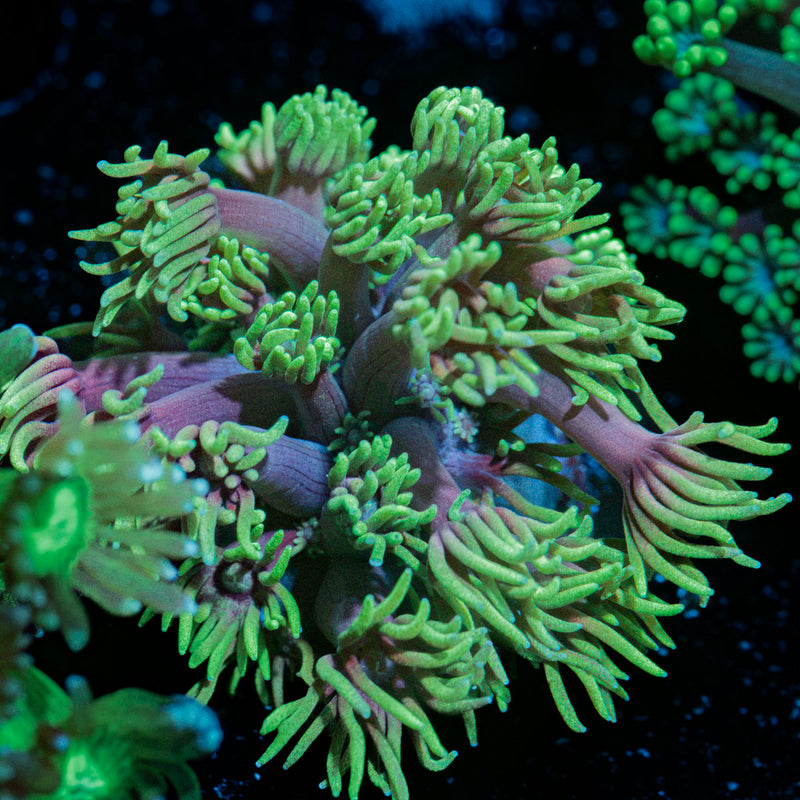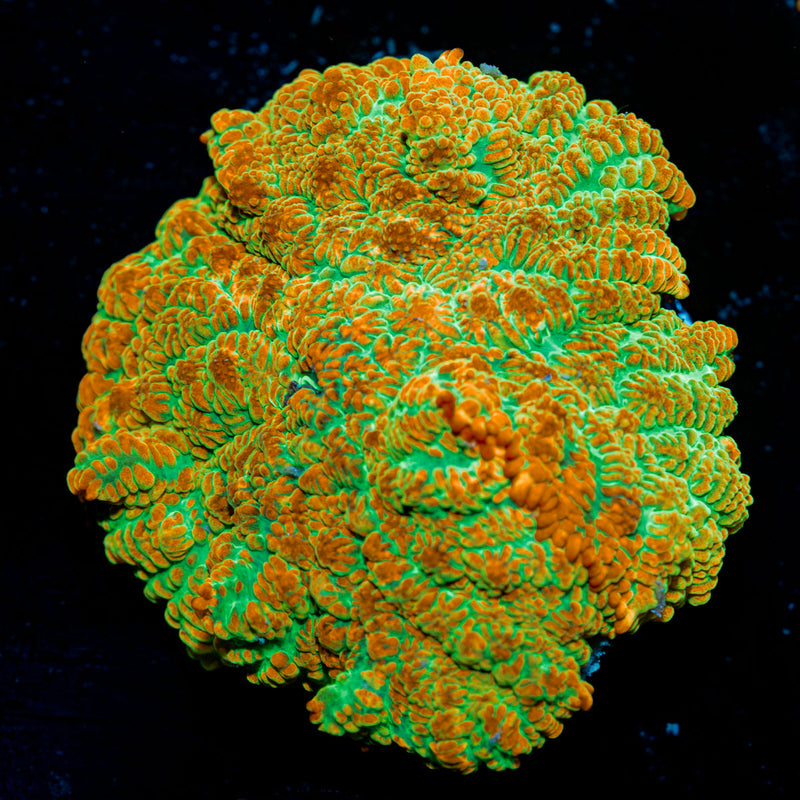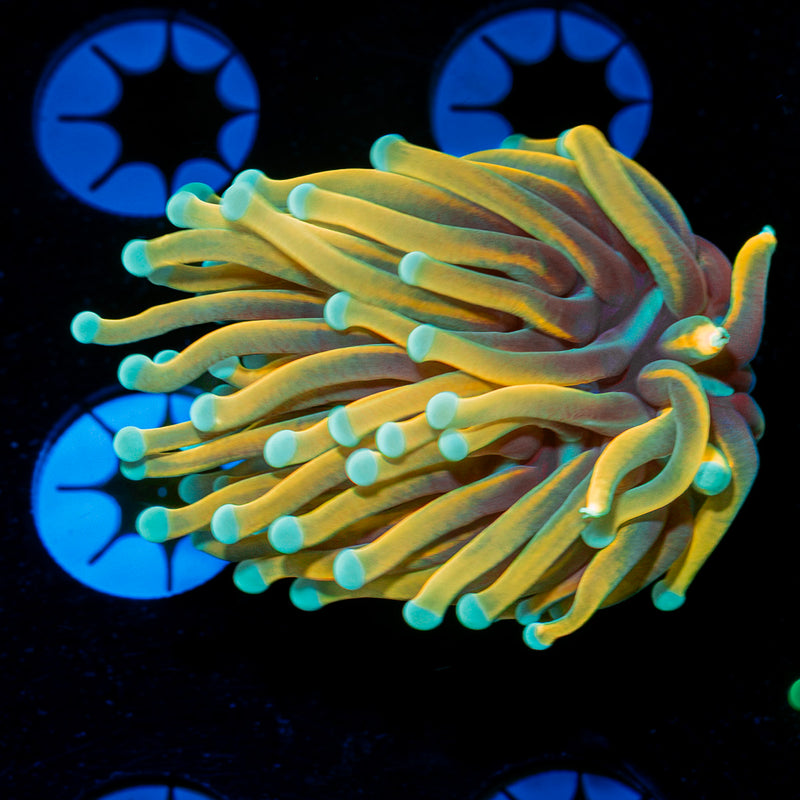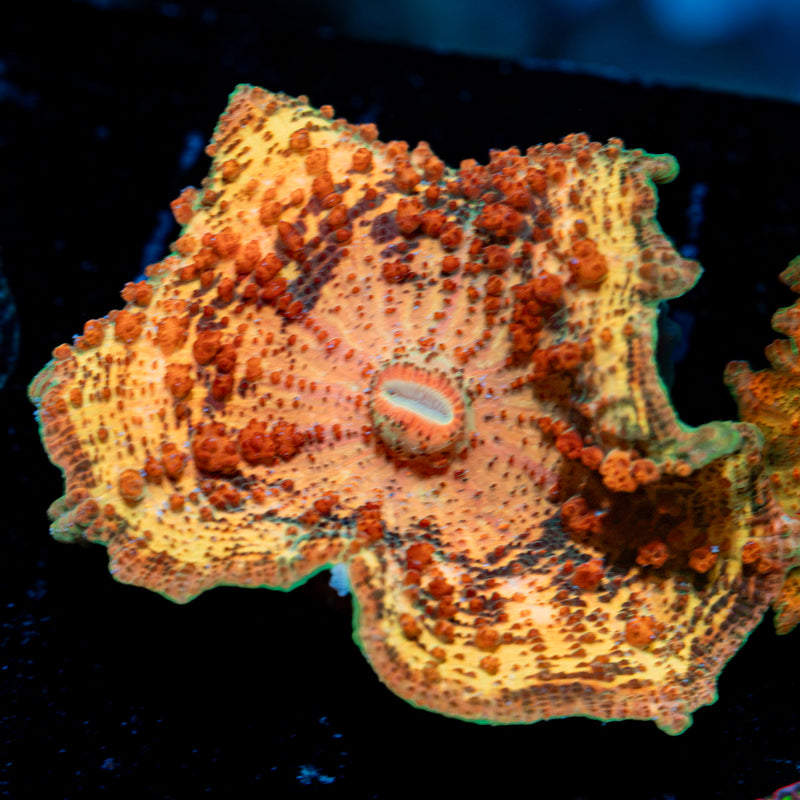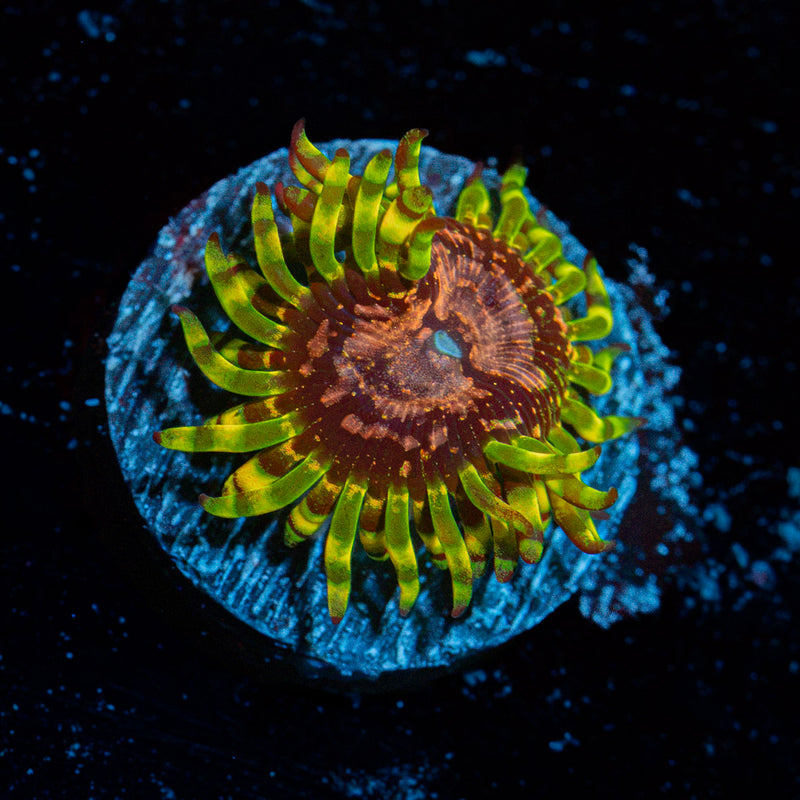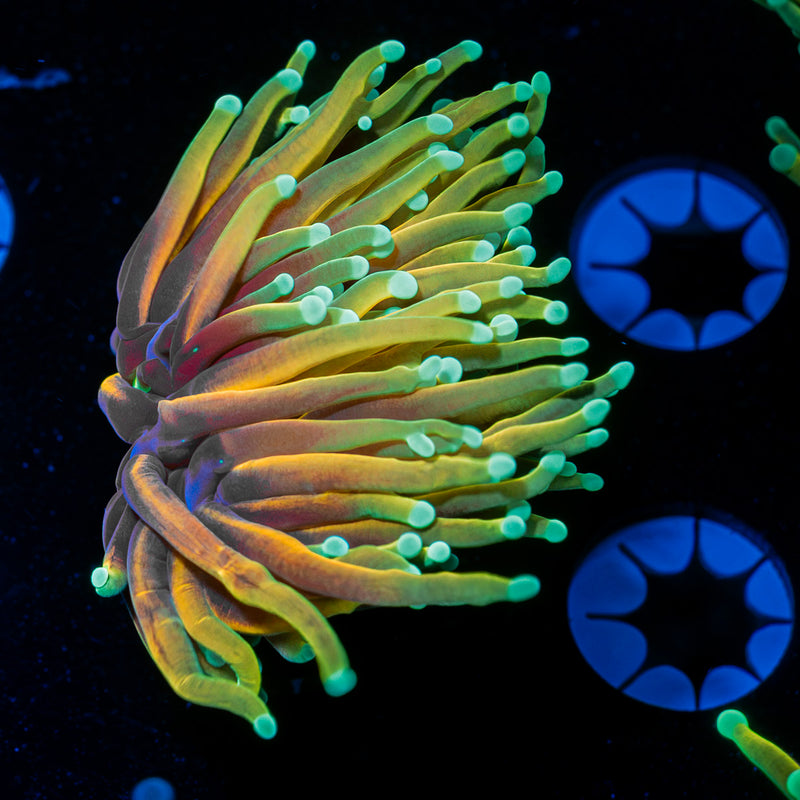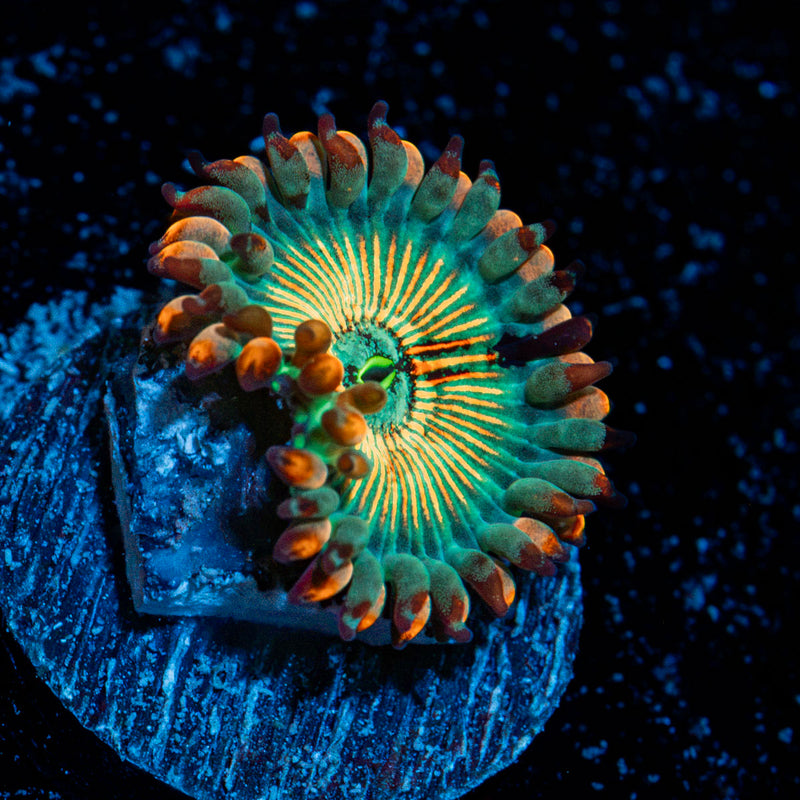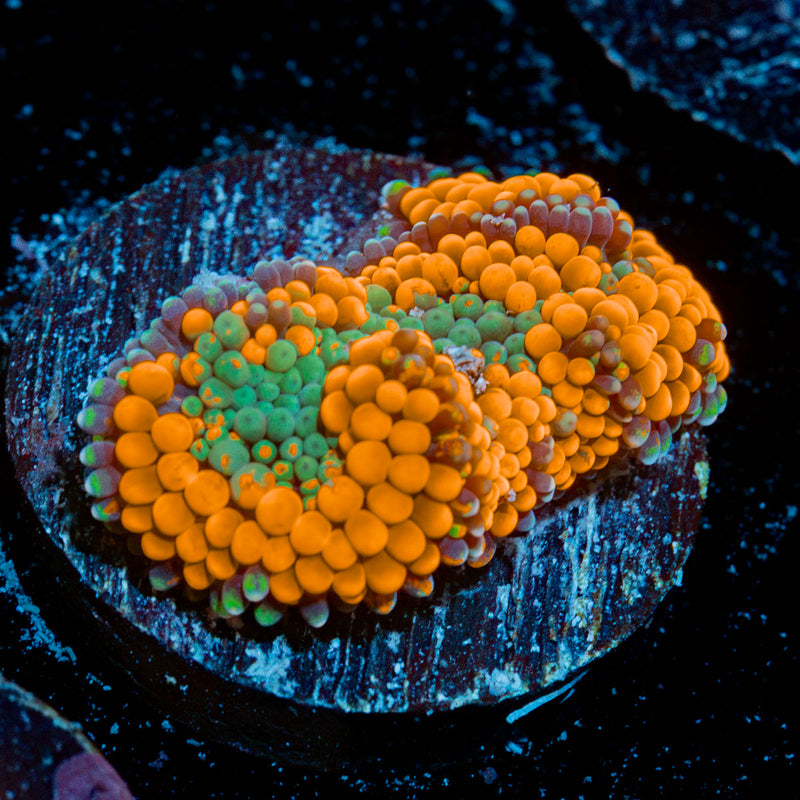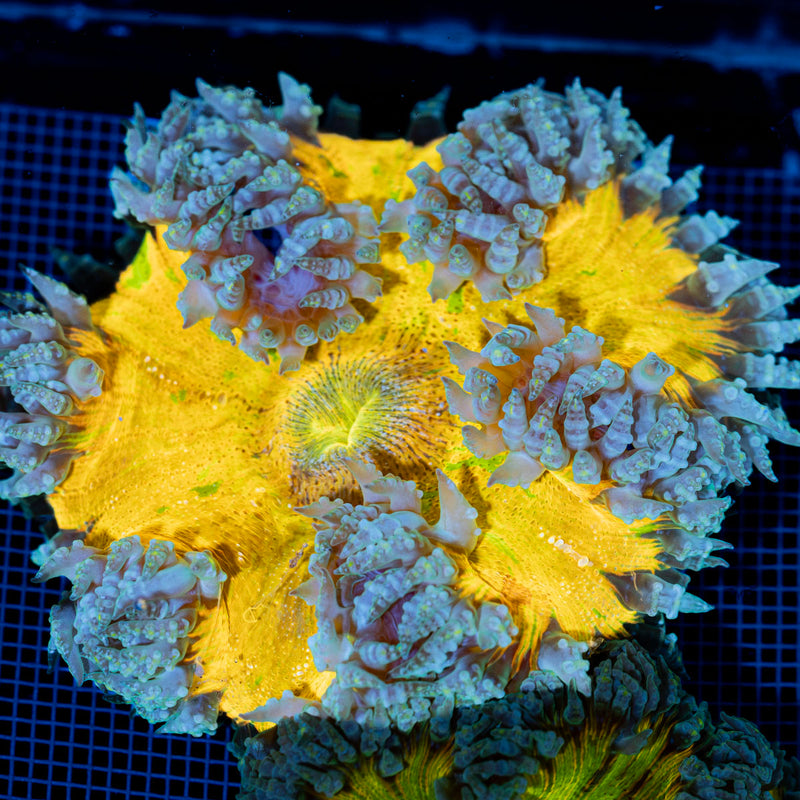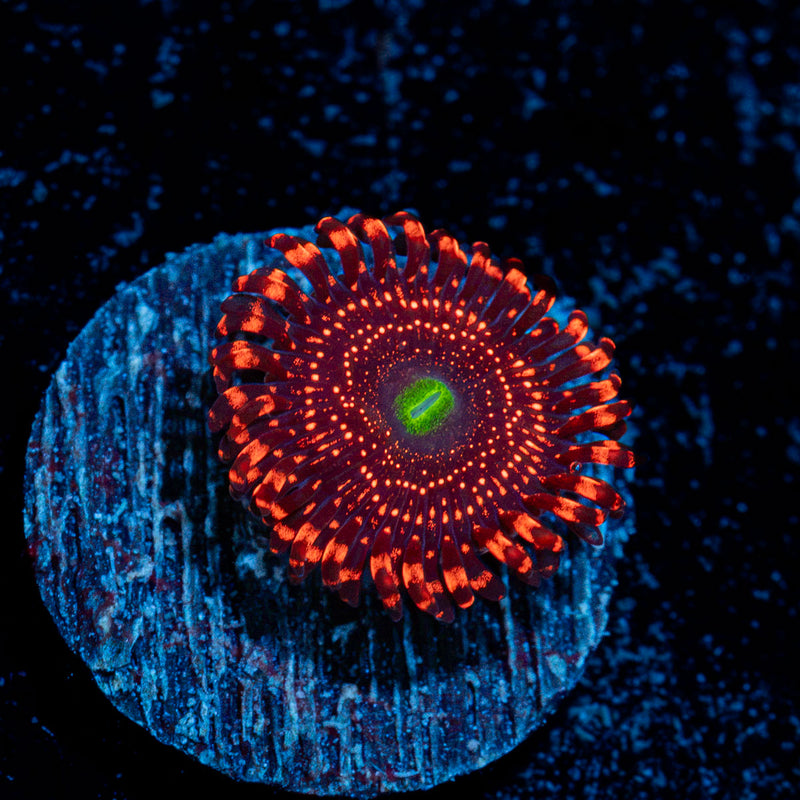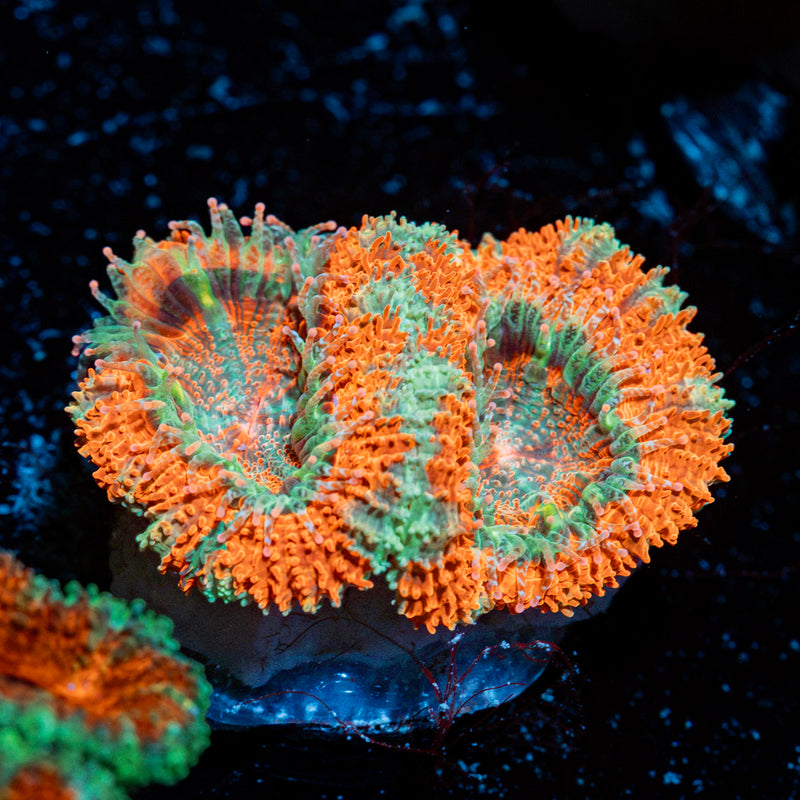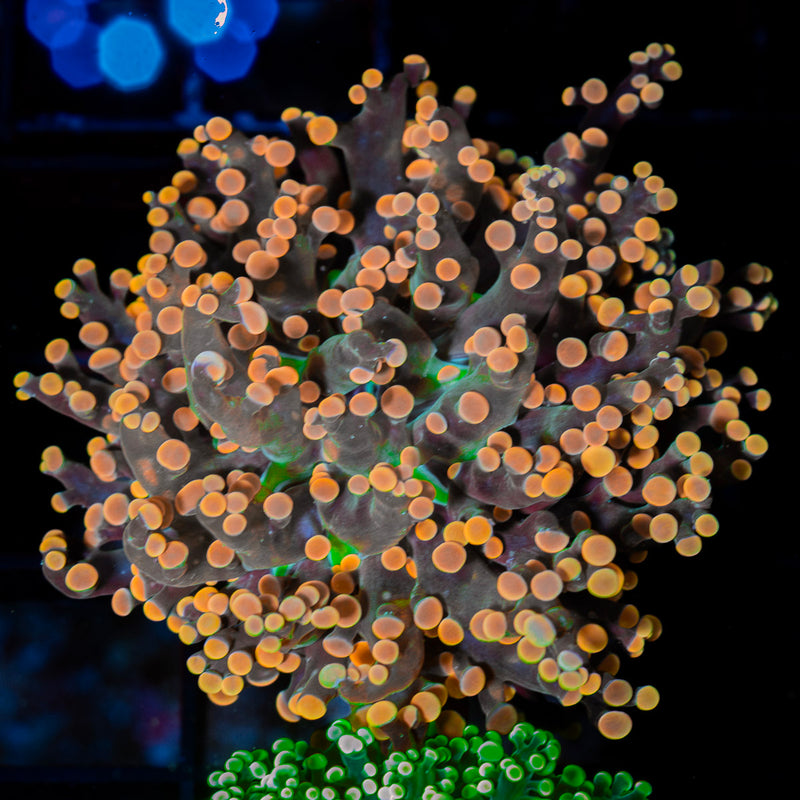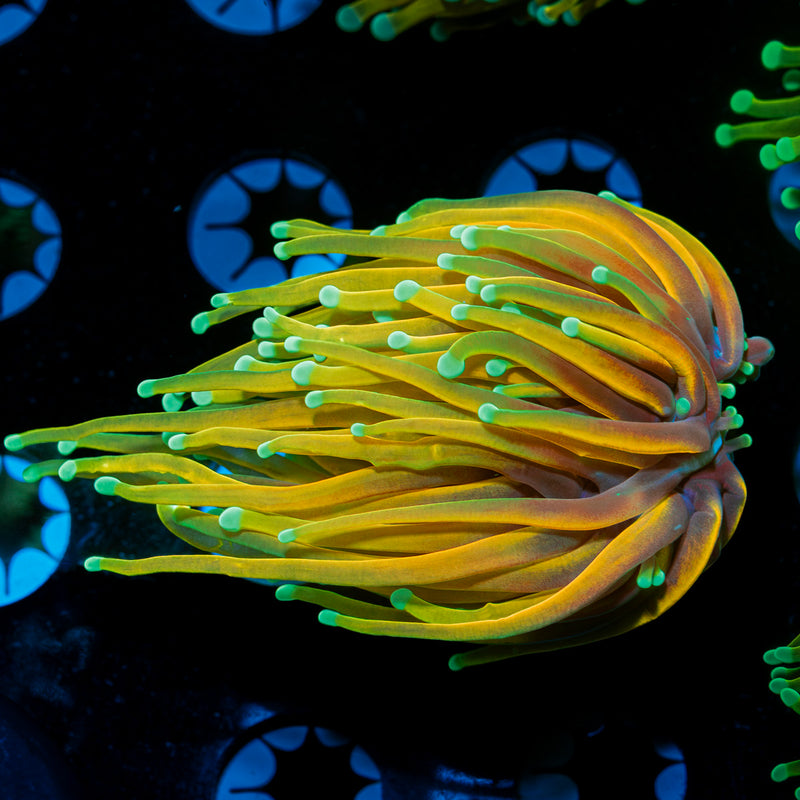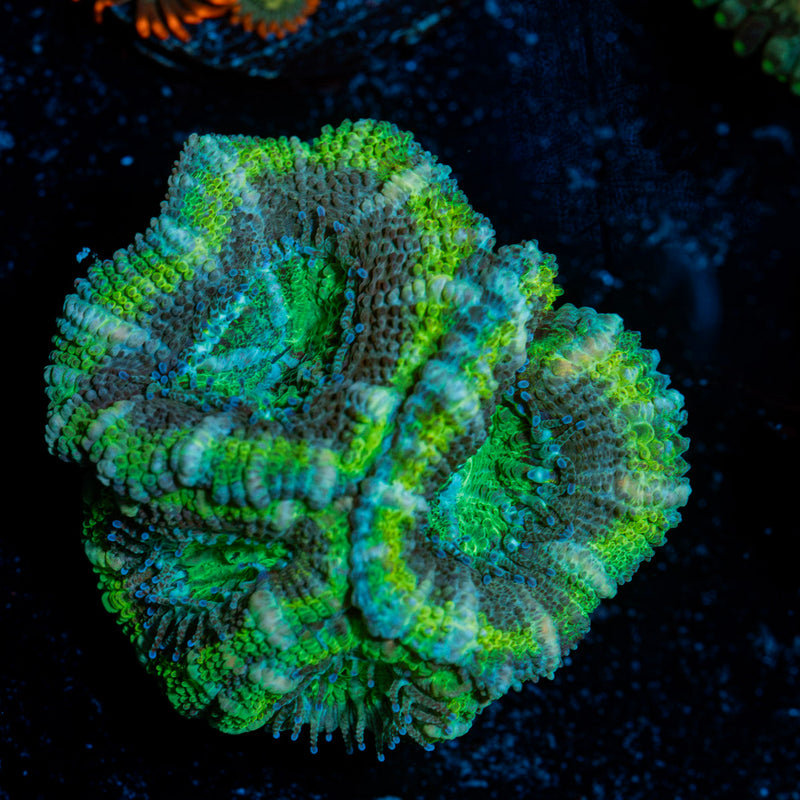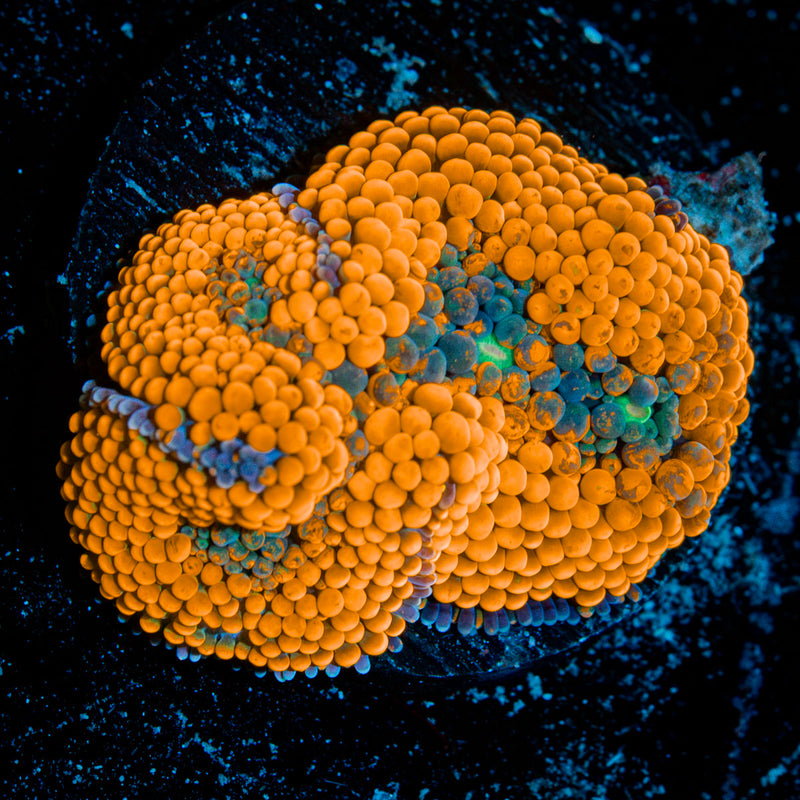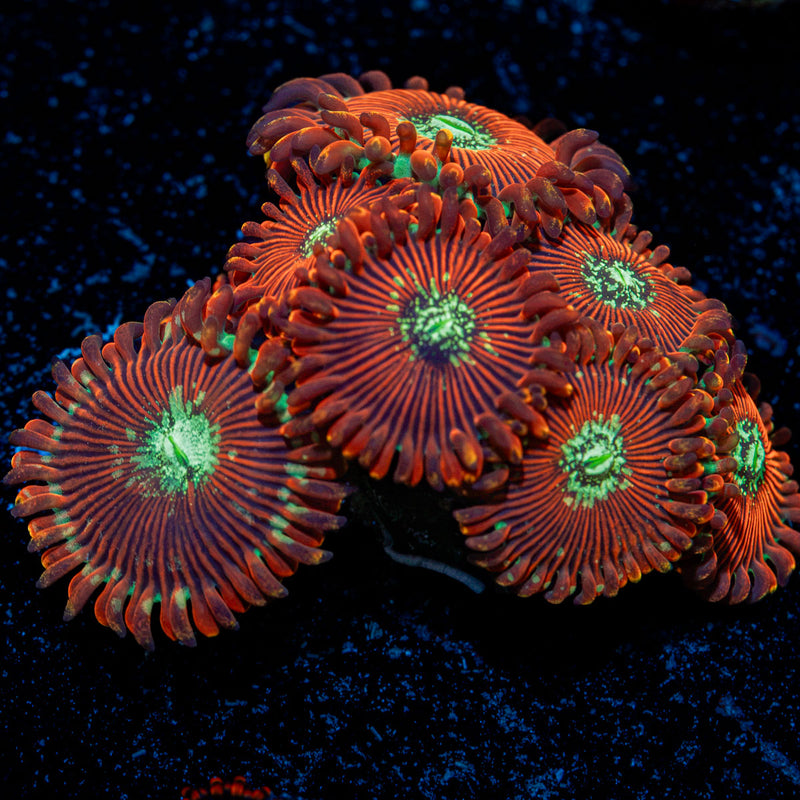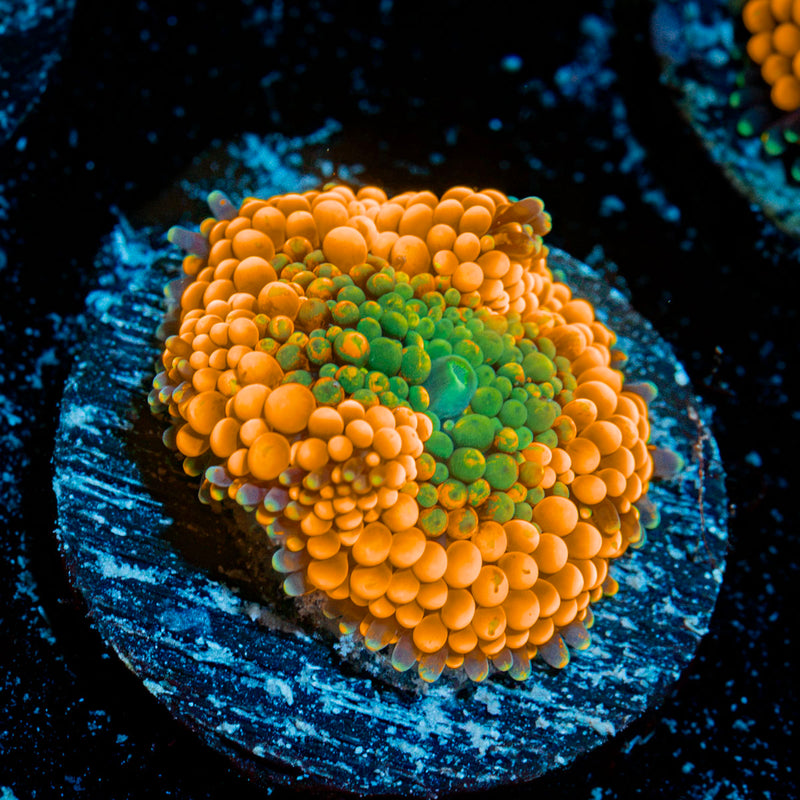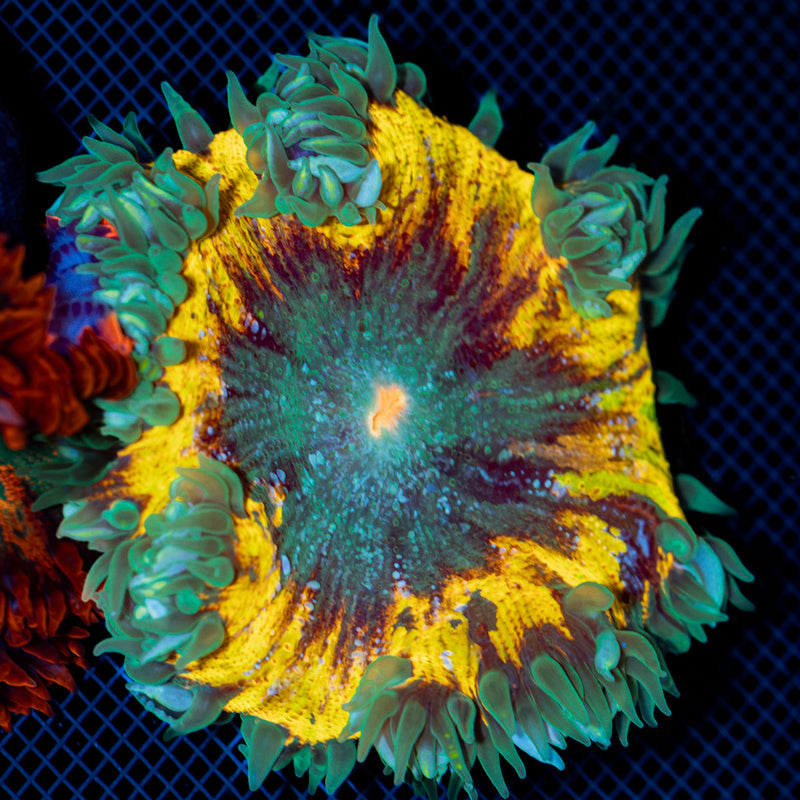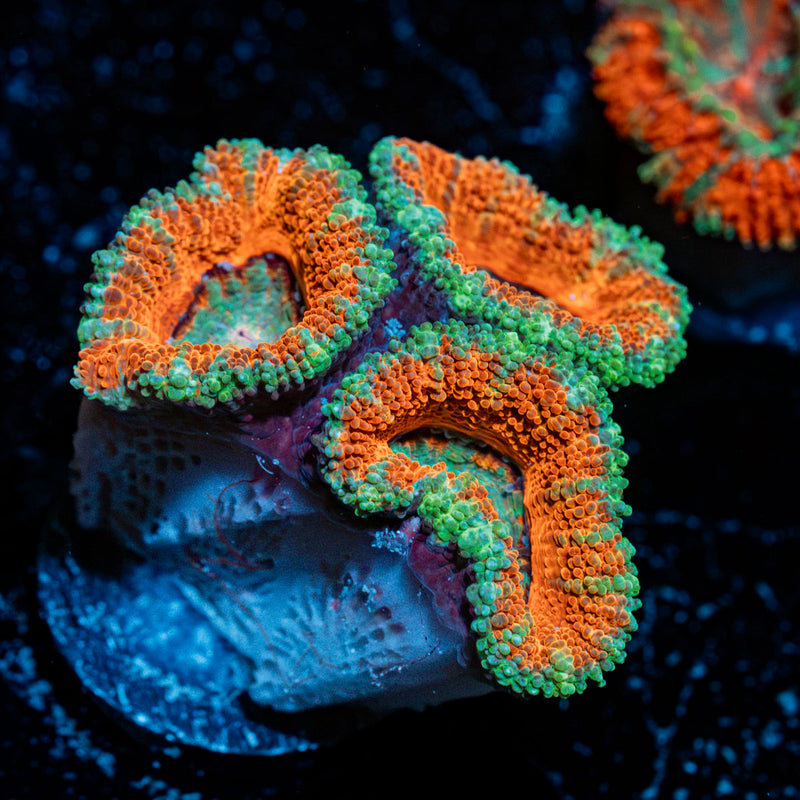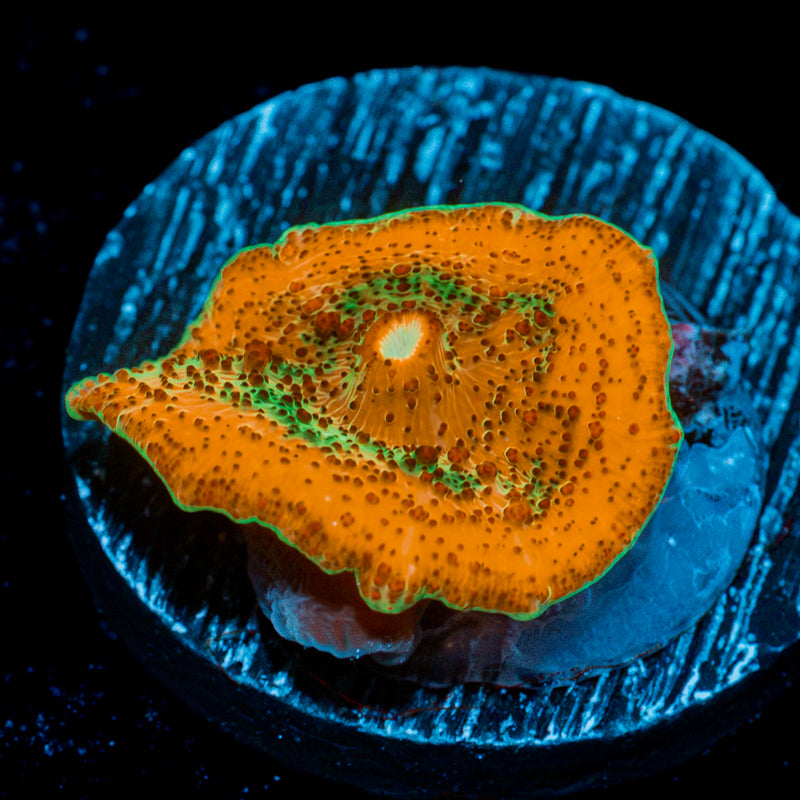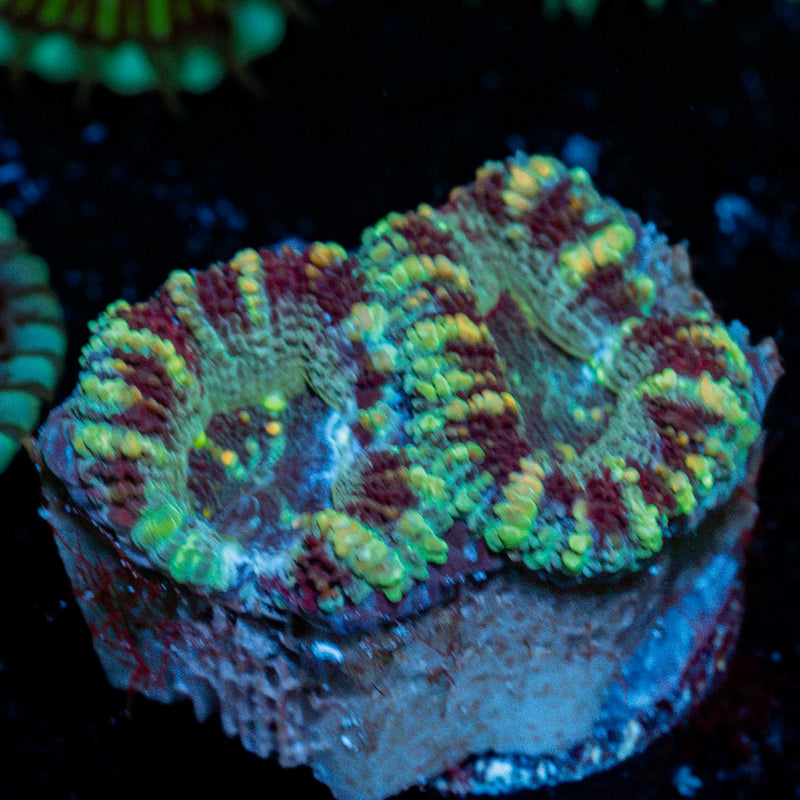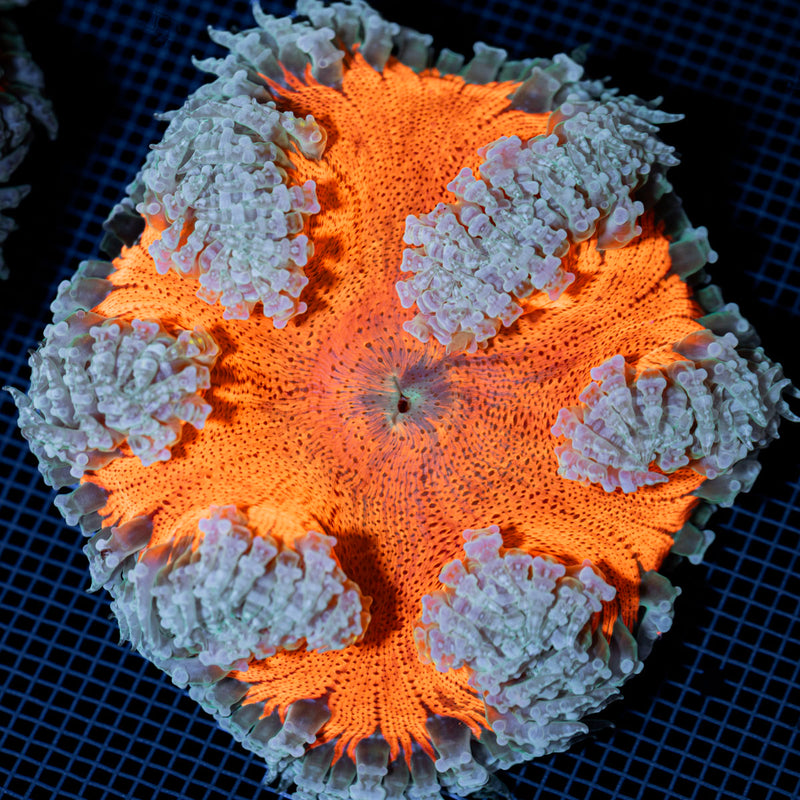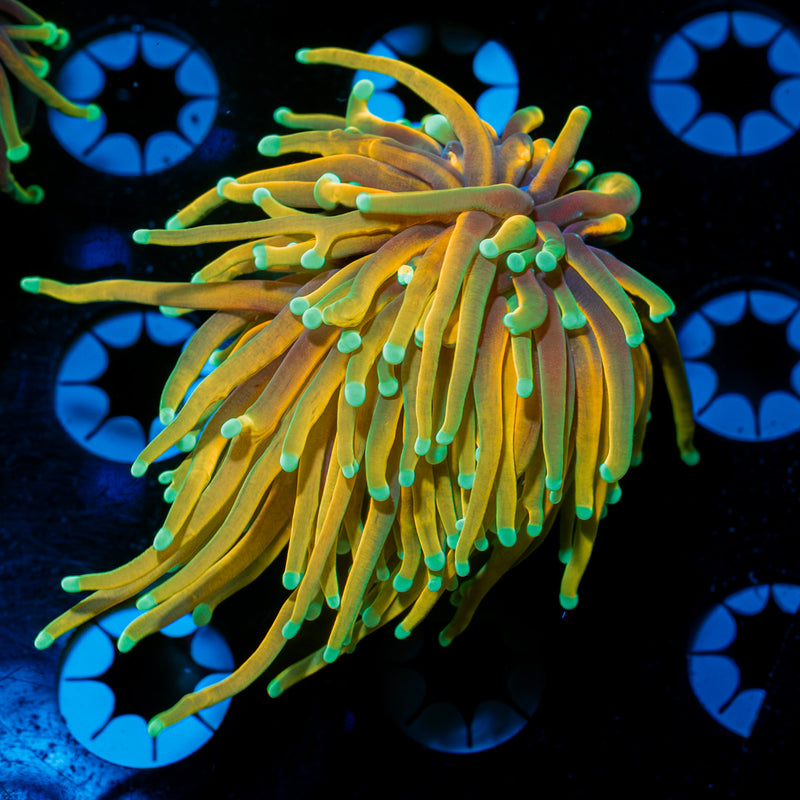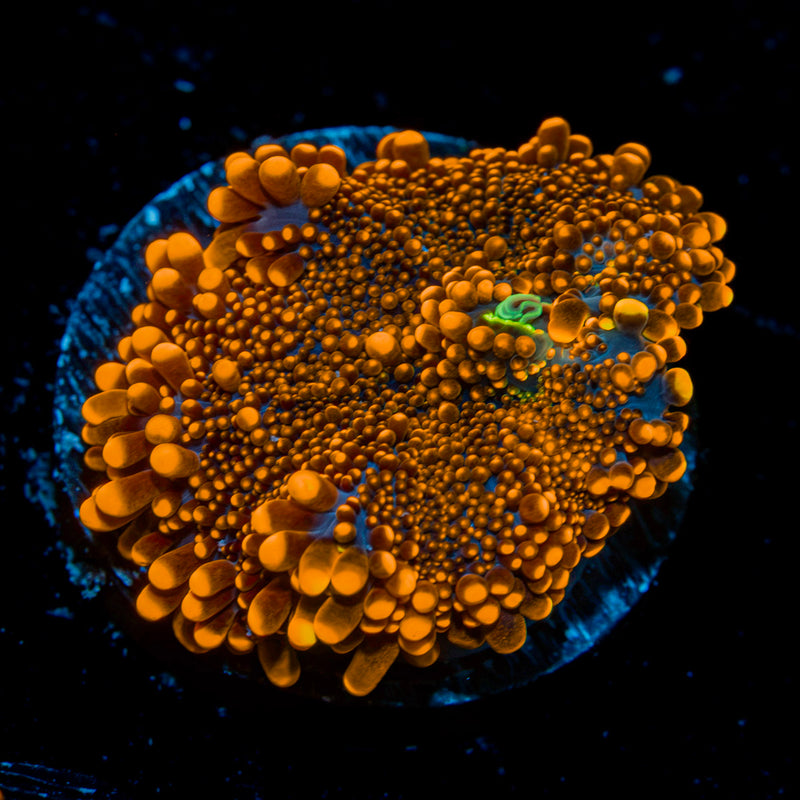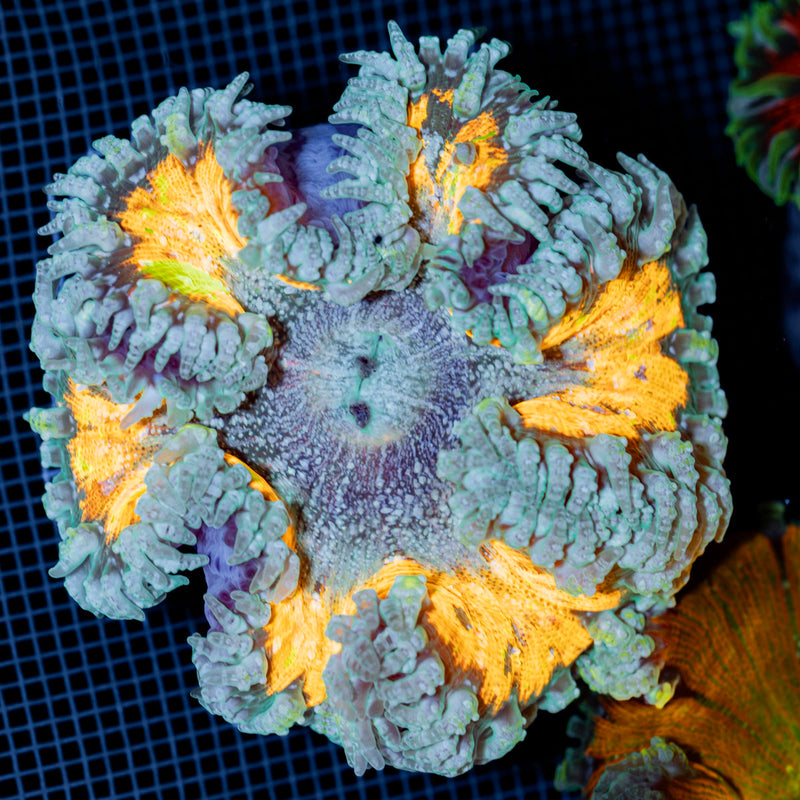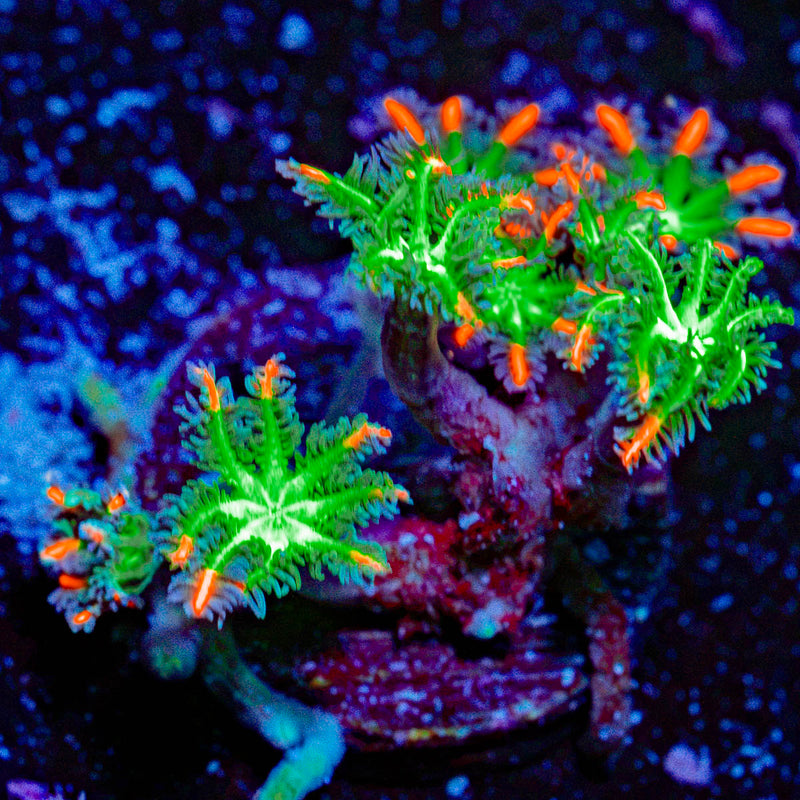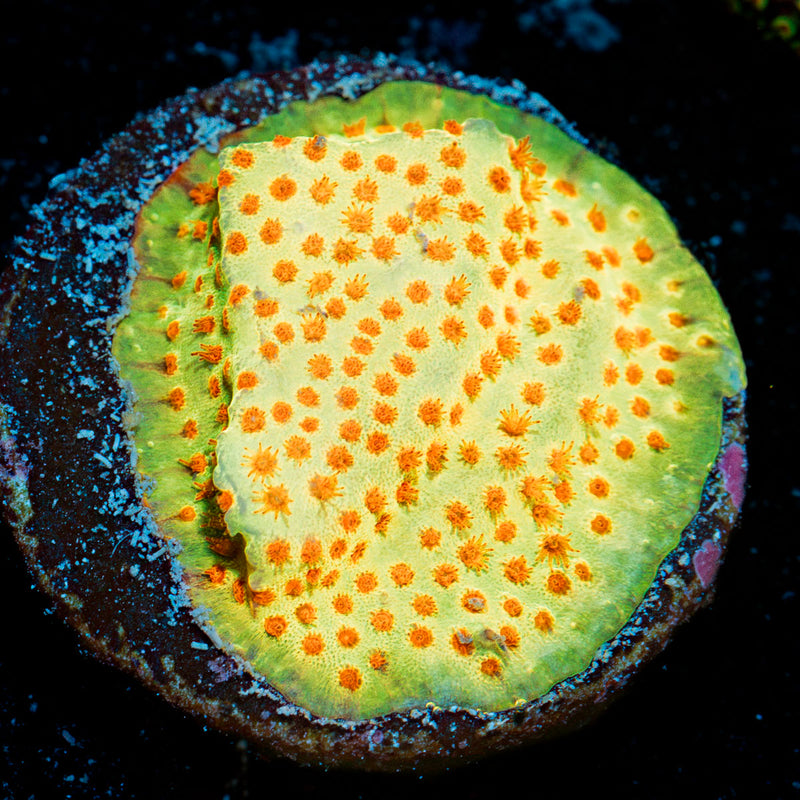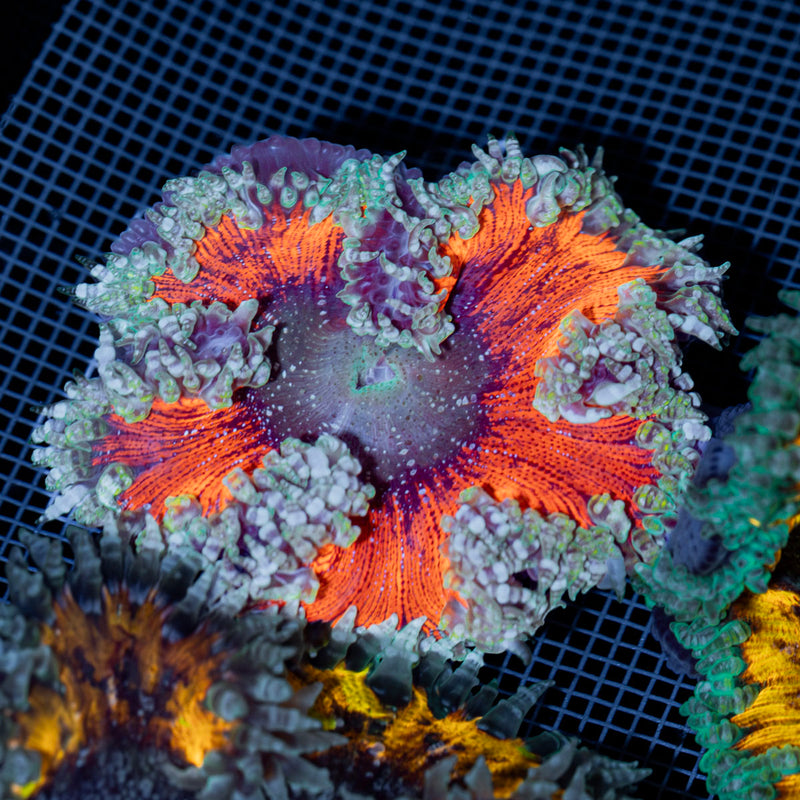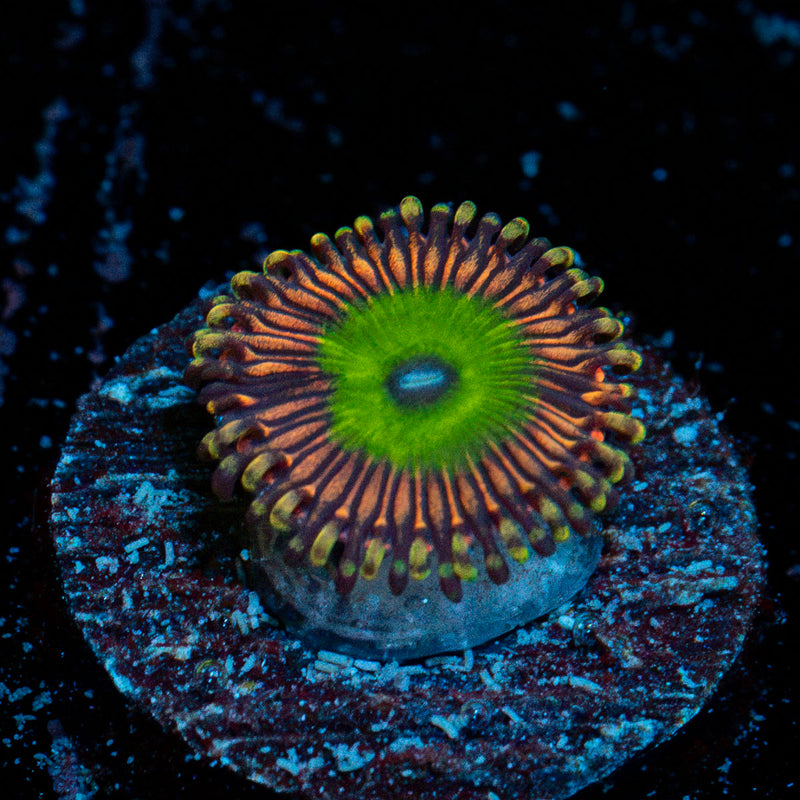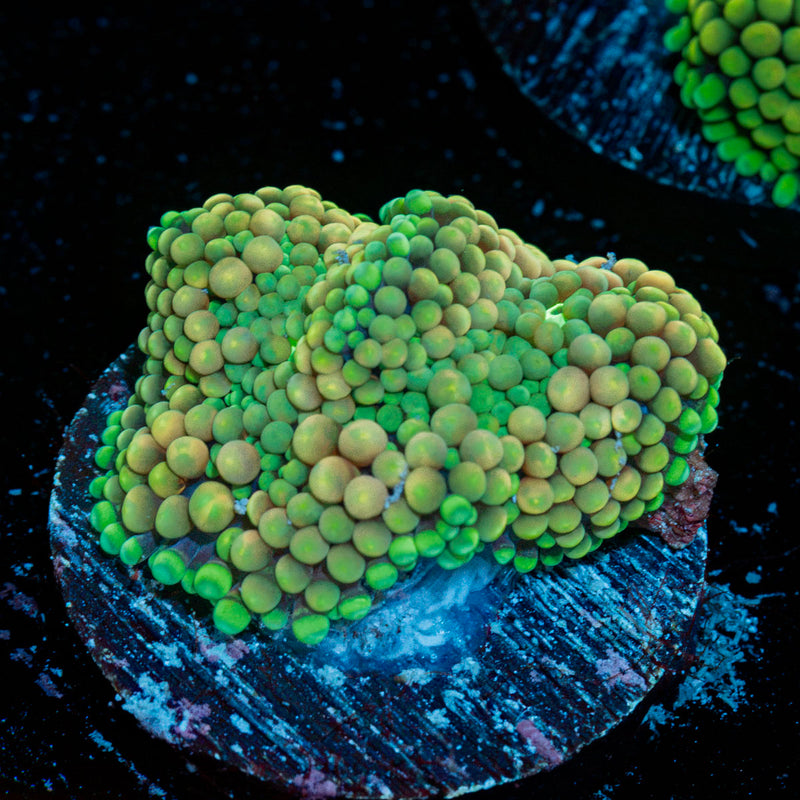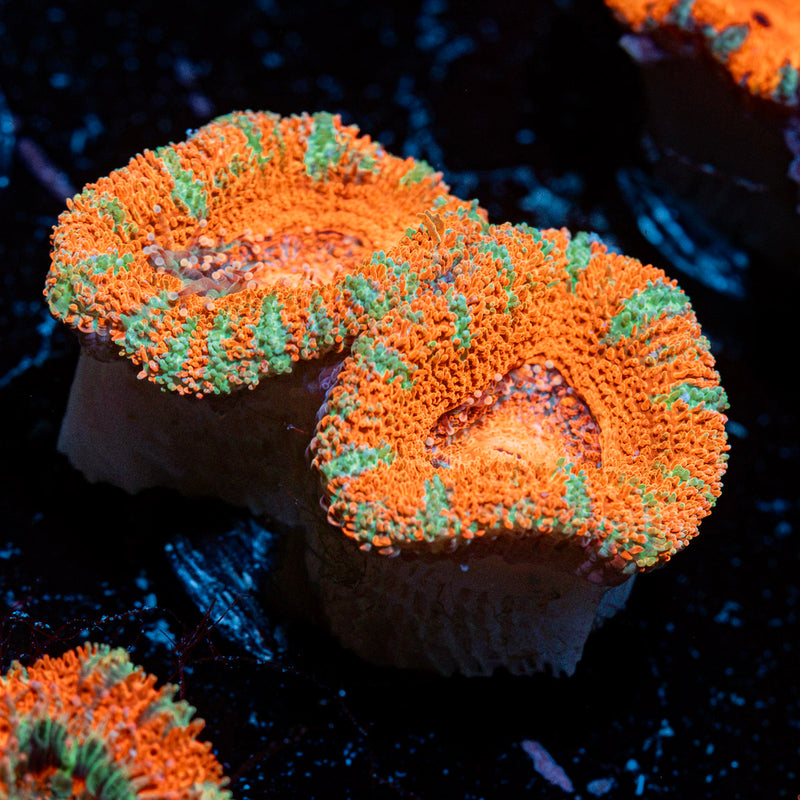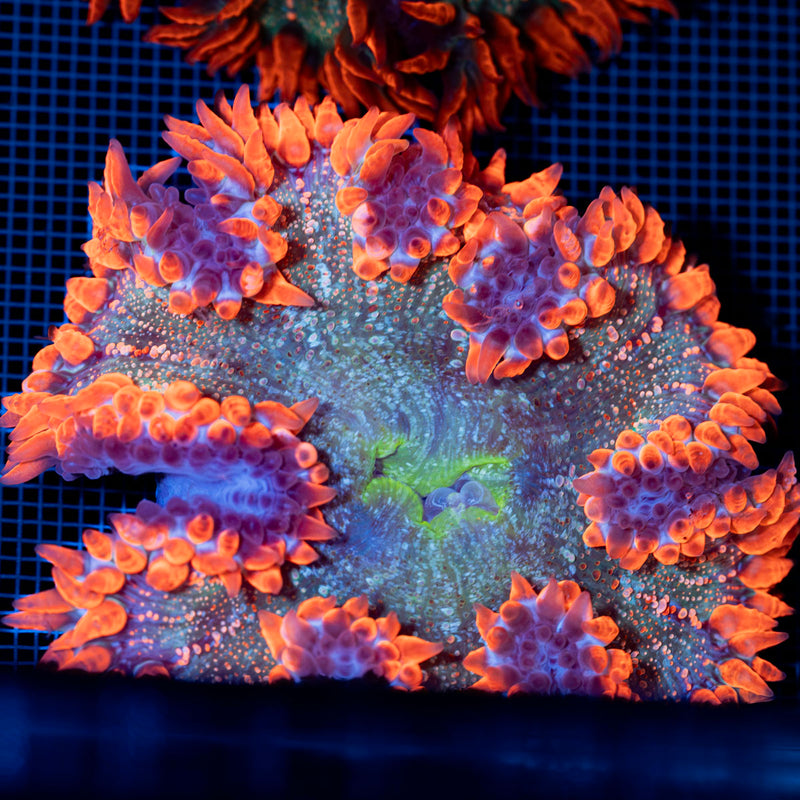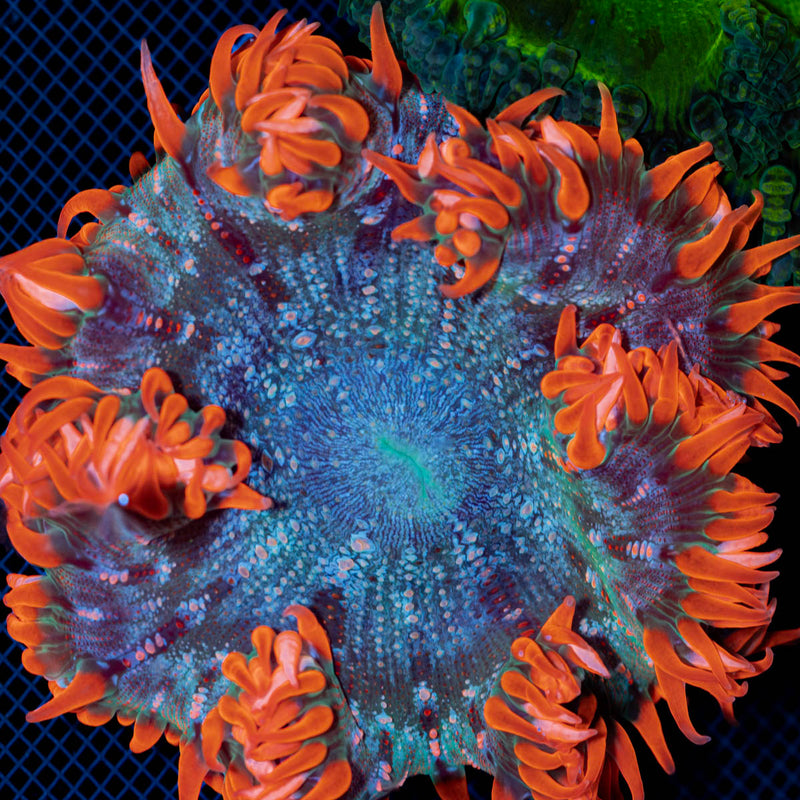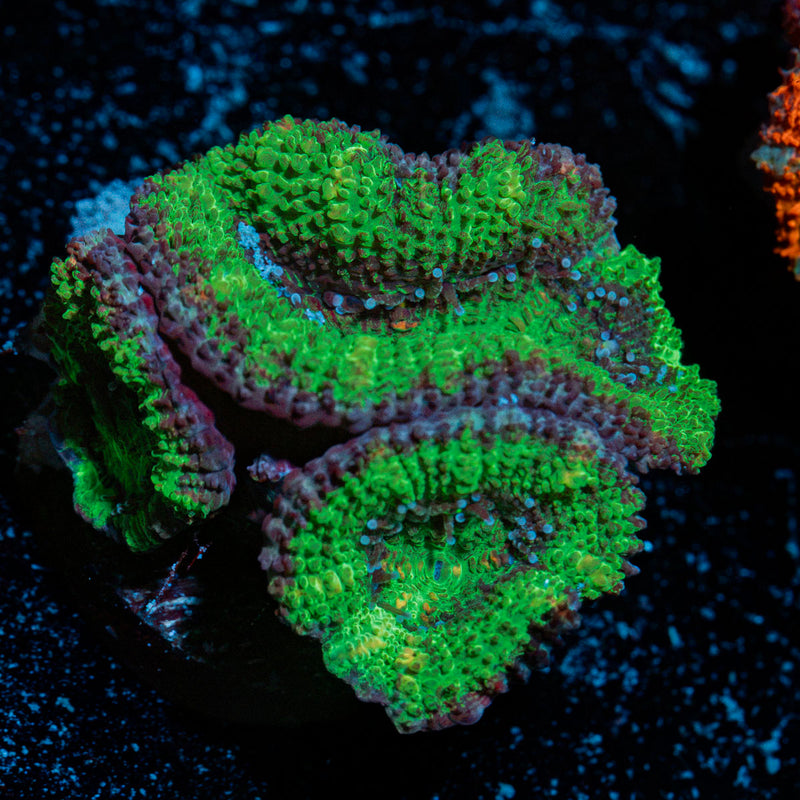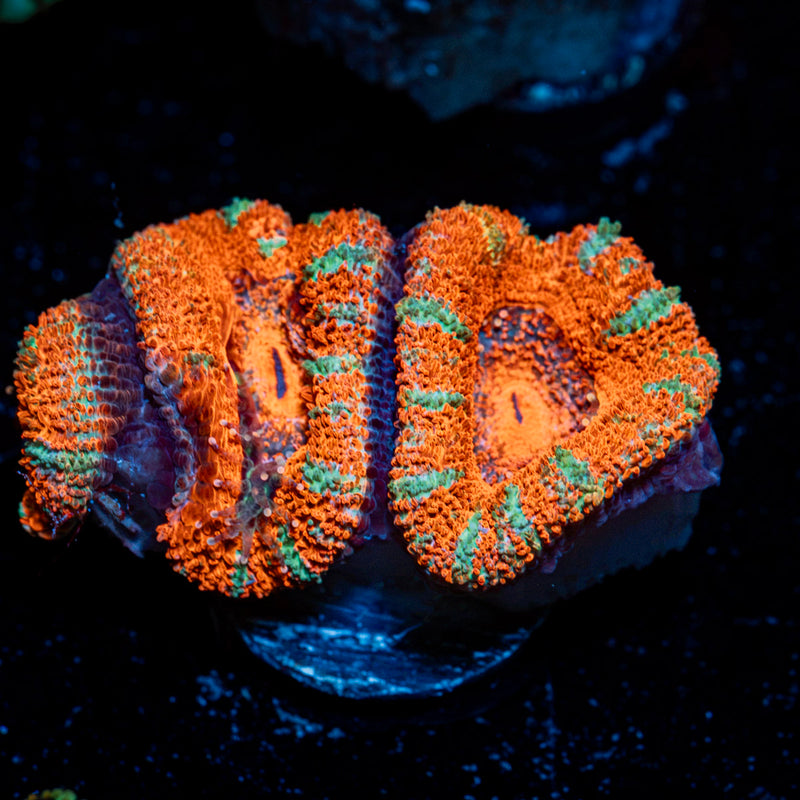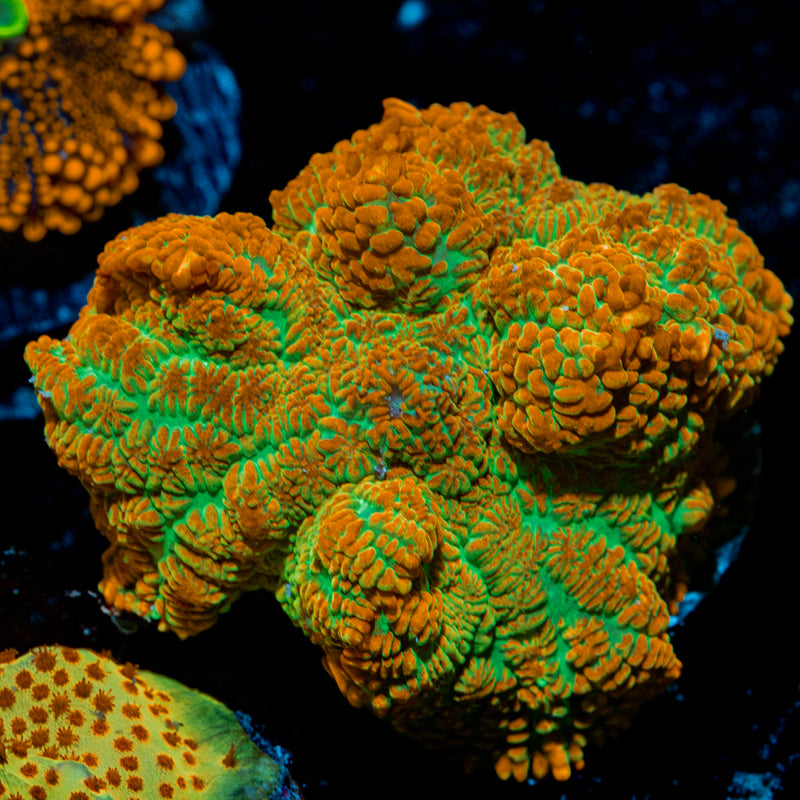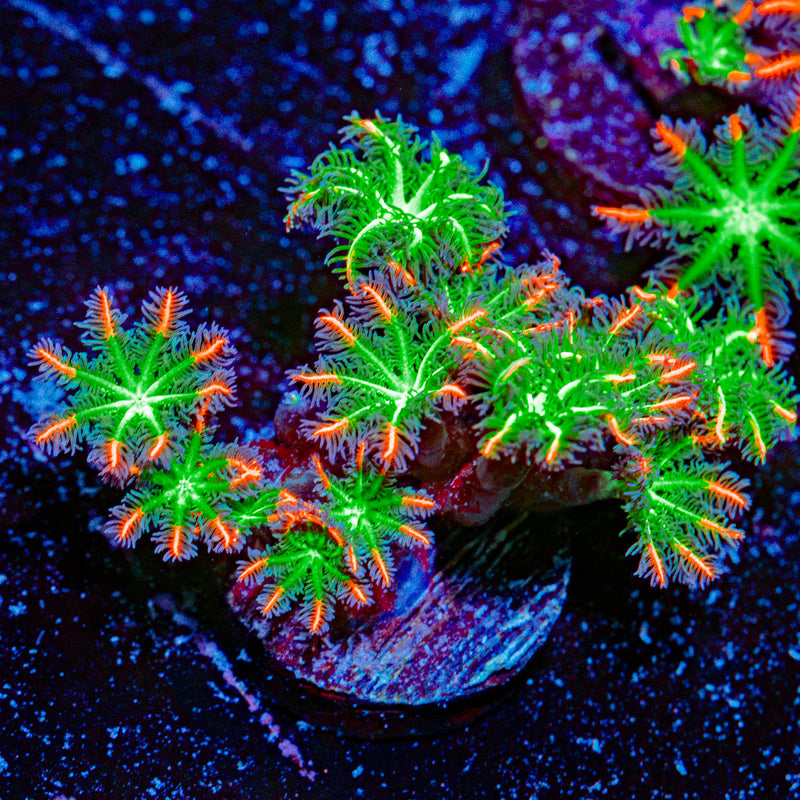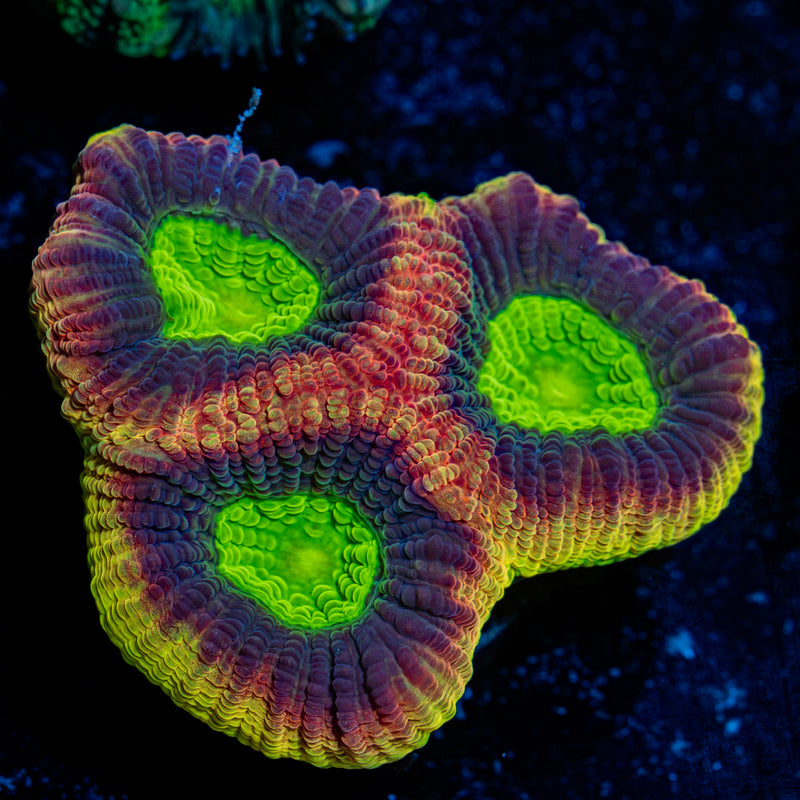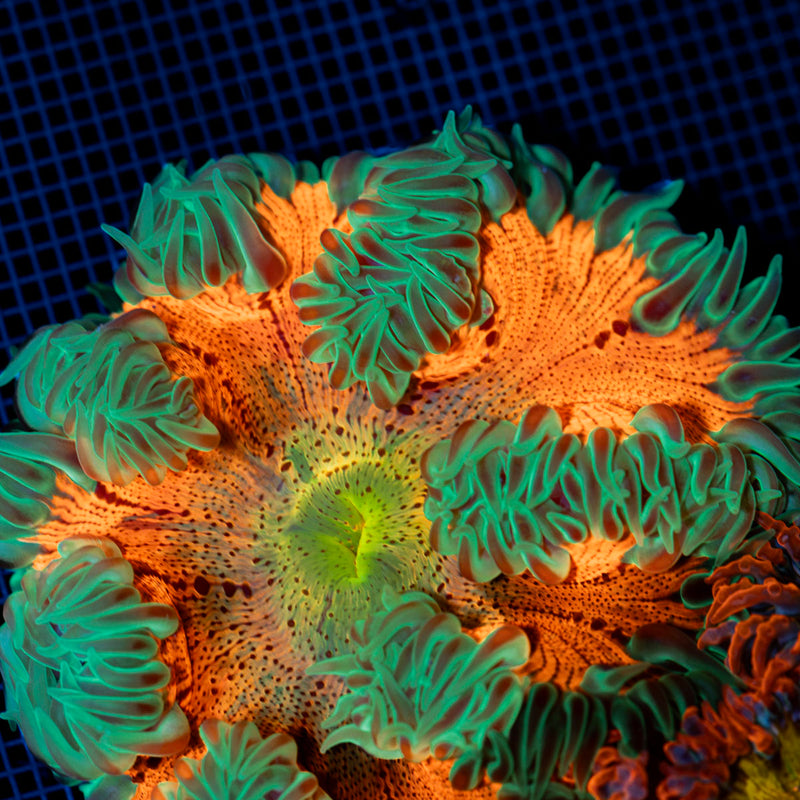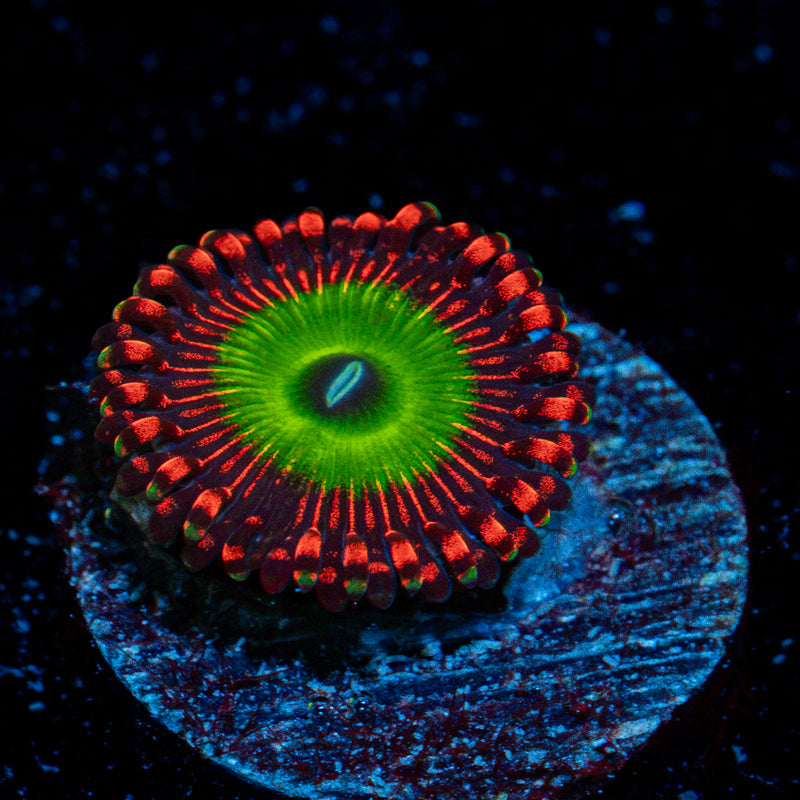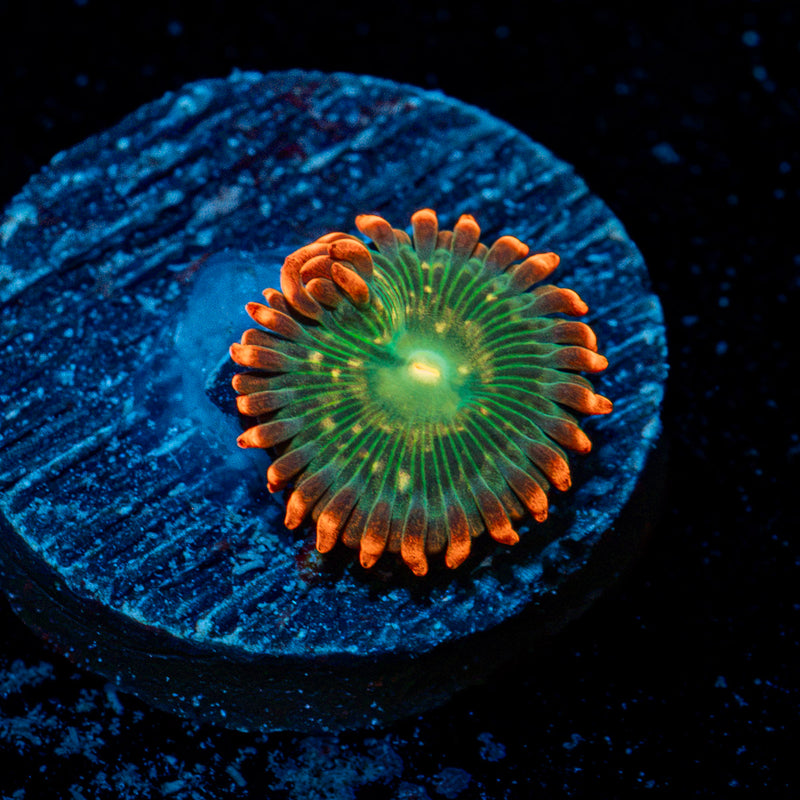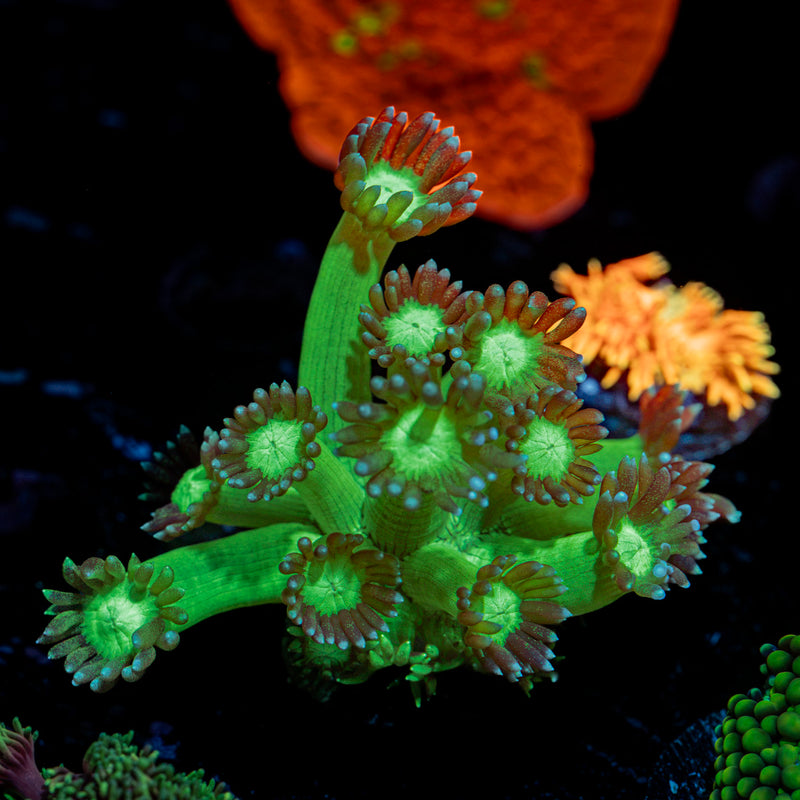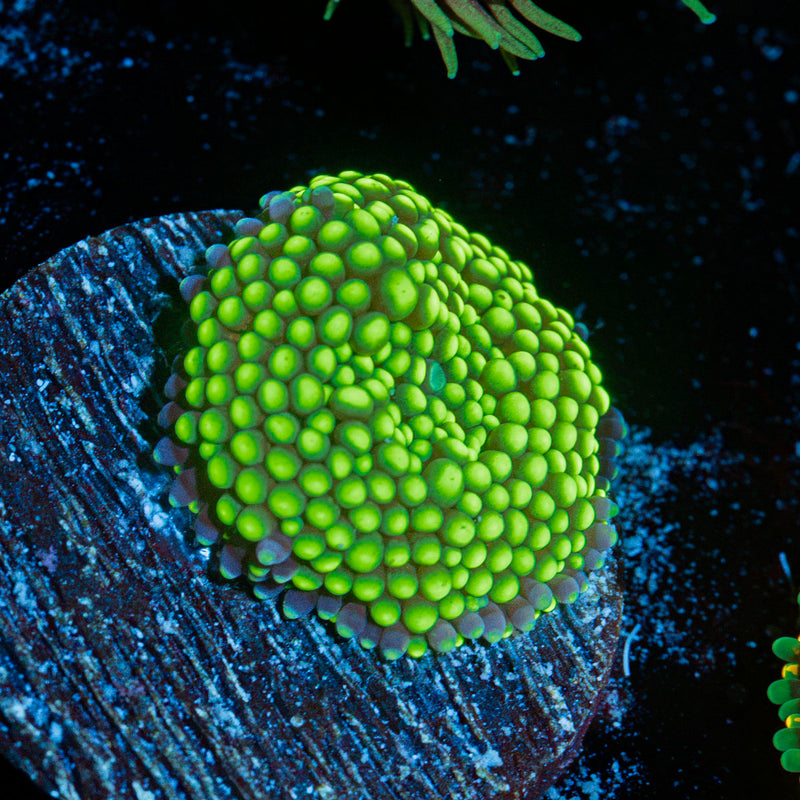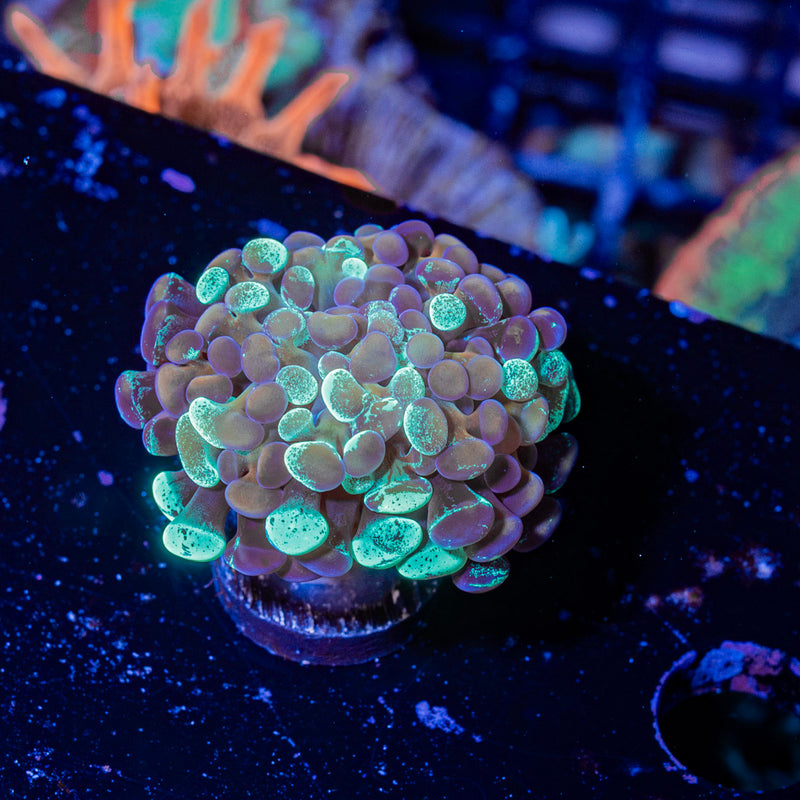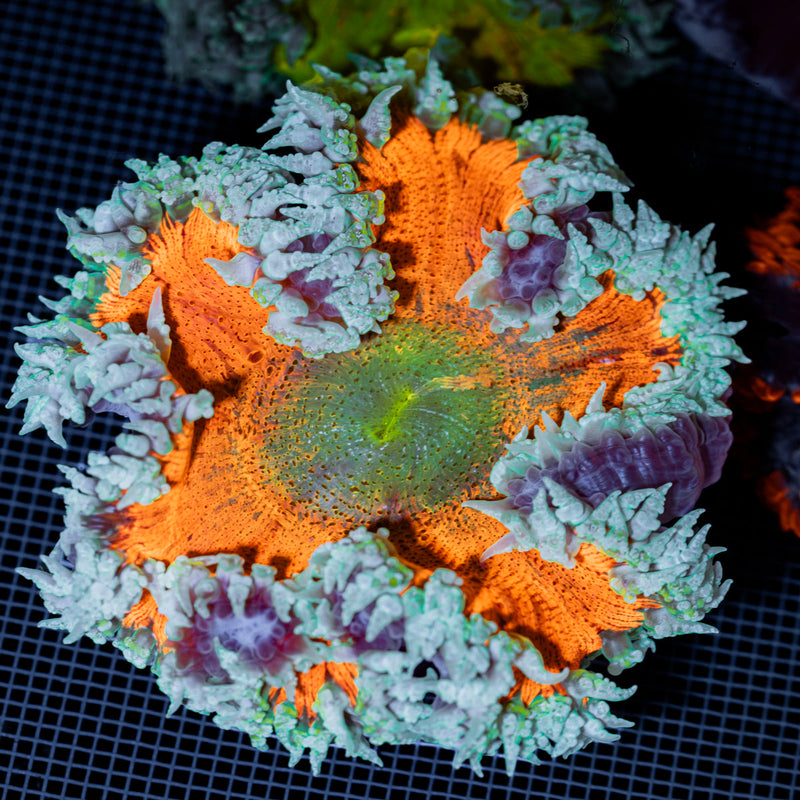
A fresh coral frag can look perfect in its plug, then become the center of an aquarium headache when it tips into the sand, lands against a stinging neighbor, or gets blown around by flow. Learning how to mount coral frags gives each new living jewel a stable place to settle, grow, and show its best color.
The goal is not to permanently lock a coral into the first open spot you see. A good mount keeps the frag secure while respecting its light, flow, future size, and the space it needs from nearby corals. With the right adhesive and a little planning, this is a quick, beginner-friendly part of reef keeping.
Gather the right coral-mounting supplies
Most coral frags can be mounted with thick cyanoacrylate gel, often sold as reef-safe super glue gel. It is fast, affordable, and especially useful for attaching a frag plug or small coral base to dry rock above the waterline. For heavier pieces, irregular rock surfaces, or SPS frags that need extra stability, two-part reef epoxy adds holding power.
Many hobbyists use both. A small amount of glue gel creates an immediate bond, epoxy fills the uneven space between the plug and rock, and a final layer of glue helps the assembly grab onto the rock. This glue-epoxy-glue approach is particularly helpful when mounting branching SPS such as Acropora or Millepora.
Keep a clean paper towel nearby, along with coral cutters or bone cutters if you plan to remove the stem from a frag plug. Wear gloves when handling epoxy or working around corals with a strong sting. If a coral is slimy or stressed from shipping, give it time to recover in stable tank water before handling it again.
Pick the placement before you use glue
The adhesive sets quickly, so test the location first. Hold the frag in place and view it from the front and sides of the aquarium. Check that the coral is not likely to shade another frag as it grows, touch a neighboring colony, or disappear behind your rockwork.
Light and flow matter just as much as appearance. Zoanthids, mushrooms, many acans, and other softer corals often appreciate lower to moderate light and gentler flow. Hammers, frogspawn, and torches need enough room for their tentacles to sway freely without contacting nearby corals. SPS corals generally prefer stronger light and more energetic, indirect flow, although every system and individual specimen can vary.
Avoid mounting a new frag where it receives a direct blast from a powerhead. Tissue can pull back or remain closed when flow is too concentrated. On the other hand, a dead spot that lets detritus collect around the base can cause trouble. Look for movement that is active but not punishing.
It also helps to think ahead. That tiny frag may become a colorful colony. Give spreading encrusting corals and fast-growing zoanthids their own patch of rock rather than placing them beside a coral you want to keep isolated.
How to mount coral frags with glue gel
For a frag that is already attached to a ceramic or plastic plug, glue gel is usually the simplest method. Start by taking the plug out of the aquarium. Gently blot the bottom of the plug dry with a paper towel. The rock can remain underwater if needed, but the strongest initial bond comes from attaching the frag to a dry or mostly dry rock surface outside the tank.
Apply a generous dab of thick glue gel to the plug's base. It should be large enough to fill minor gaps in the rock, rather than a thin film that squeezes away. Press the plug onto the chosen spot with a gentle twisting motion, then hold it still for about 20 to 30 seconds.
If you are mounting underwater, expect a white skin to form on the outside of the glue as it reacts with water. That is normal. Press the plug firmly into a small crevice or textured section of rock so the gel has a mechanical grip while it cures. Once attached, avoid bumping or redirecting flow directly at the frag for the next several minutes.
Glue gel works best when the plug has a flat bottom and the rock has a reasonably stable contact point. It is less reliable for a large, top-heavy frag or a rough vertical ledge. In those cases, epoxy can make the difference between a secure placement and a loose coral by morning.
Removing the frag plug stem
You do not always need to remove the stem. Leaving the plug intact makes future relocation easier and is often the safest option for a newly acquired coral. However, trimming the stem can create a more natural, low-profile look and gives the coral a broader mounting surface.
Use coral cutters to snip the stem below the disk, keeping your fingers and the coral tissue clear. Some plugs are brittle and break cleanly, while others are hard plastic and may need to stay whole. Never force a coral from the disk if its tissue has already grown across it. Mount the entire disk instead.
Use epoxy for uneven rock and heavier frags
Two-part reef epoxy comes as a putty that must be kneaded until its color is uniform. Break off only what you need, since it begins curing once mixed. Make a small ball or short cylinder, press it onto the underside of the frag plug, and push it into the selected rock crevice.
Epoxy can temporarily make your protein skimmer foam more aggressively and may cloud the water slightly. That is usually short-lived, but it is wise to use a modest amount and keep an eye on equipment after mounting several frags. If your skimmer begins overflowing, adjust it temporarily rather than letting it spill.
For the strongest attachment, add a dab of glue gel between the plug and epoxy, then another dab between the epoxy and rock. This is useful for premium SPS frags, branching pieces, and any coral positioned on a vertical or overhanging section of aquascape.
Mount different coral types with their growth habits in mind
Not every coral wants the same kind of real estate. Soft corals and mushrooms may detach or shift if they are simply glued to smooth rock. A mushroom frag is often best placed in a shallow rubble-filled cup or a low-flow crevice until it naturally attaches. Once established, the rubble can be moved into the display rockwork.
Zoanthid and palythoa frags are typically easy to mount by gluing the plug or small rubble piece to rock. Handle them carefully and avoid cutting or crushing their tissue. Good hand protection and basic eye protection are smart precautions when working with palythoas.
LPS corals such as acans and chalices are often best positioned on stable ledges or lower rockwork where their fleshy tissue will not rub against abrasive surfaces. For euphyllia, mount the hard skeleton only, never the soft tissue, and leave generous clearance for tentacle extension.
Branching SPS frags can be glued by the bare skeleton at their base. Aim for a placement that receives suitable light and varied flow on multiple sides. A branch mounted too tightly against a rock wall may grow in one direction, collect detritus, and lose some of the open, natural shape that makes SPS so striking.
Let the frag settle after mounting
Once the coral is secured, give it a calm adjustment period. Resist the urge to move it repeatedly if it does not open immediately. Corals may stay withdrawn for hours or even a few days after shipping, dipping, handling, and being introduced to a new placement.
Watch for useful clues instead. Tissue should remain intact, the frag should stay firmly mounted, and polyps should gradually show normal extension for that coral type. If a frag is bleaching, staying tightly closed, or showing tissue recession, review light intensity, flow, temperature, salinity, and alkalinity stability before assuming the adhesive is the problem.
Mounting is a small step, but it shapes how your reef grows from day one. Choose a stable location, leave room for the colony to become something spectacular, and let each healthy aquacultured frag settle into the vibrant display you are building.