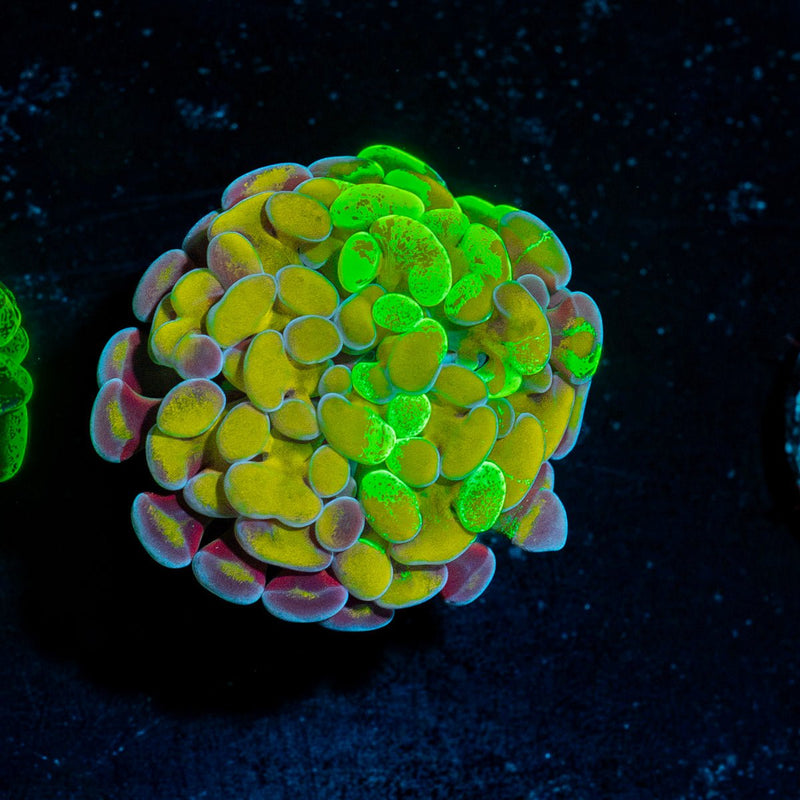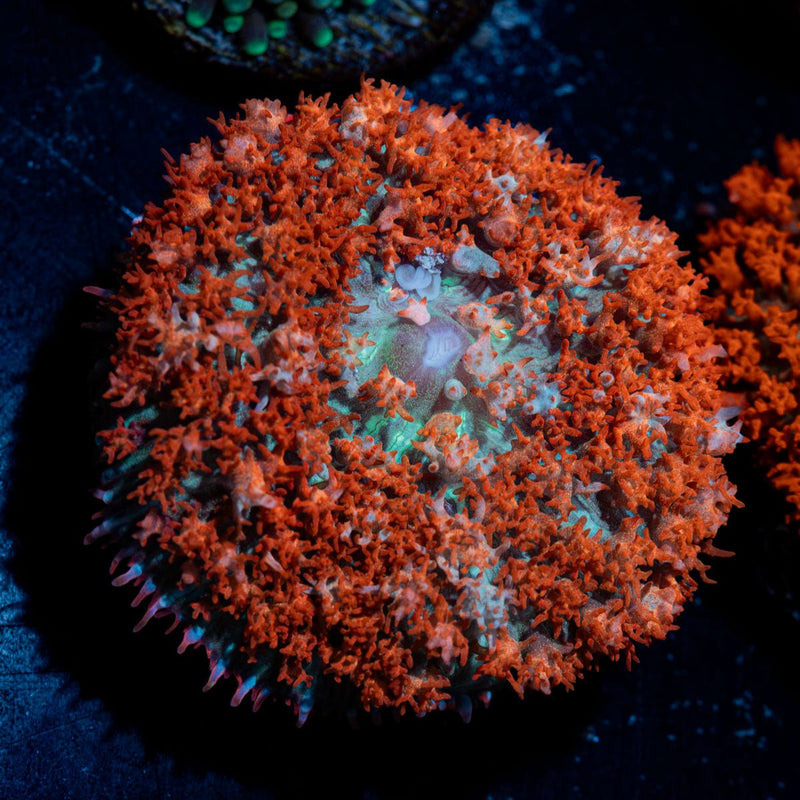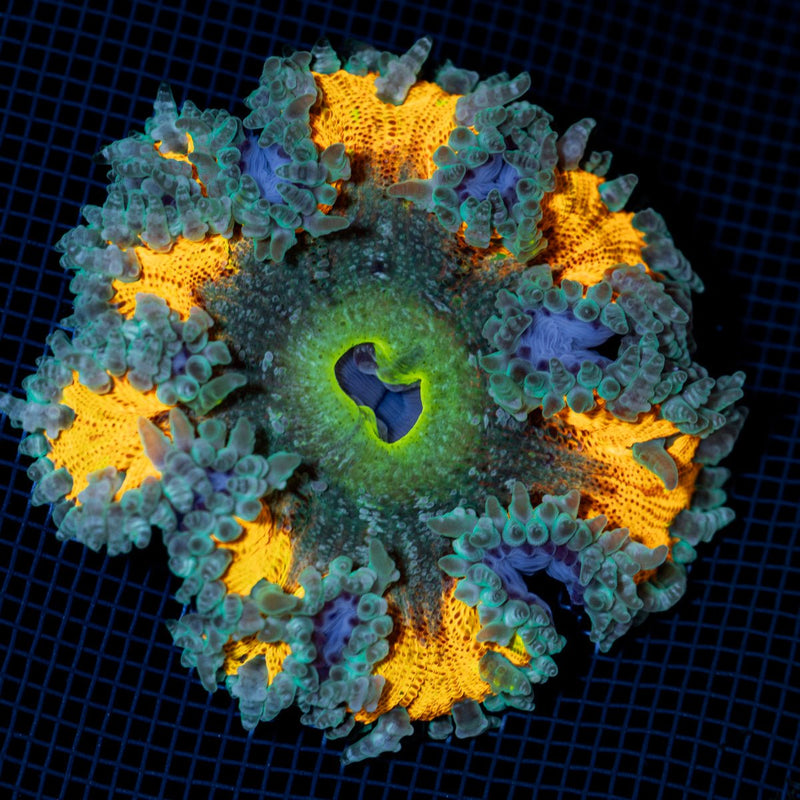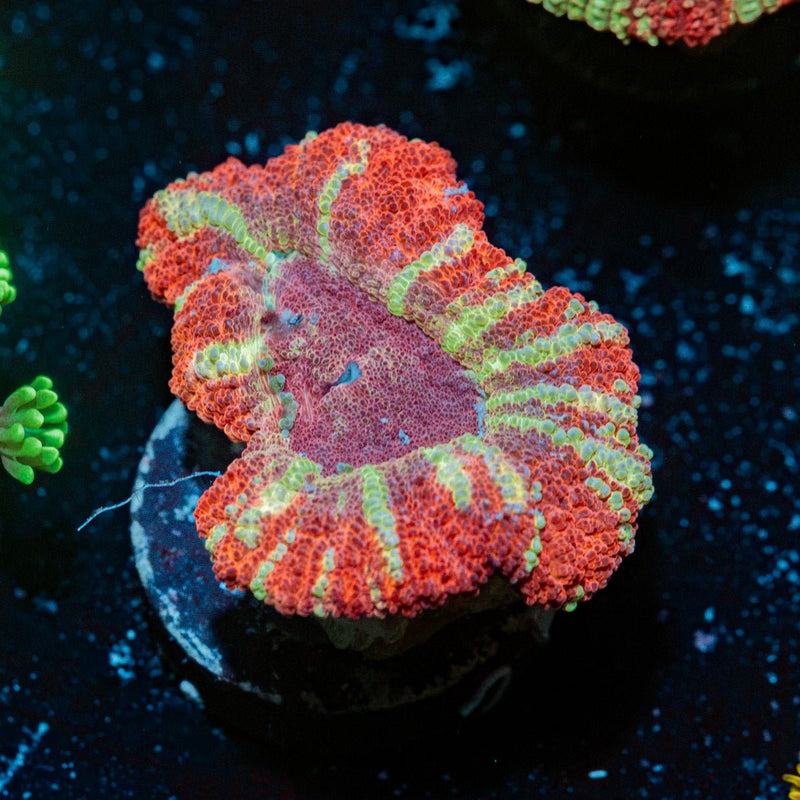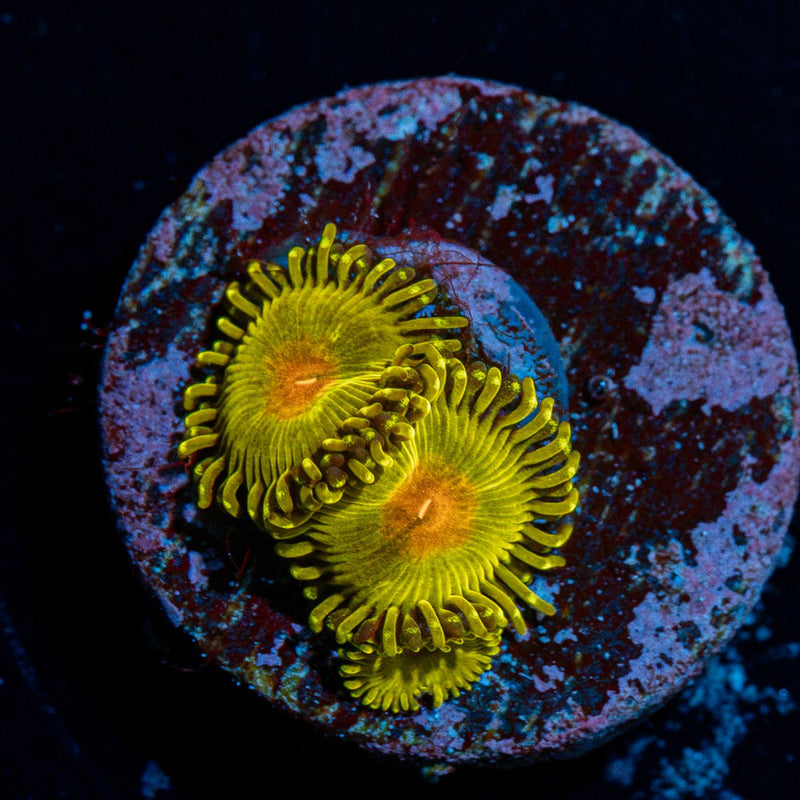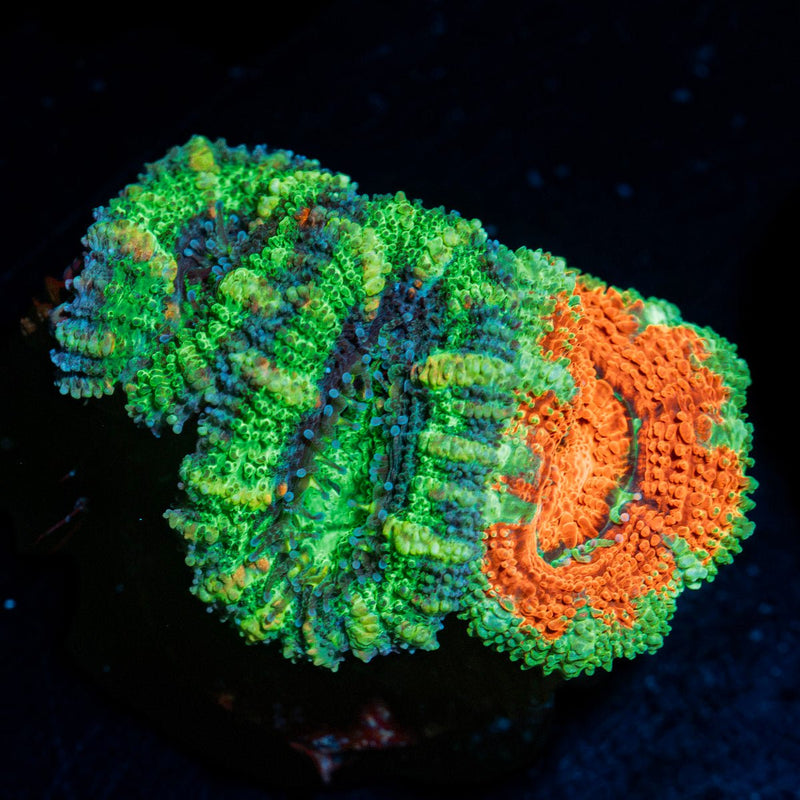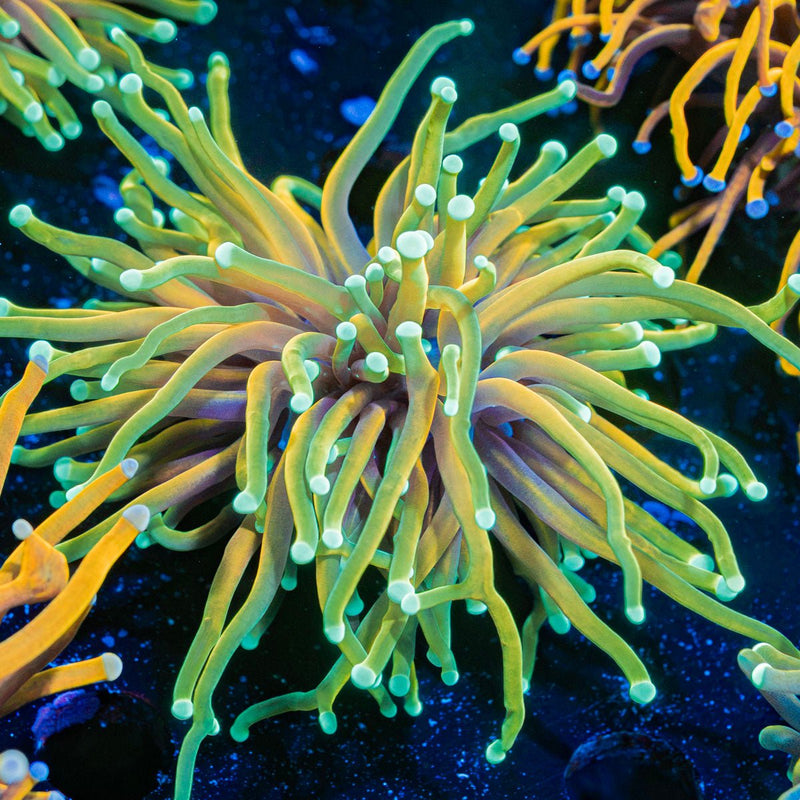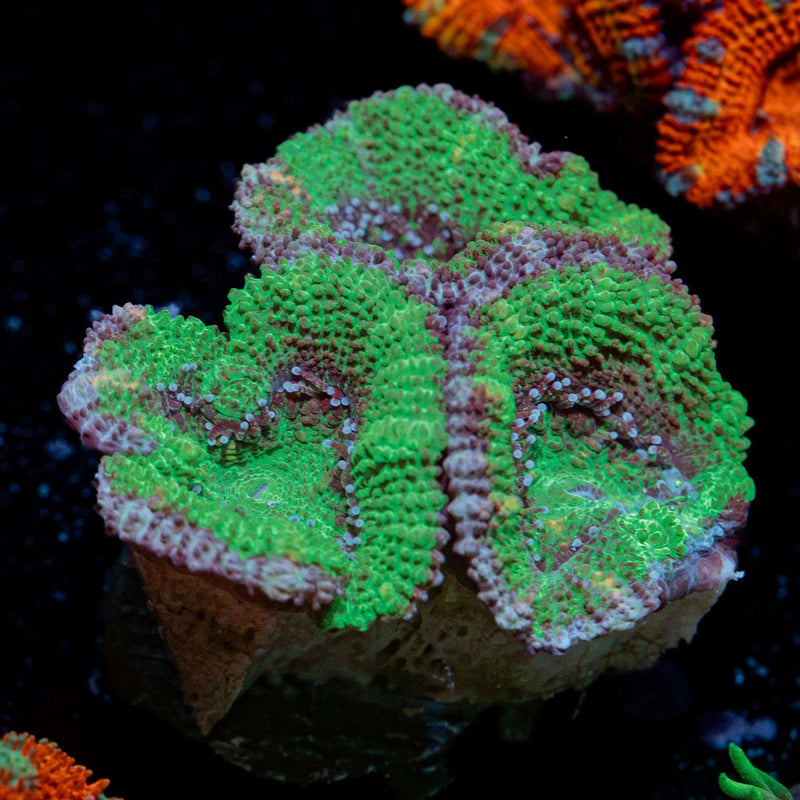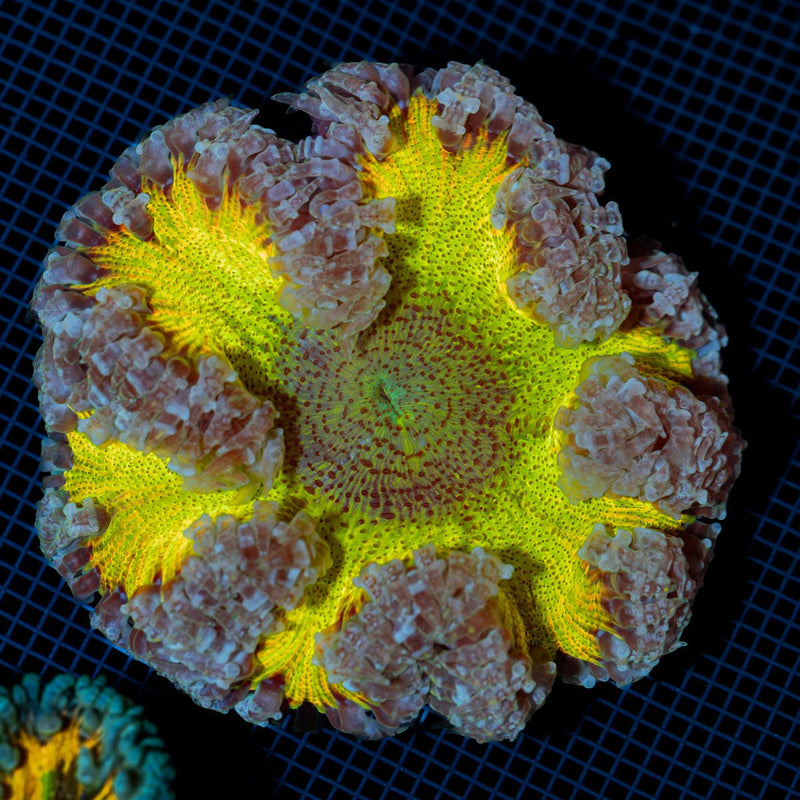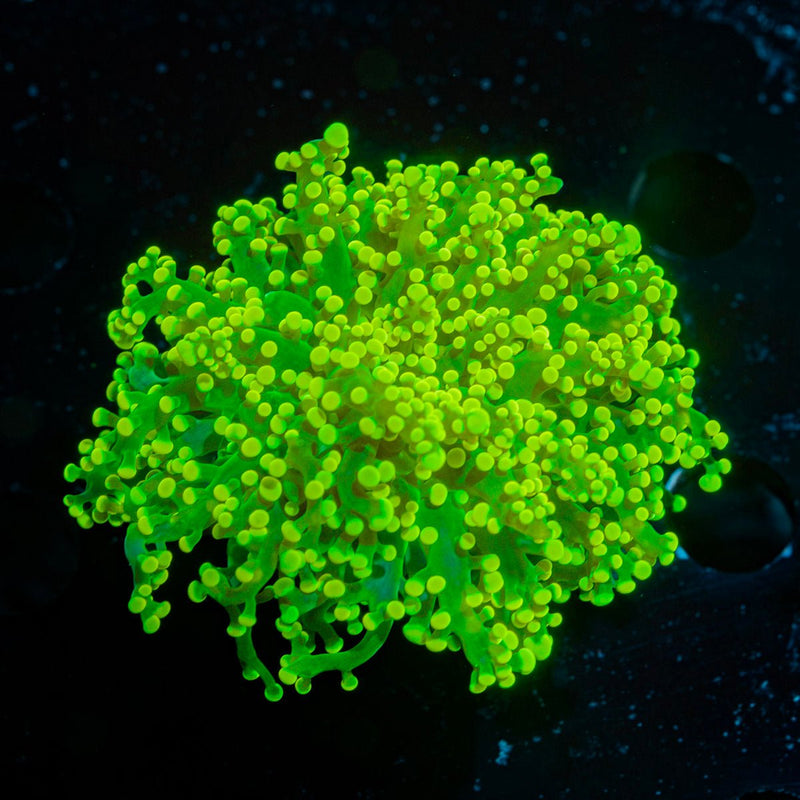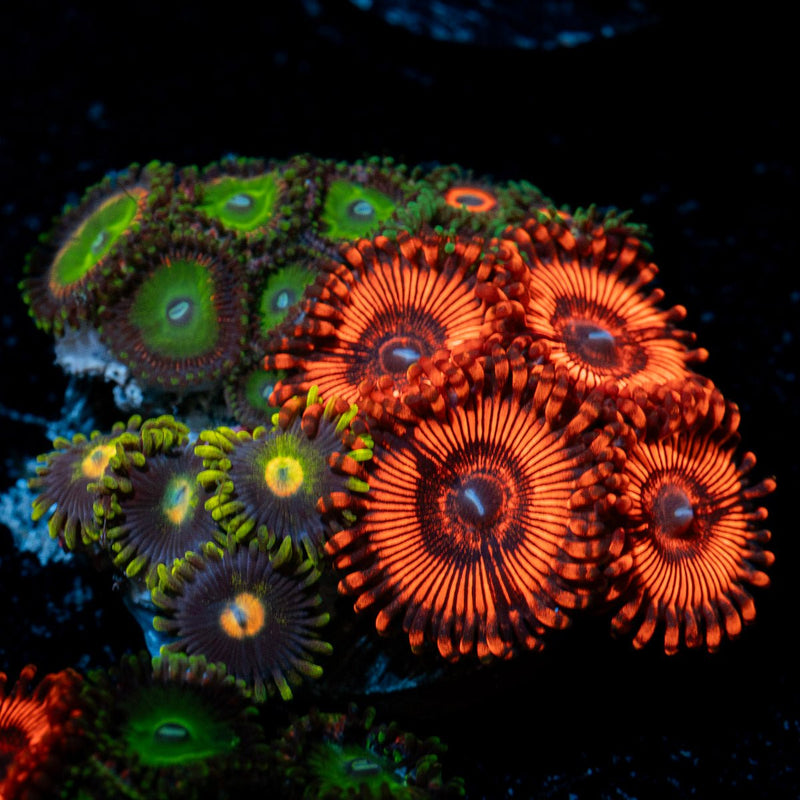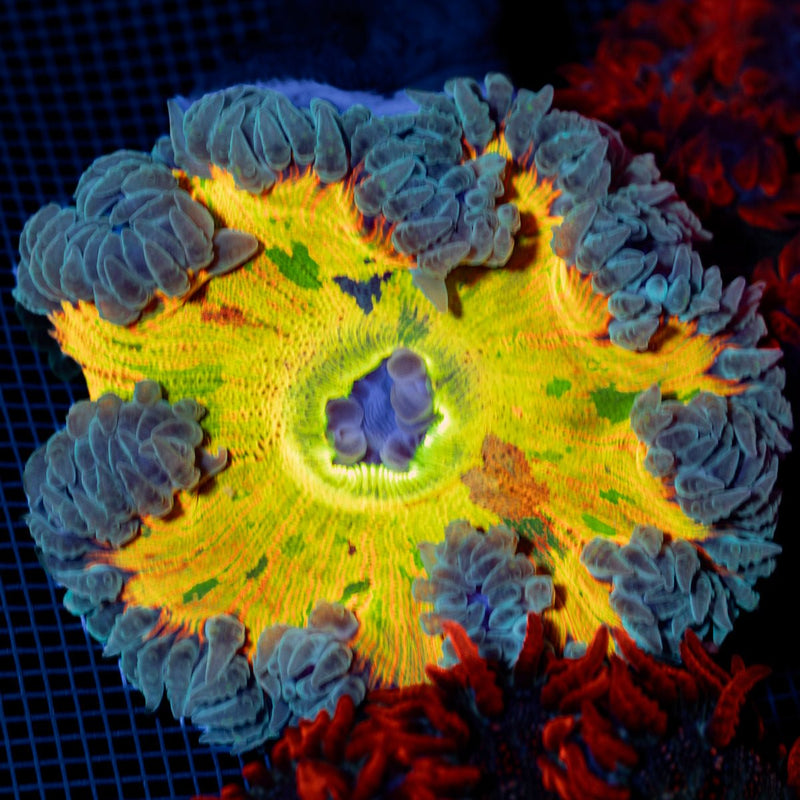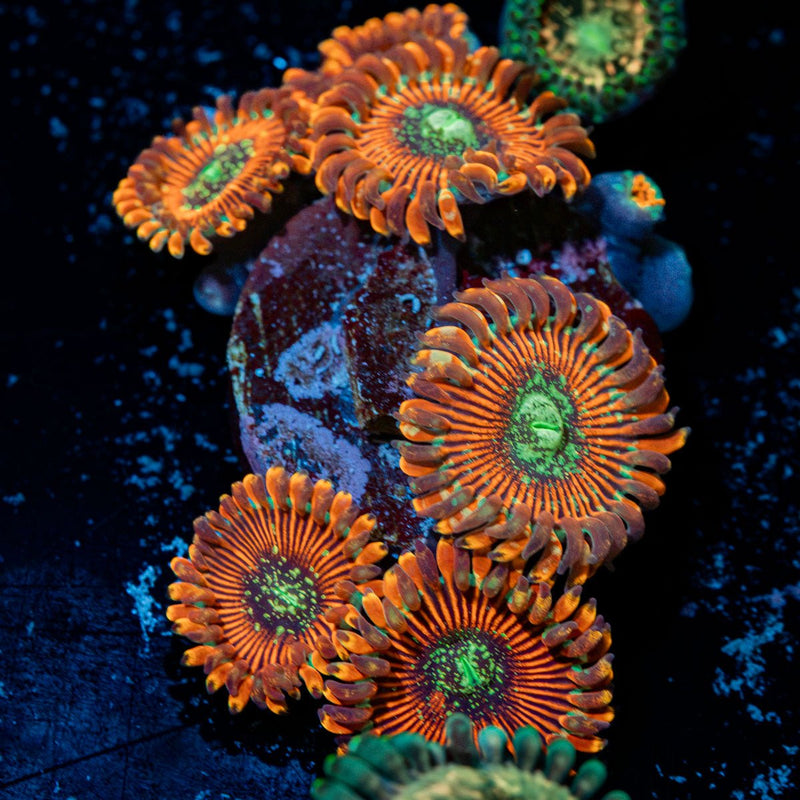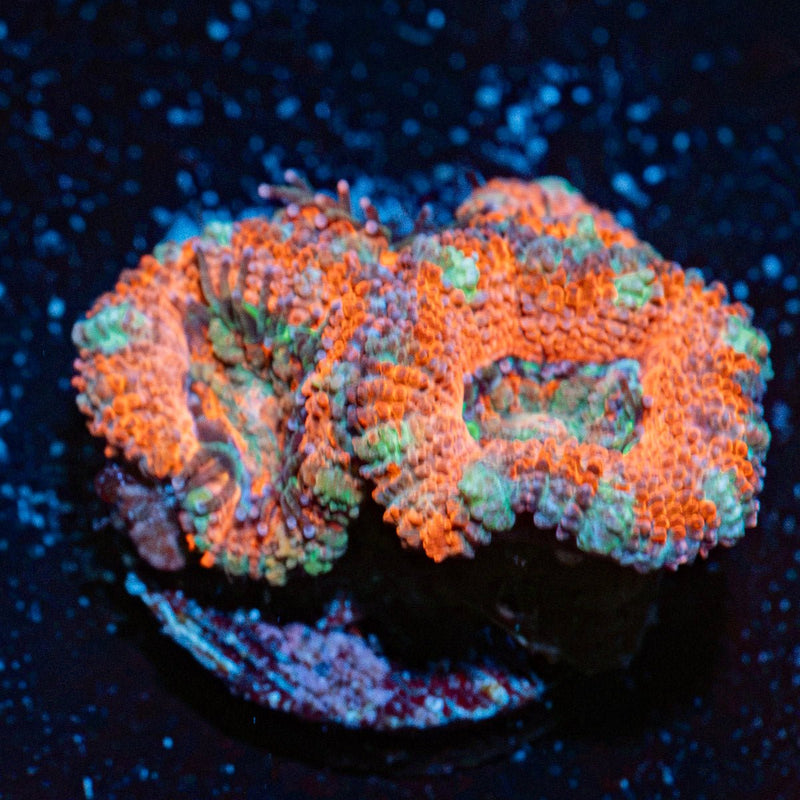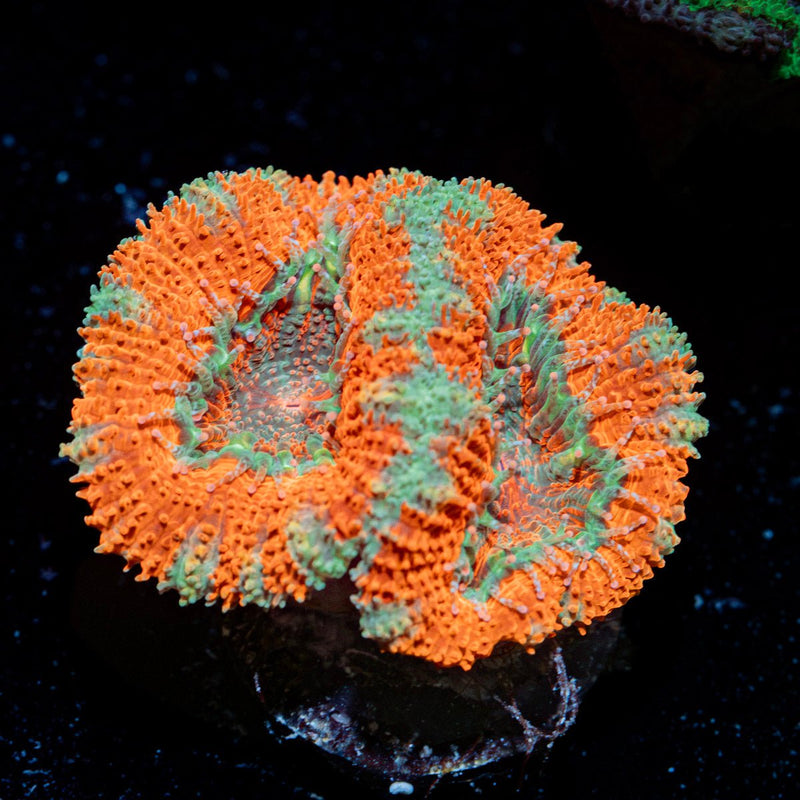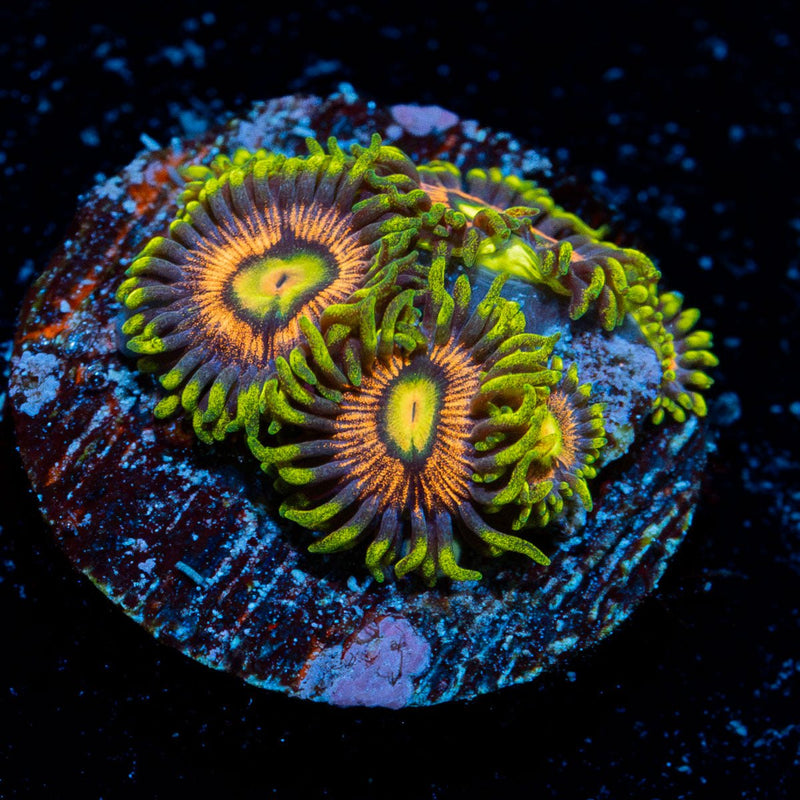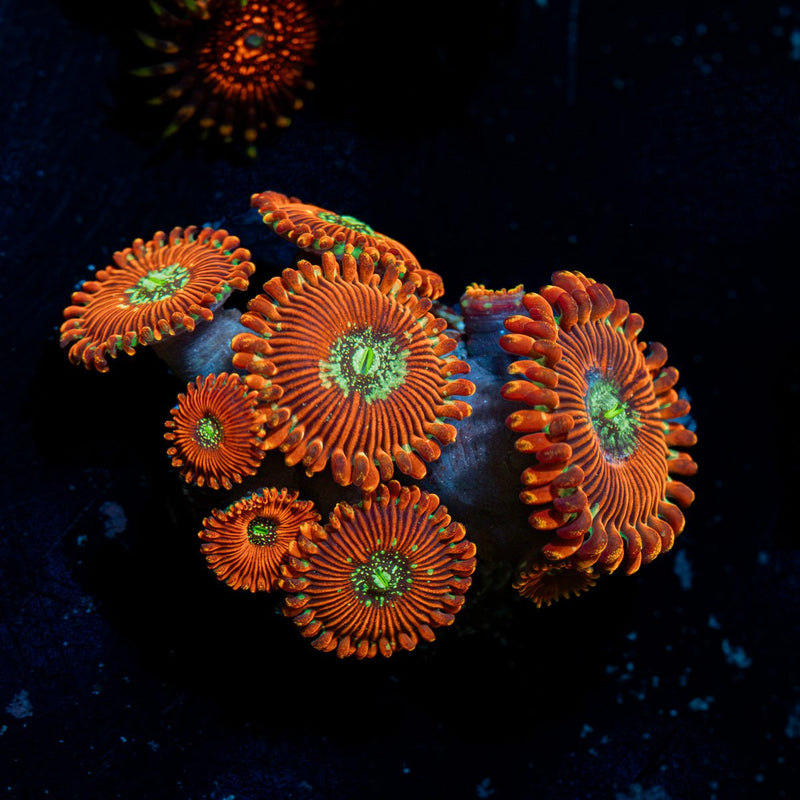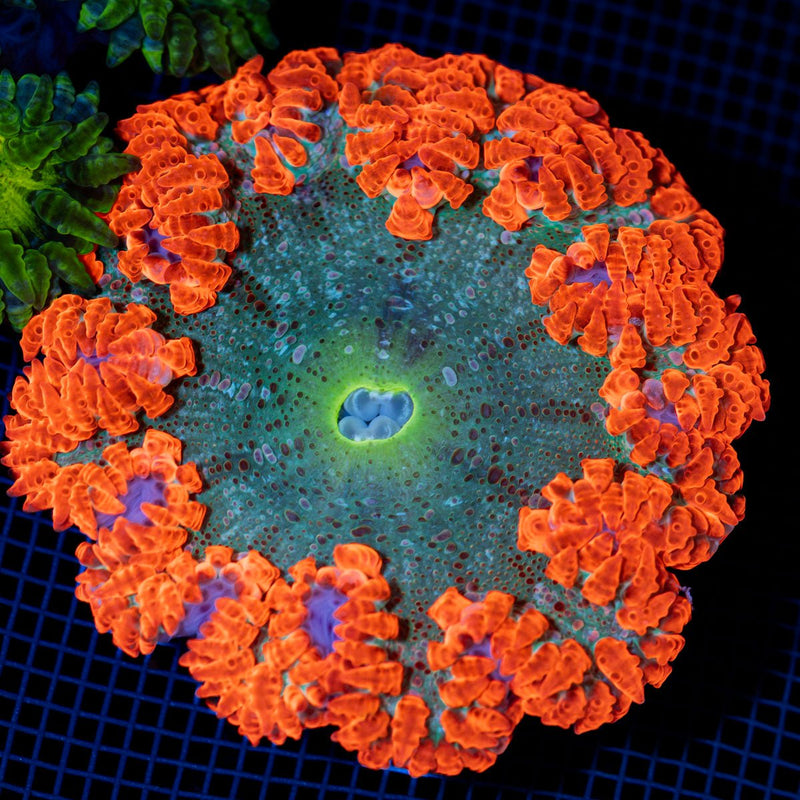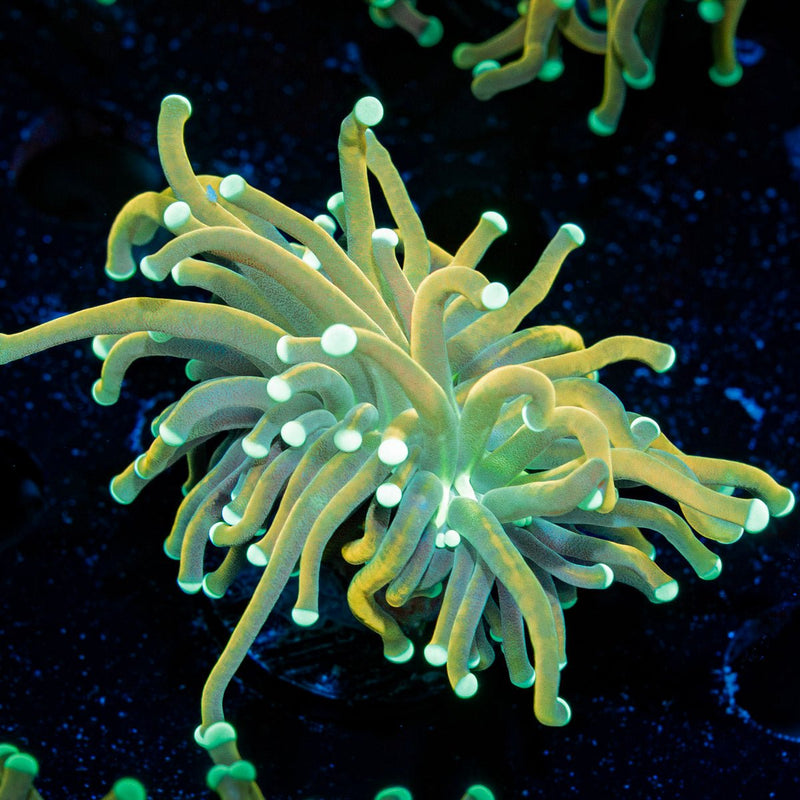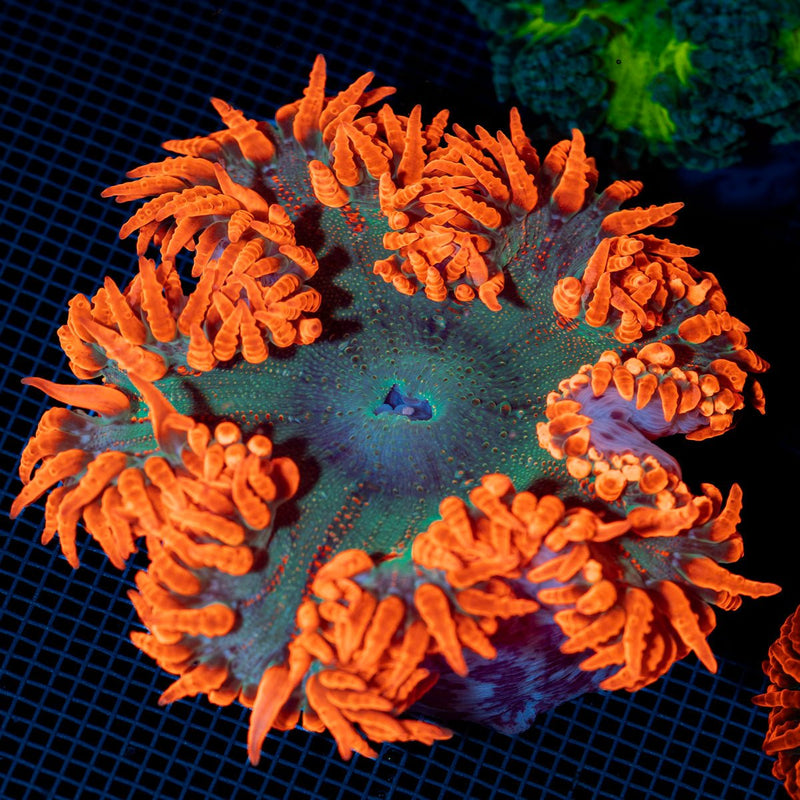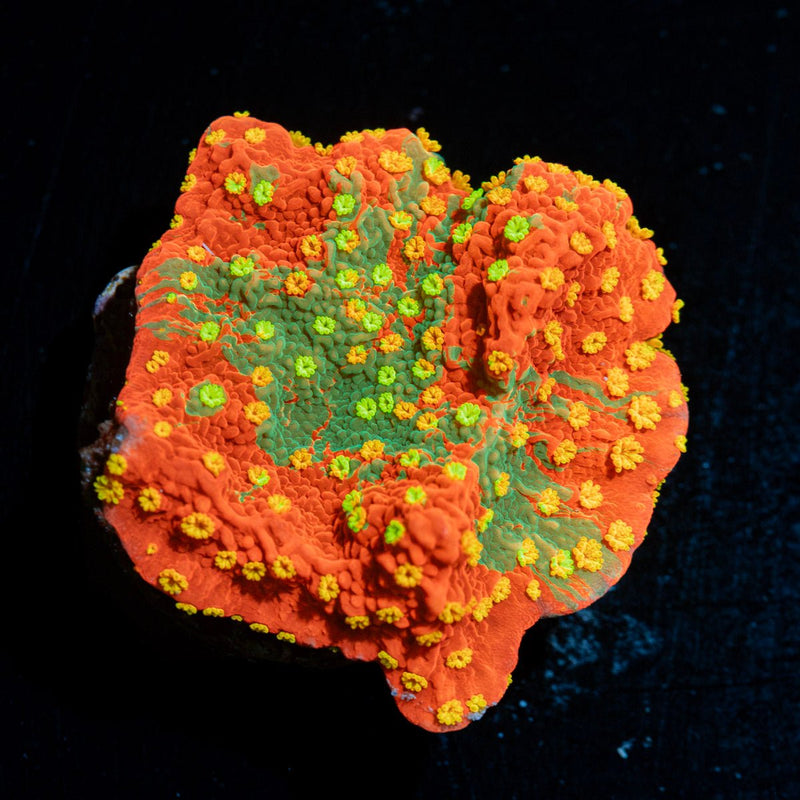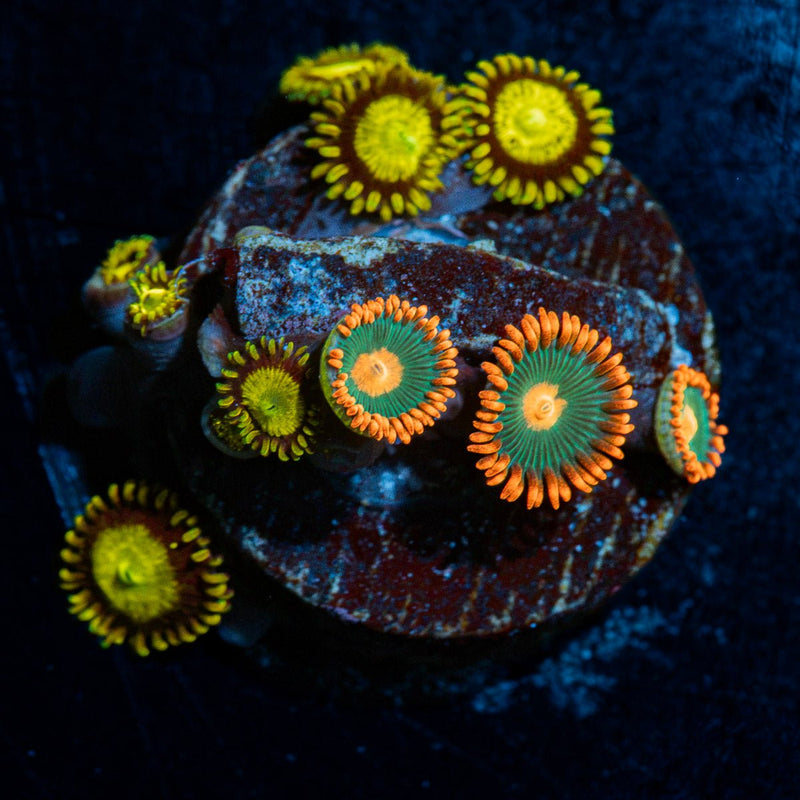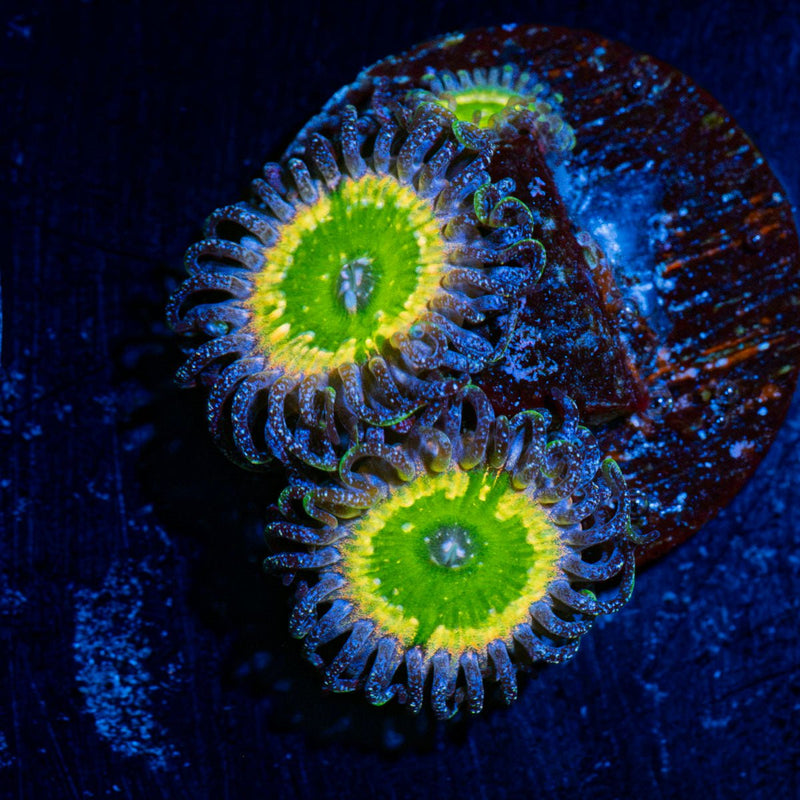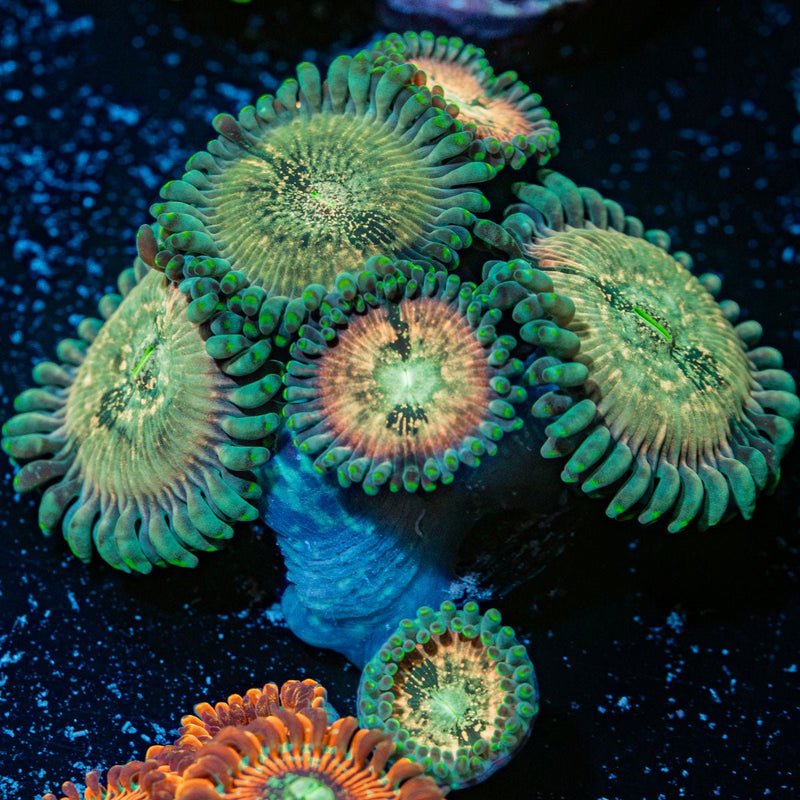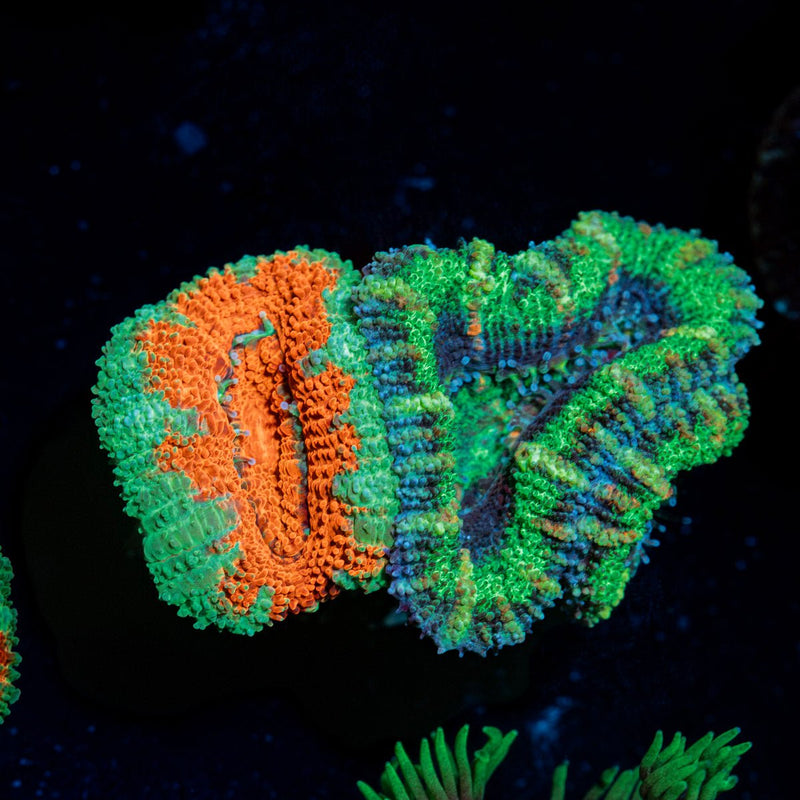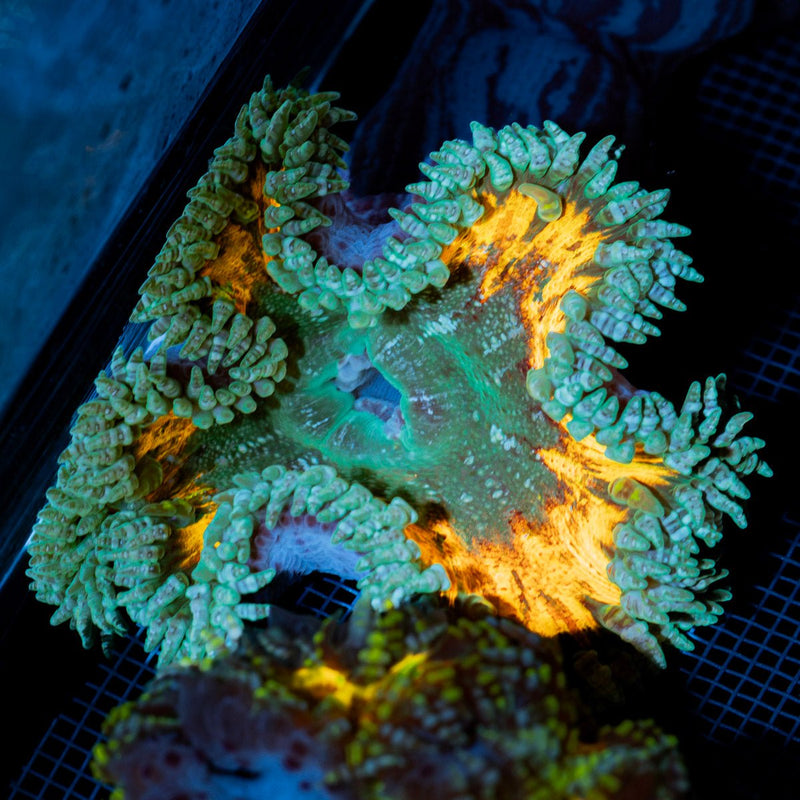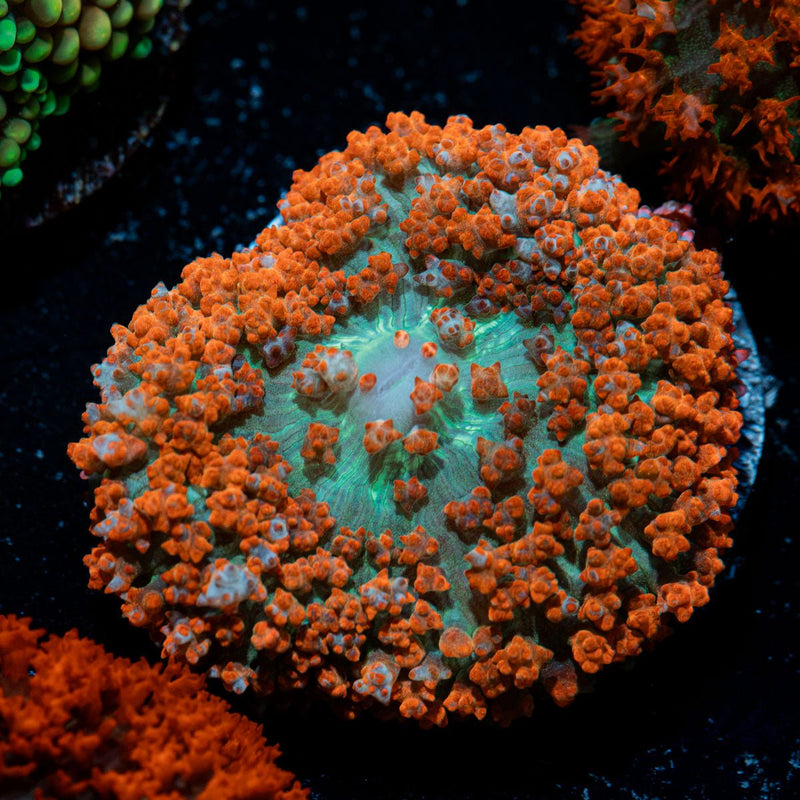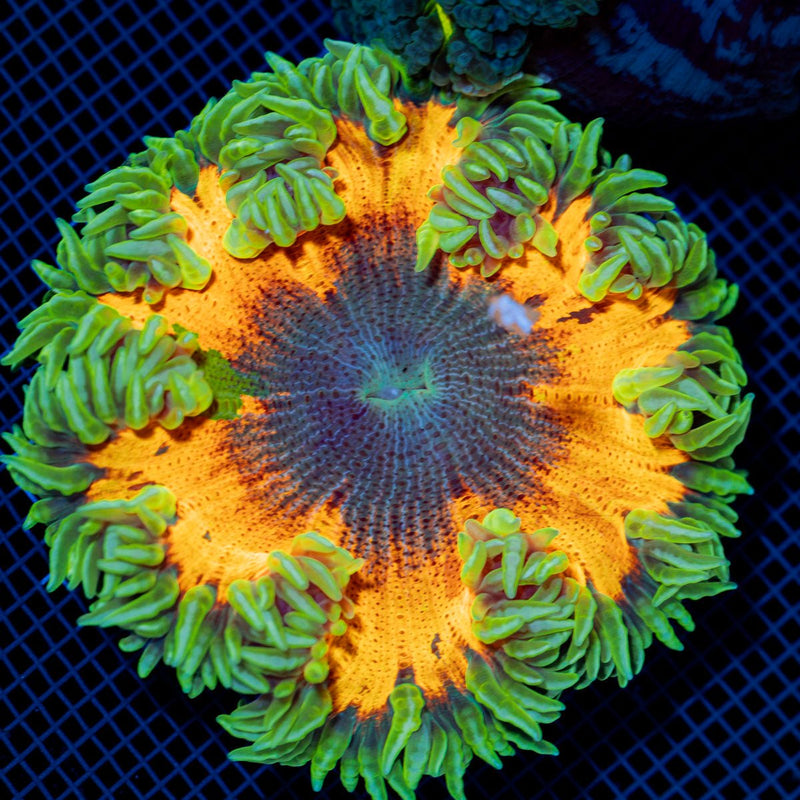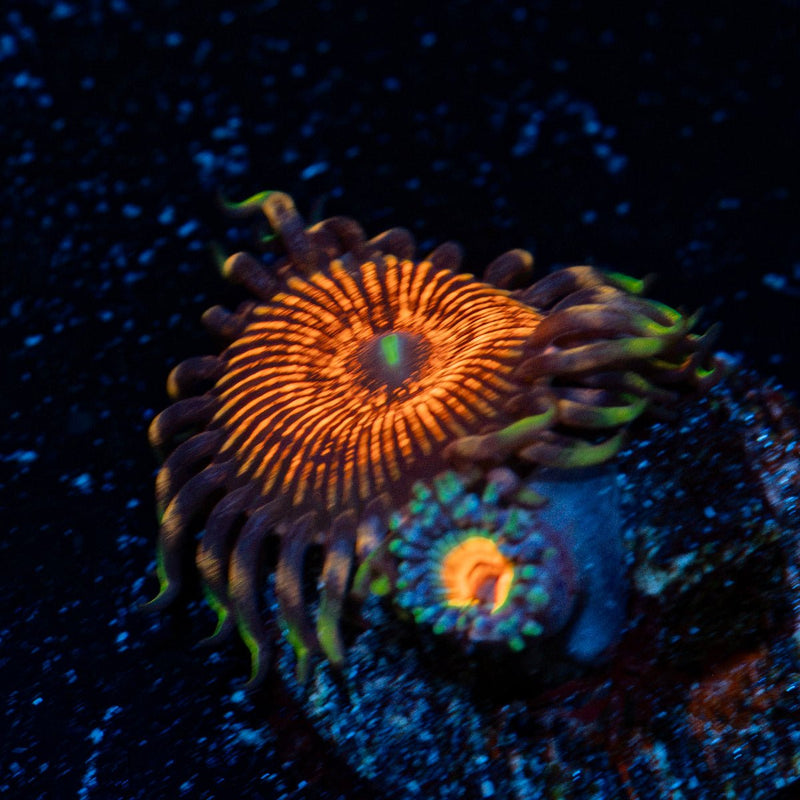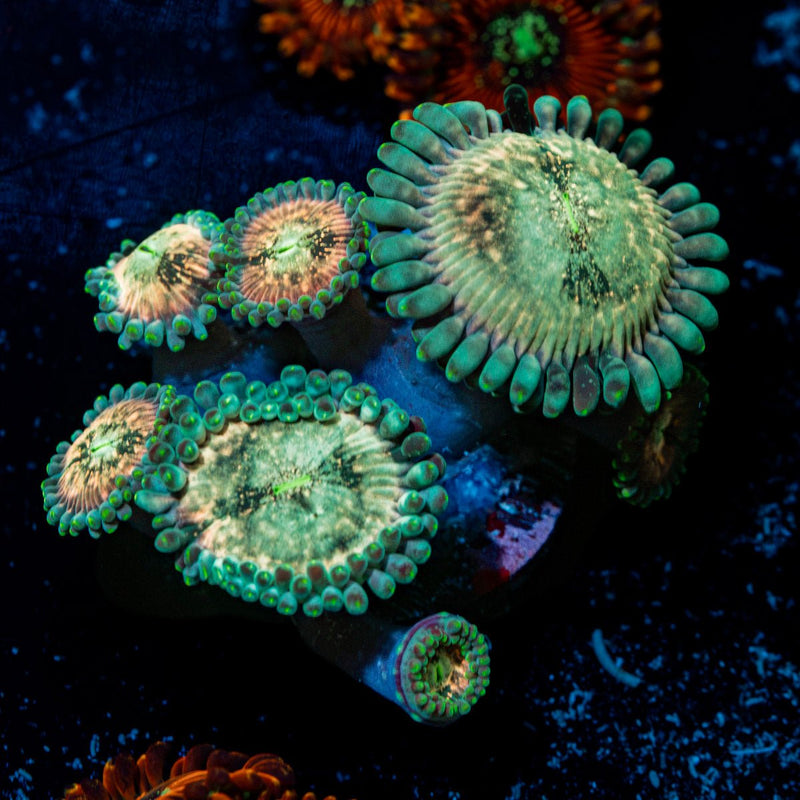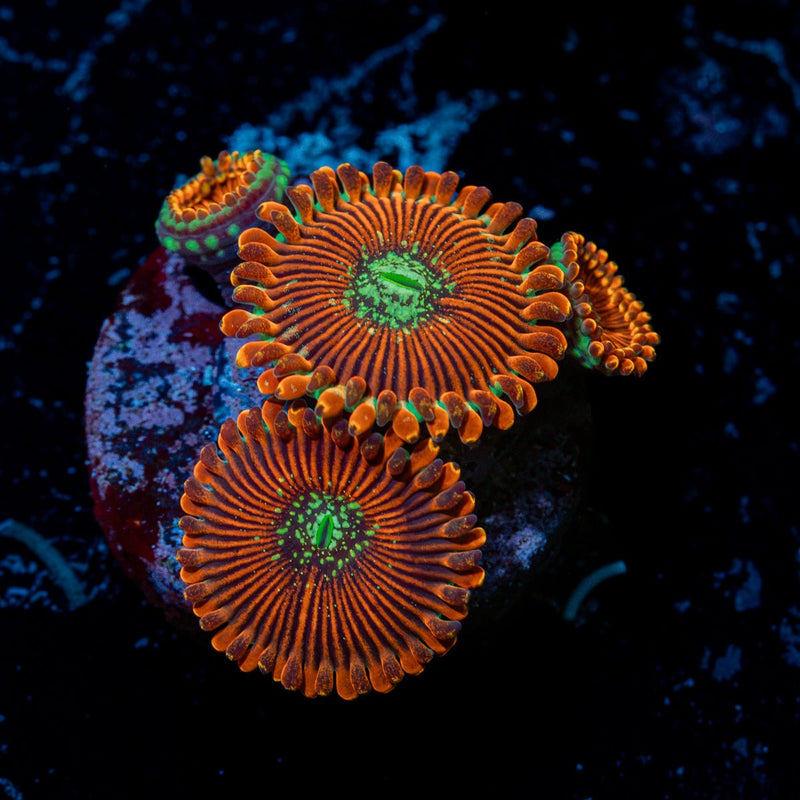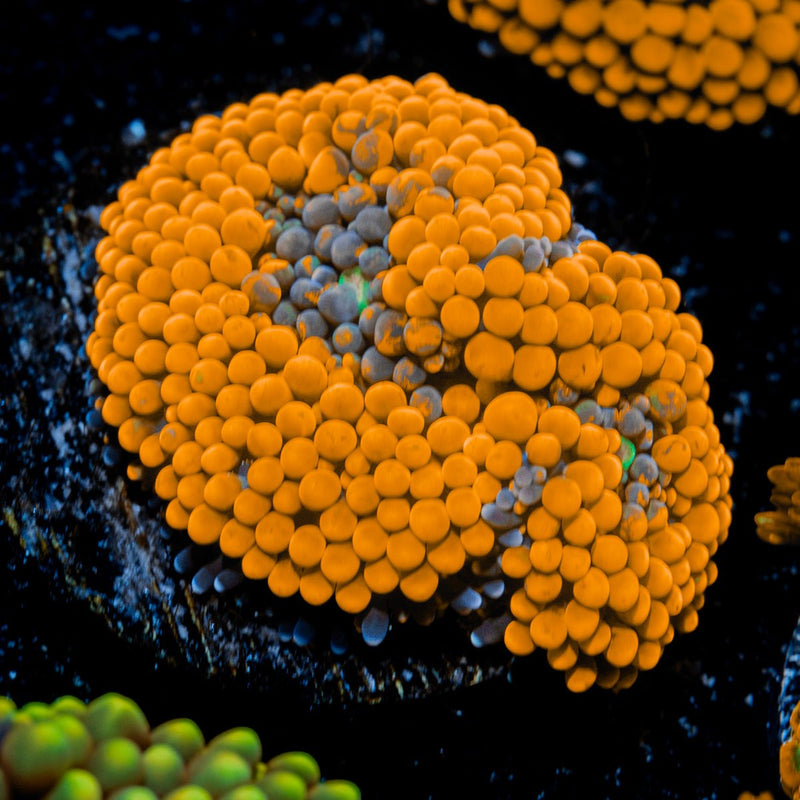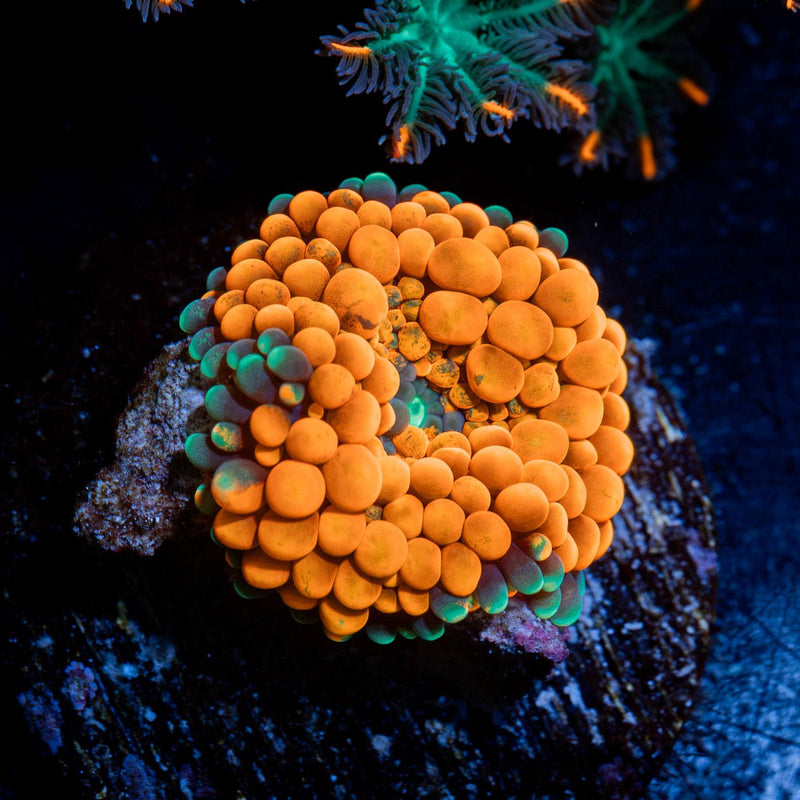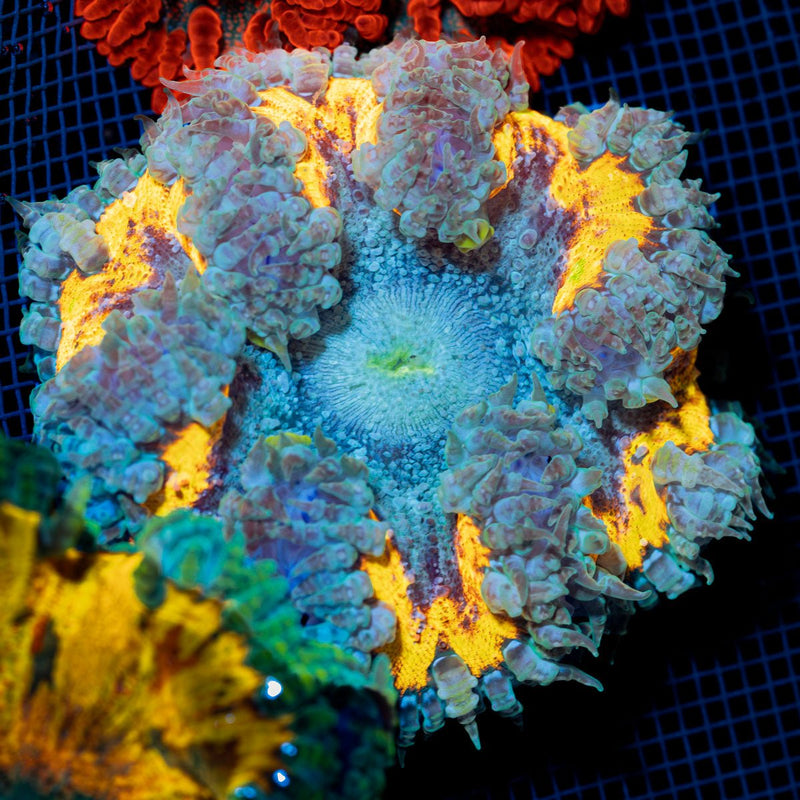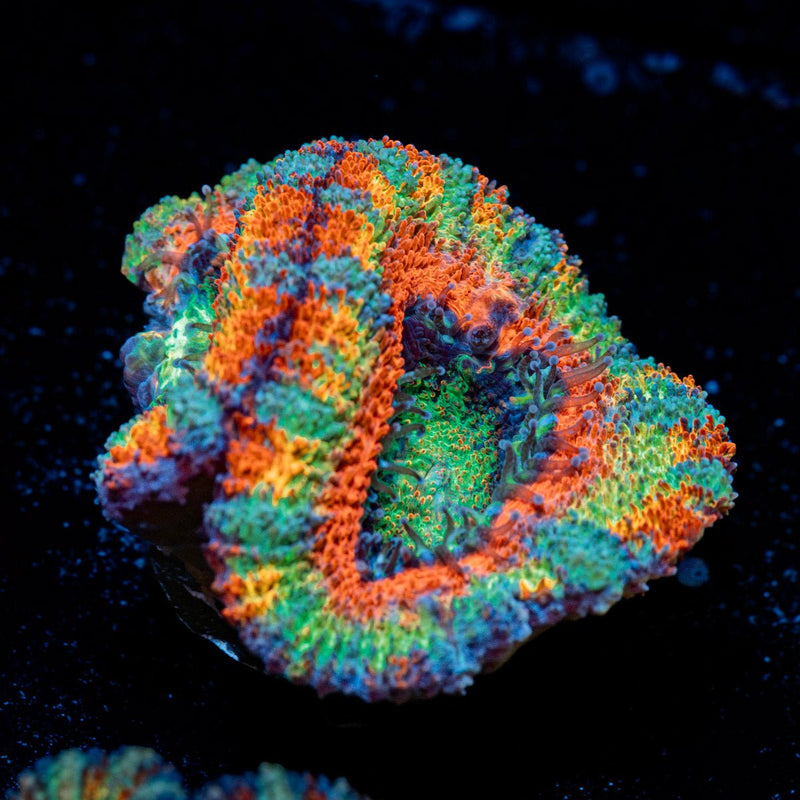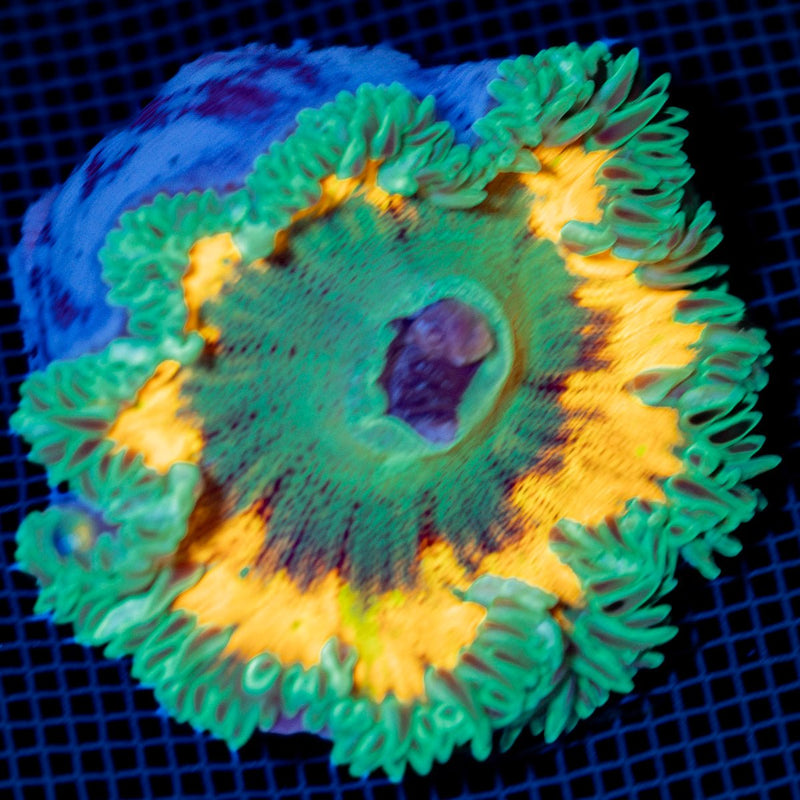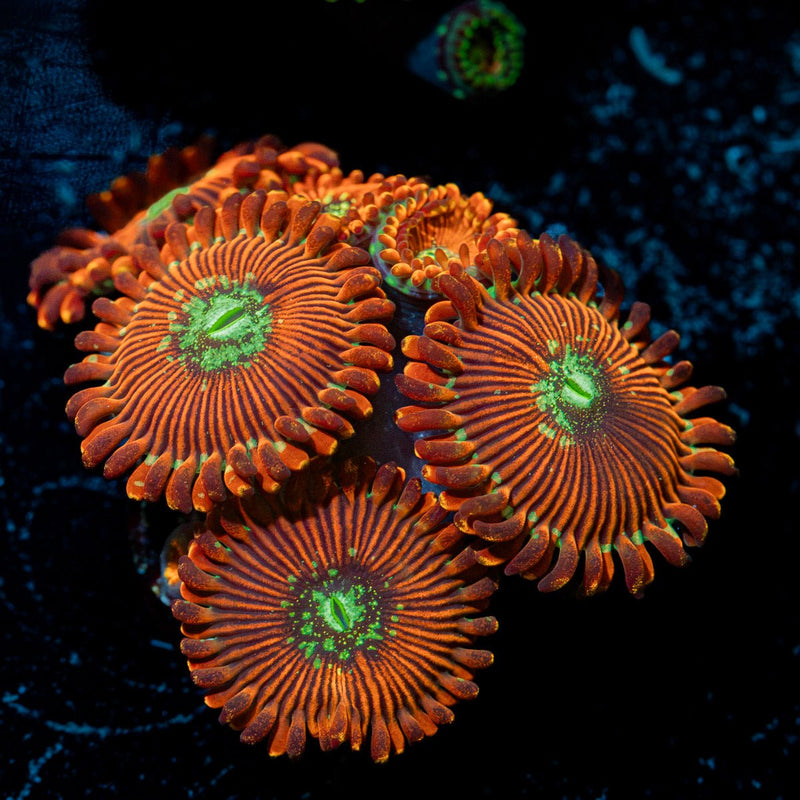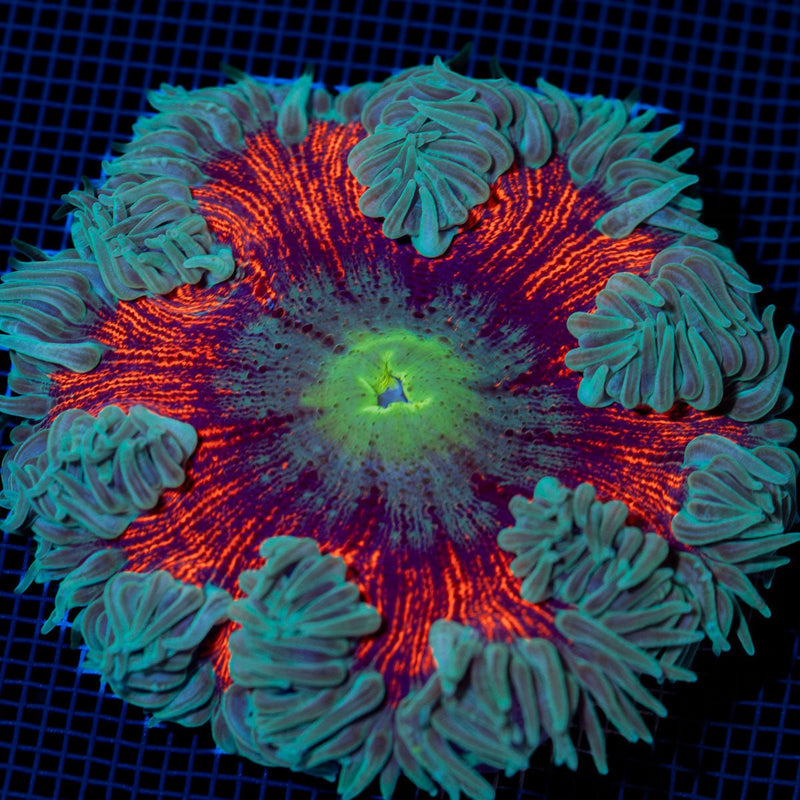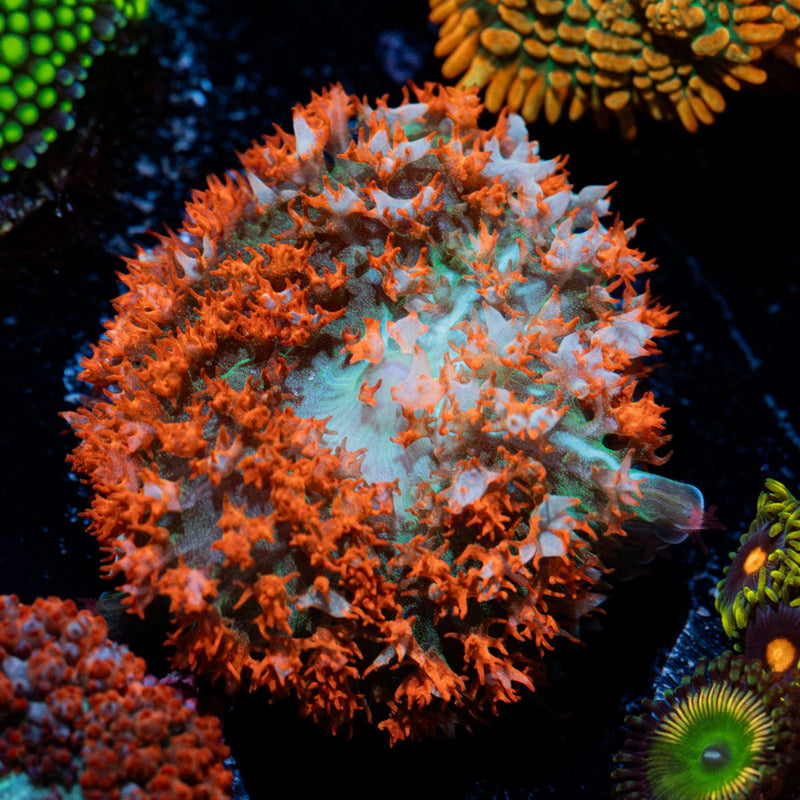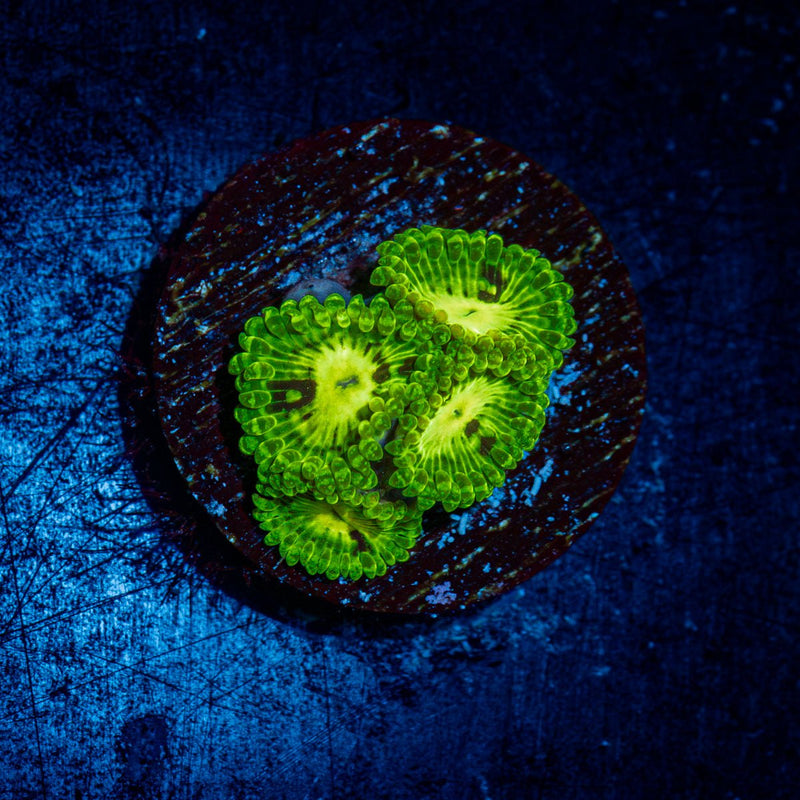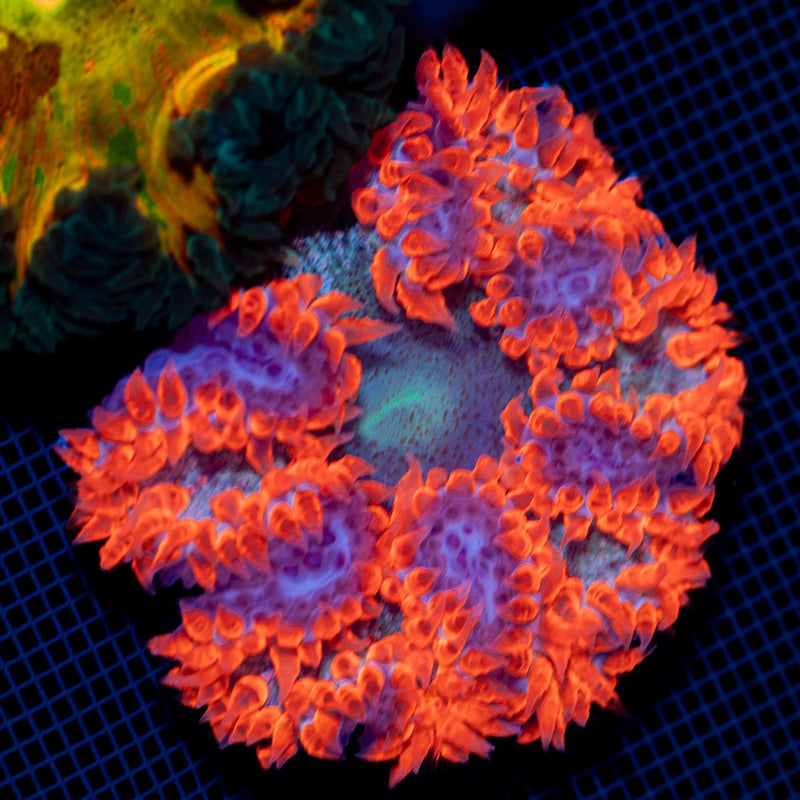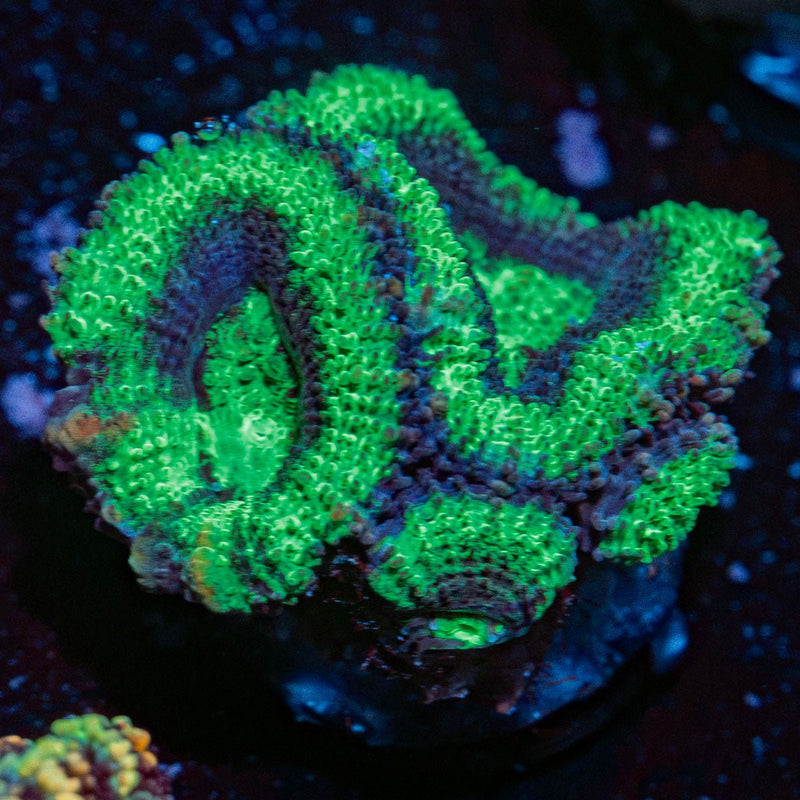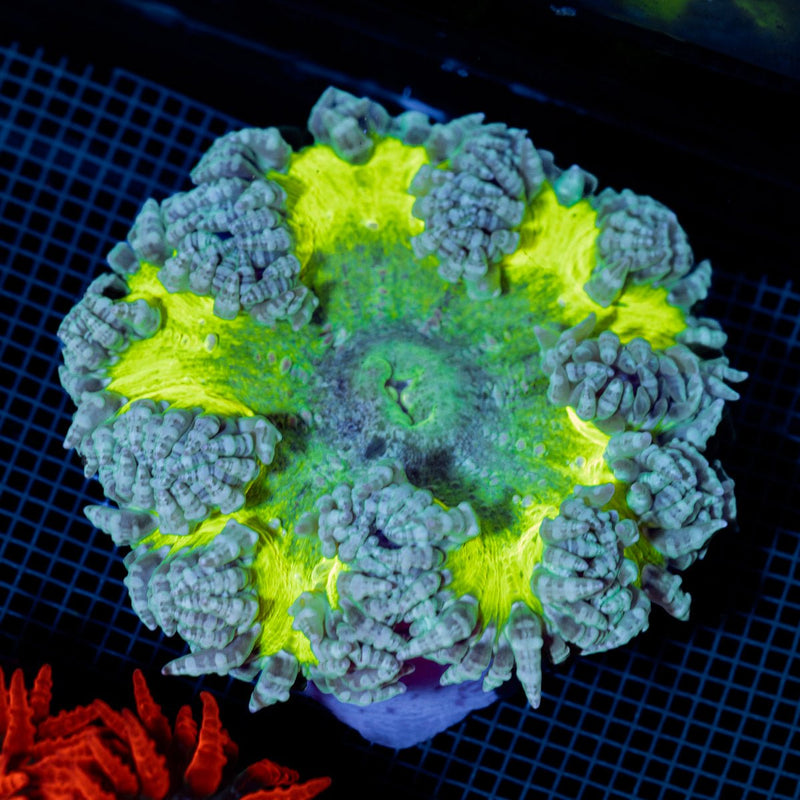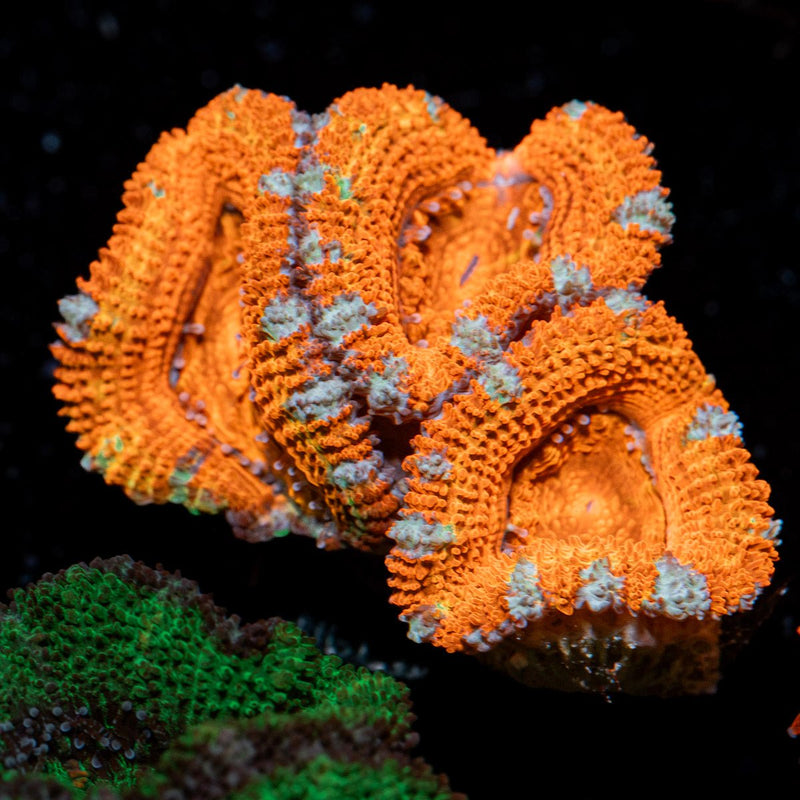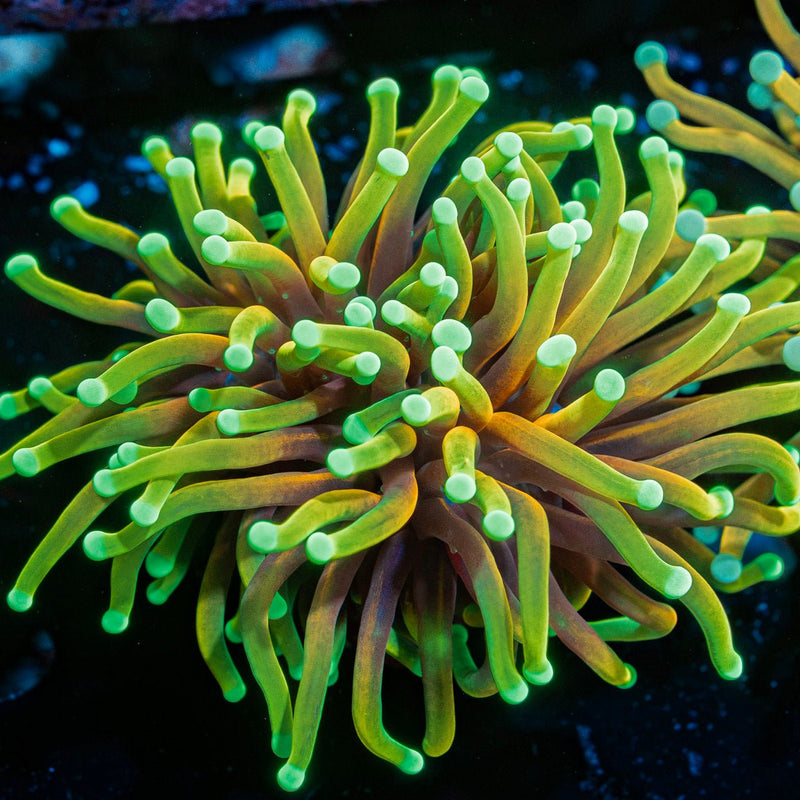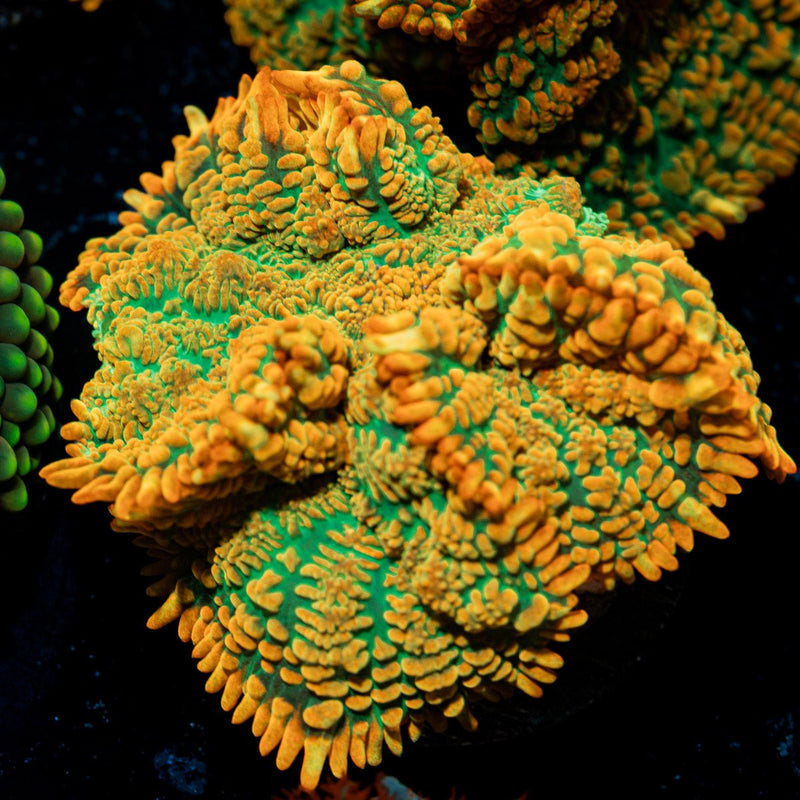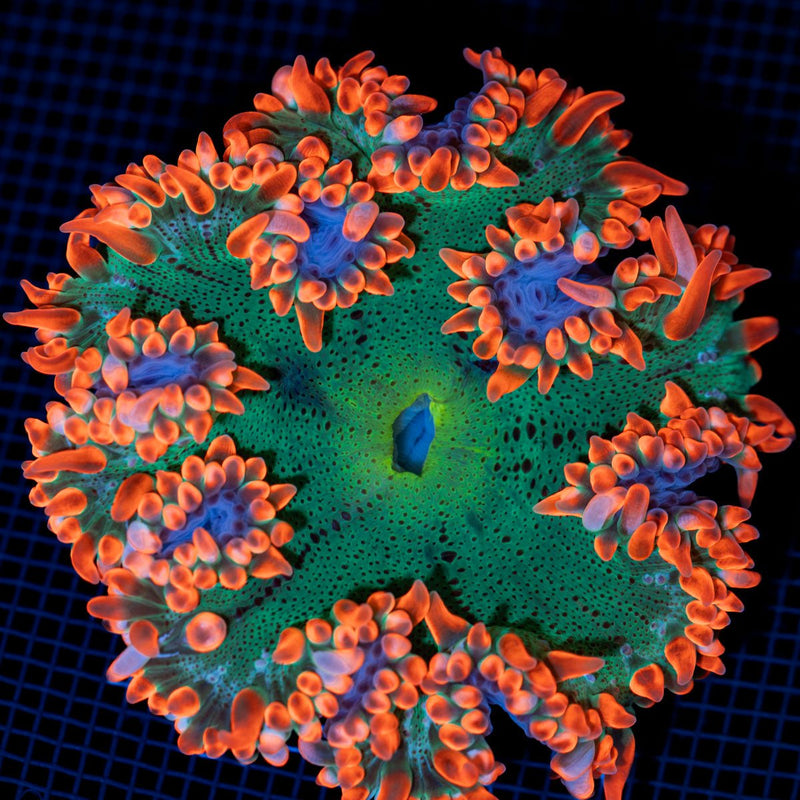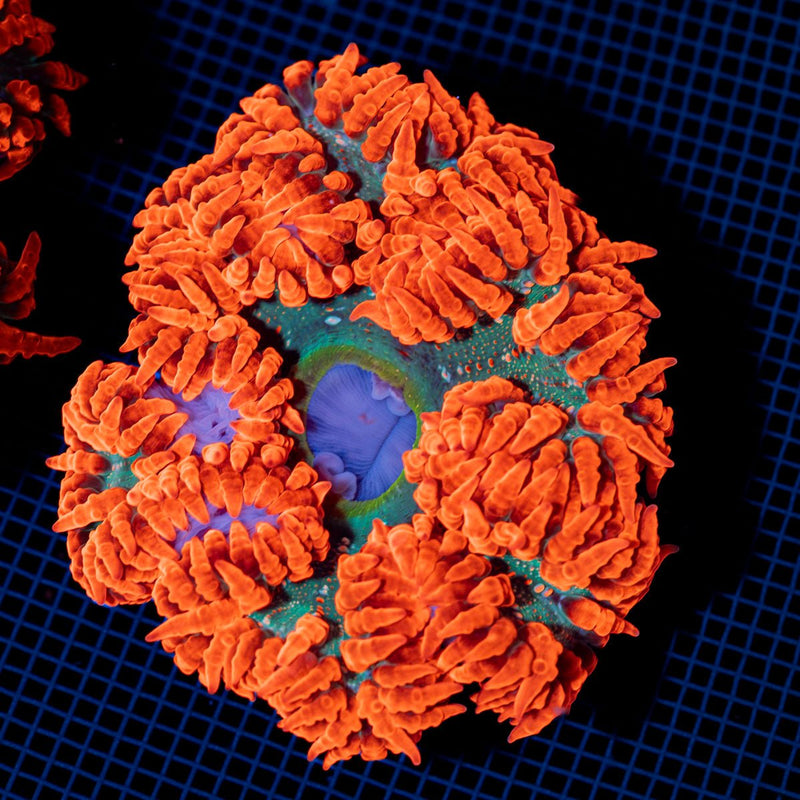
A colorful new frag can be the piece that transforms a reef tank, but it can also arrive carrying more than the coral you paid for. This coral dip review looks at where dipping fits into a smart acclimation routine, what it can realistically remove, and how to choose a product without putting unnecessary stress on a healthy new addition.
For most reef keepers, a coral dip is not an optional bottle collecting dust in the cabinet. It is a practical first line of defense. Aquacultured corals, careful visual inspection, and responsible sourcing all reduce risk, but no coral can be guaranteed to arrive free of every hitchhiker, egg mass, algae, or pest. A measured dip and a quarantine plan give your new living jewels a cleaner start.
A Coral Dip Review Starts With Realistic Expectations
The best coral dip is not the strongest-looking formula or the one with the boldest pest claims. It is the product that matches your coral type, your target concern, and your willingness to follow the directions exactly. A dip is designed to irritate, dislodge, or eliminate certain mobile pests before the coral enters the display. It is not a magic reset button.
That distinction matters because many common coral problems have stages that a dip may not reach. Eggs attached to a frag plug, skeleton, or underside of tissue can survive treatment. Some pests hide deeply in branching coral structure. Algae, bacterial issues, and tissue loss also require a different diagnosis than a standard pest dip can provide.
Think of dipping as one layer in a sensible biosecurity routine. It can reduce the chance of introducing flatworms, nudibranchs, small crustaceans, worms, and other unwanted passengers. It cannot replace careful observation over time, stable water chemistry, or quarantine when you have the space to do it.
What to Look for in a Coral Dip
Start with the livestock you plan to treat. Soft corals, zoanthids, mushrooms, LPS, and SPS can respond differently to the same solution. A hardy zoanthid frag may tolerate a treatment that would be too aggressive for a freshly shipped torch coral or a sensitive Acropora. The label's coral compatibility guidance should lead the decision, especially if you are treating a mixed shipment.
The second question is what you are trying to prevent. Some formulas are intended for broad pest removal, while others are positioned more toward surface cleansing or coral conditioning. Neither category is automatically better. Broad treatment can be useful when you are adding frags from varied sources, but it may call for closer attention to concentration, temperature, and exposure time.
A good purchase decision also comes down to clarity. Look for a dip with straightforward instructions, a defined dosage, a stated treatment duration, and guidance on rinsing. If the directions are vague, you are left guessing at the exact moment your coral needs consistency. That is not a great trade-off when treating premium WYSIWYG pieces or sensitive show corals.
What a Strong Coral Dip Routine Looks Like
The bottle matters, but the process matters just as much. Prepare the dip before opening the shipping bag so the coral is not sitting in changing water conditions while you search for tools. Use clean containers dedicated to aquarium use, and mix the solution with saltwater that closely matches the temperature and salinity of the coral's acclimation water.
Follow the product label rather than extending the time because you want extra protection. More exposure is not automatically more effective. An overdosed or overlong treatment can create stress, mucus production, closed polyps, or tissue irritation that makes recovery harder after shipping.
During the dip, gently agitate the water as directed. A turkey baster or small pipette can help move water through branches and around the base of a frag plug without blasting delicate tissue. Then inspect the treatment container under bright light. The value of dipping is not only what the formula may eliminate. It is also the chance to see what leaves the coral.
After treatment, place the frag in a separate rinse container filled with clean saltwater before it goes into quarantine or the display. Never pour dip water, shipping water, or rinse water into your reef. That simple habit keeps the contaminants you worked to remove from getting a second chance.
Inspect the Coral, Plug, and Water
A coral can look pristine from the front and still hold unwanted material underneath the plug or between branches. Slow down for a close inspection before and after the dip. A magnifying glass or phone camera can make this much easier, especially with small SPS frags and tightly folded LPS tissue.
Pay close attention to four areas:
- The underside and rim of the frag plug, where egg clusters and small hitchhikers can hide.
- Branch junctions, corallites, and shaded skeletal areas on SPS corals.
- The base of fleshy LPS corals, including any exposed skeleton or recessed tissue.
- The dip container itself, where moving pests may be easier to spot against a light background.
The Trade-Off: Dipping Versus Quarantine
Dipping is fast and realistic for many home aquariums. It is especially helpful when you receive a carefully curated order of new frags and want to reduce risk before placement. But a dip does not provide the same confidence as quarantine because it captures only a moment in time.
Quarantine gives you days or weeks to watch for pests that were missed, eggs that hatch later, unusual tissue recession, or poor polyp extension. For advanced collectors adding high-value Acropora, Millepora, torches, or other centerpiece corals, that extra observation period can be well worth the dedicated tank and maintenance effort.
For beginners, a full coral quarantine system may not be practical right away. In that case, choose healthy aquacultured frags, dip according to directions, inspect every piece, and introduce corals deliberately rather than adding a large number at once. A simpler routine performed consistently is safer than an elaborate plan that gets skipped when a shipment arrives.
Red Flags That Call for a Pause
Do not treat every closed polyp as a disaster. Newly shipped corals often need time to settle, and many will look less expanded during acclimation. Still, a few signs deserve a more cautious approach: visible egg spirals or clusters, bite marks, unexplained bare patches, tiny moving animals, foul-smelling shipping water, or tissue that is rapidly peeling away from the skeleton.
When a coral is already severely stressed, a dip can add another challenge. The right move depends on the species and the suspected problem. In some cases, a gentle dip followed by clean, stable water is appropriate. In others, isolating the coral and getting an informed diagnosis is the better choice. Treat the issue you can identify, not every possible problem at once.
Buying Corals With the Dip in Mind
A dependable dip routine begins before checkout. Healthy, well-established aquacultured corals generally handle shipping and acclimation more predictably than stressed, recently imported specimens. Clear photos and exact-item WYSIWYG selection also let you inspect the piece you are bringing home, from its coloration and growth form to the condition of the plug and surrounding tissue.
At Riptide Aquaculture, selecting vibrant aquacultured frags is part of building that confidence, but every coral keeper should still dip and inspect new arrivals. Even the most beautiful hammer, chalice, zoanthid, or SPS frag deserves a careful introduction to the reef it will call home.
Keep your dipping station simple, clean, and ready before delivery day. A label-guided dip, matching saltwater, dedicated containers, a rinse bath, and a patient eye can protect the reef you have built while giving each new coral the calm start it deserves.