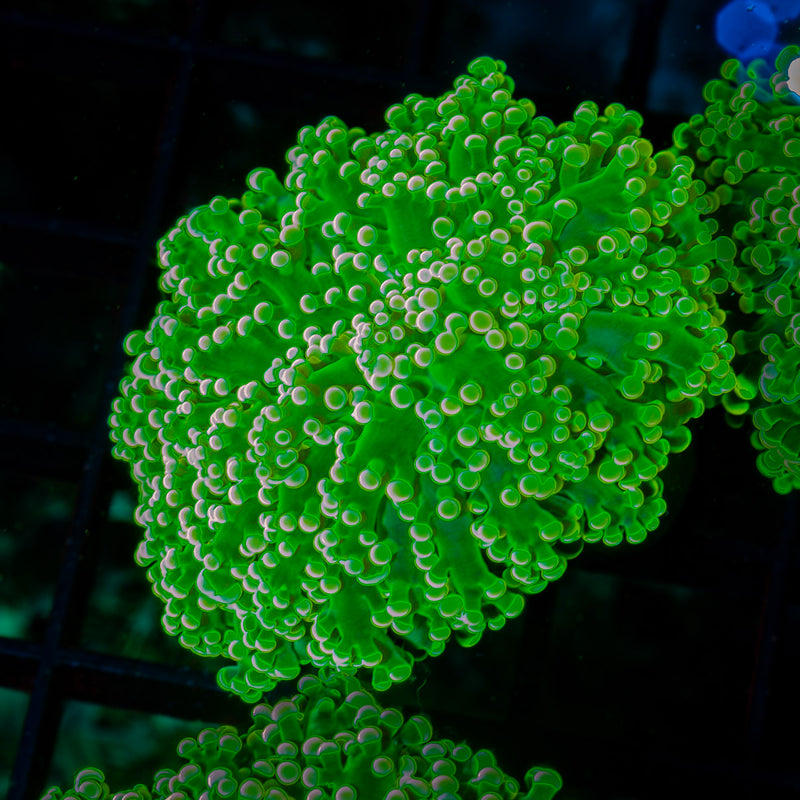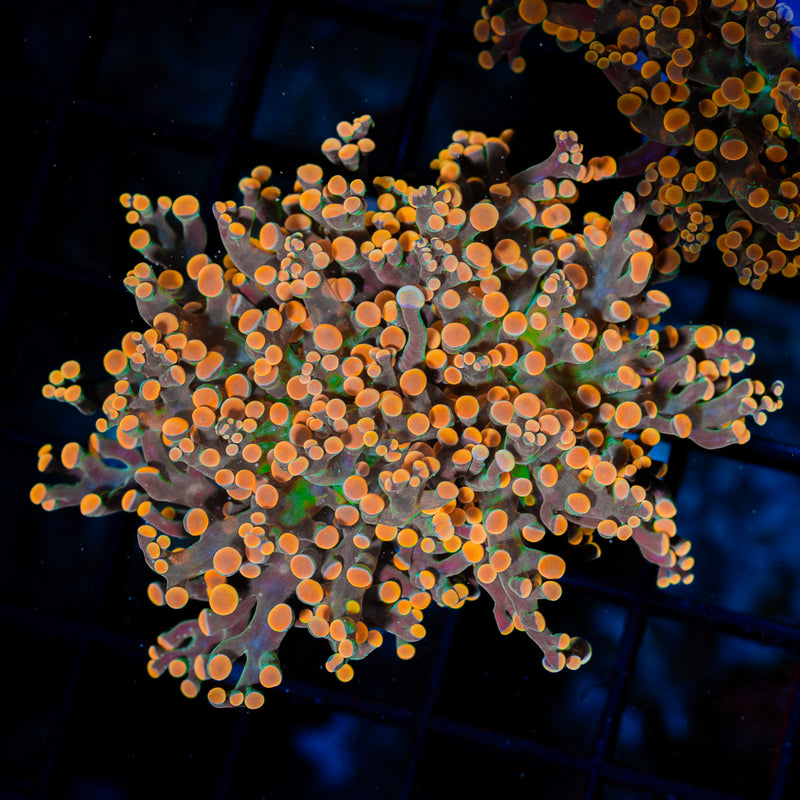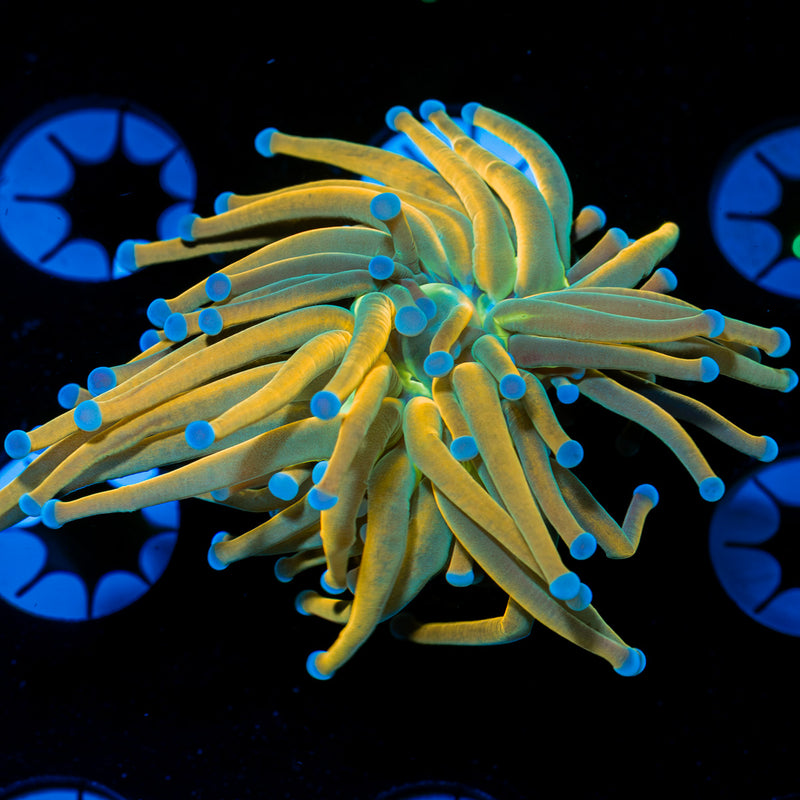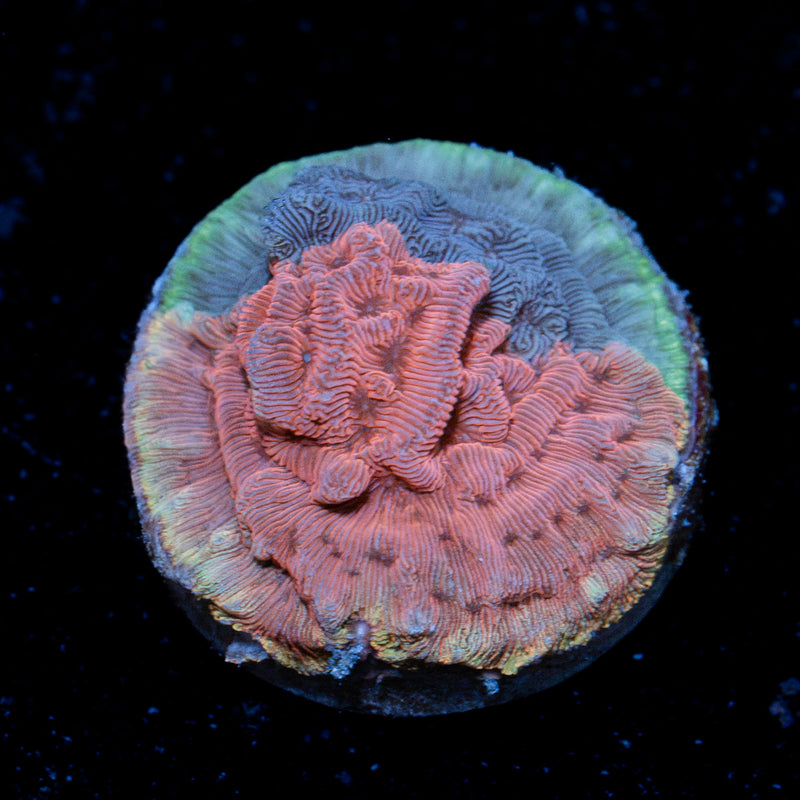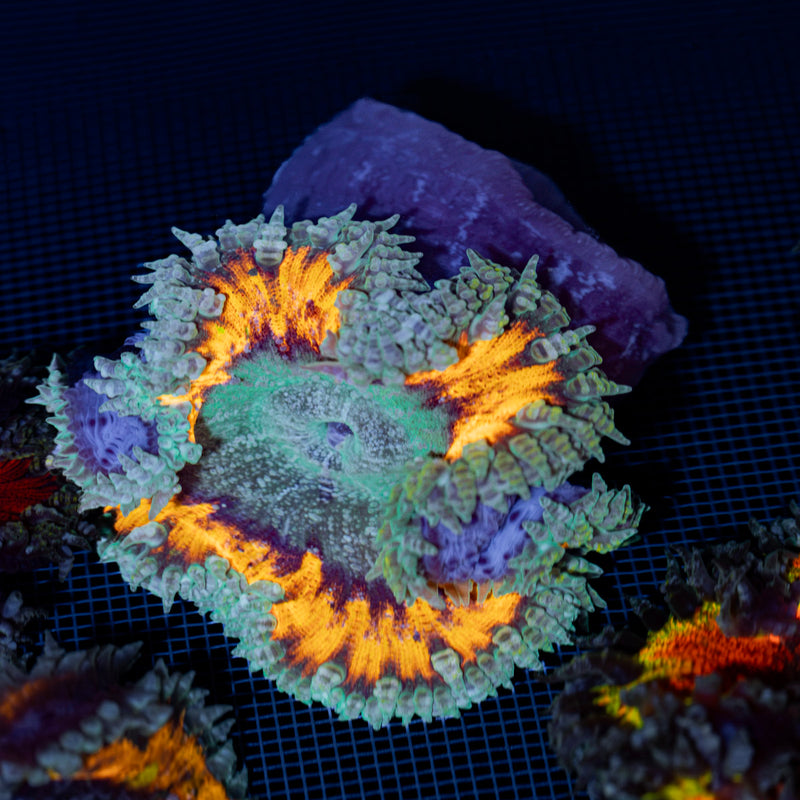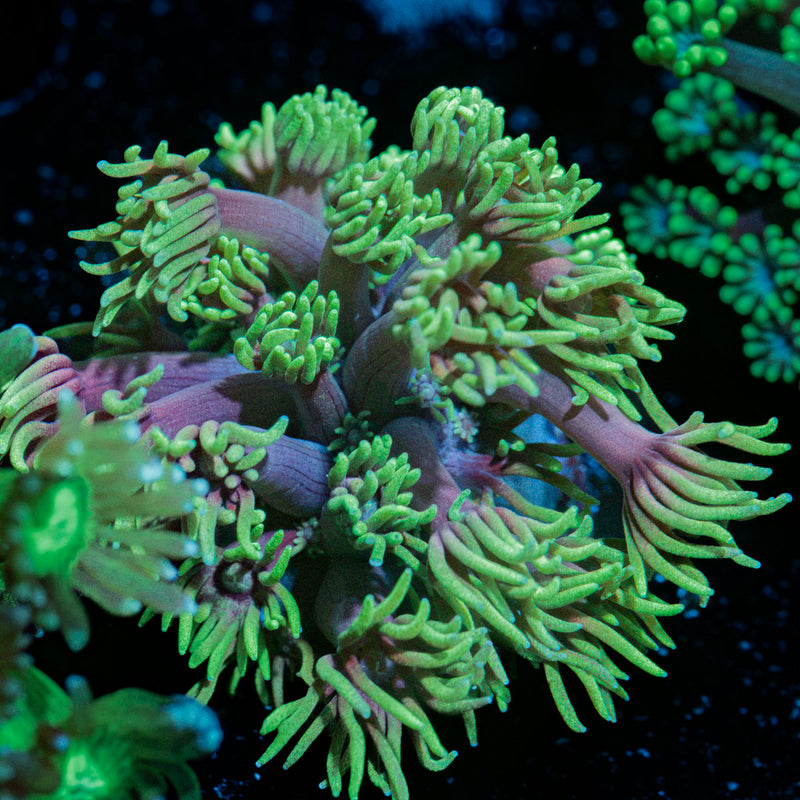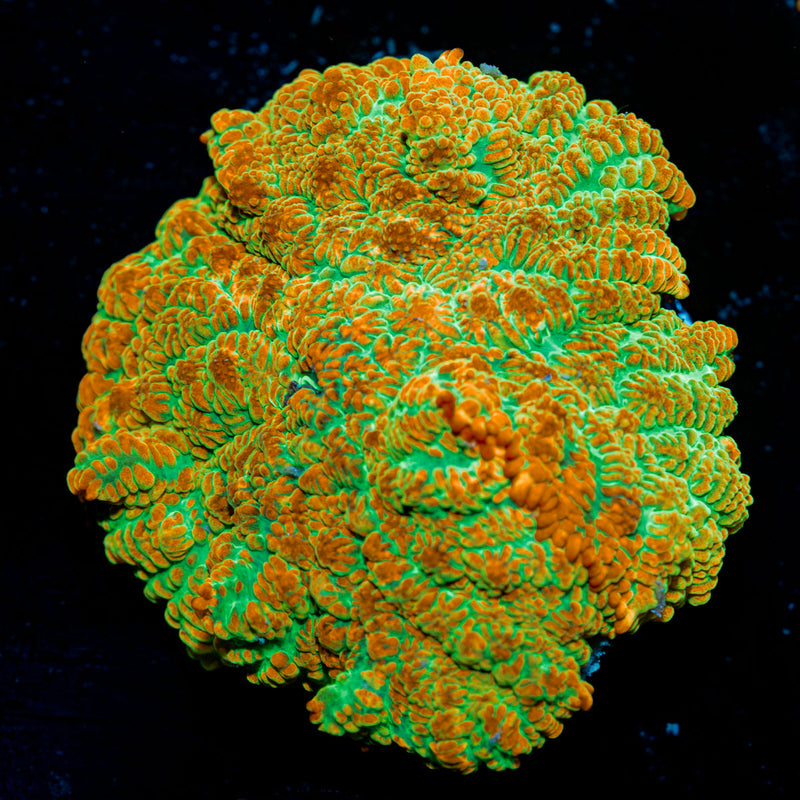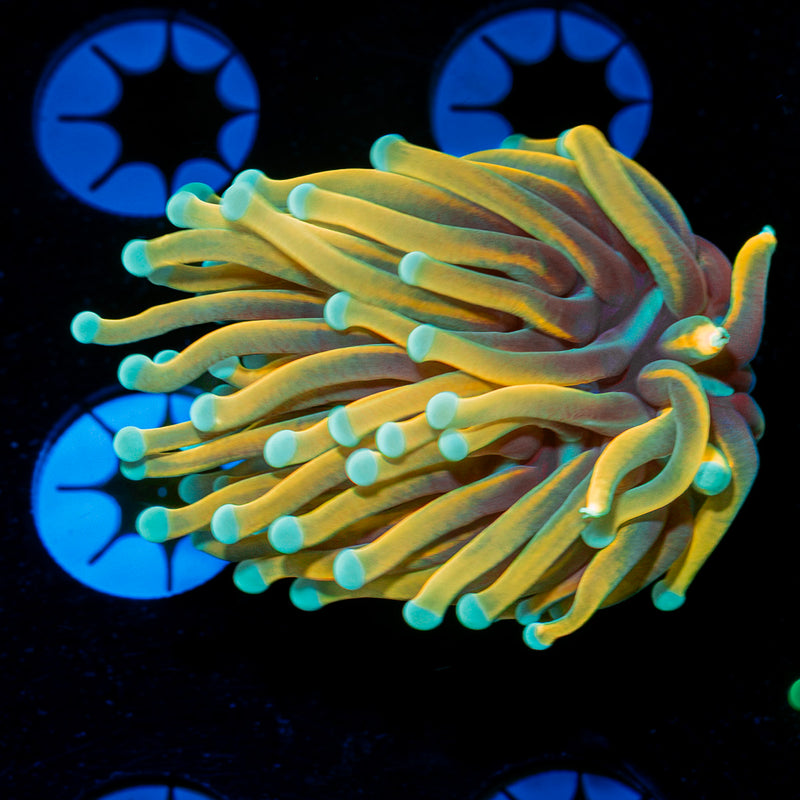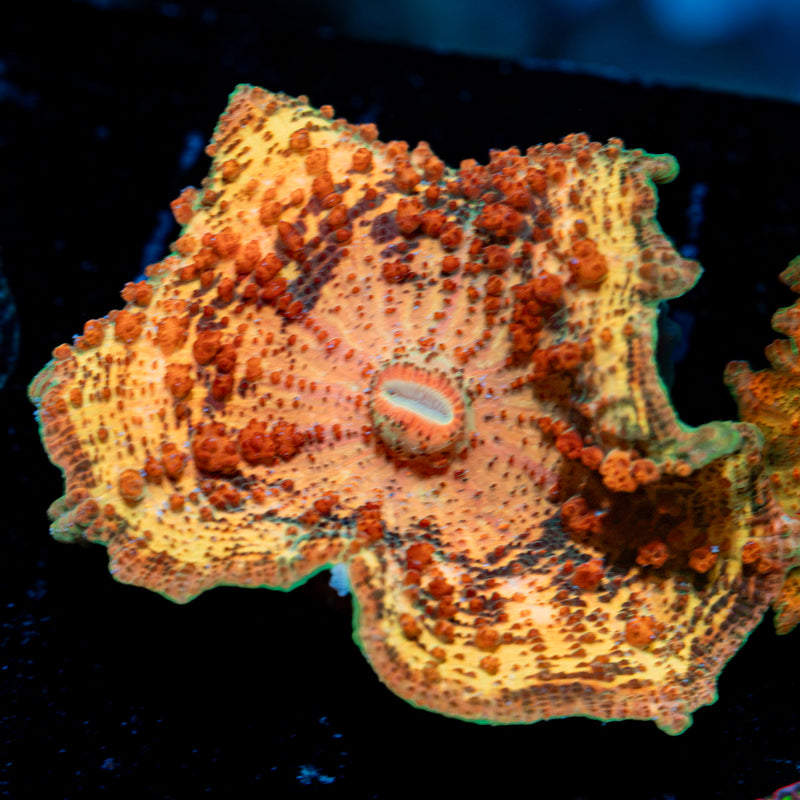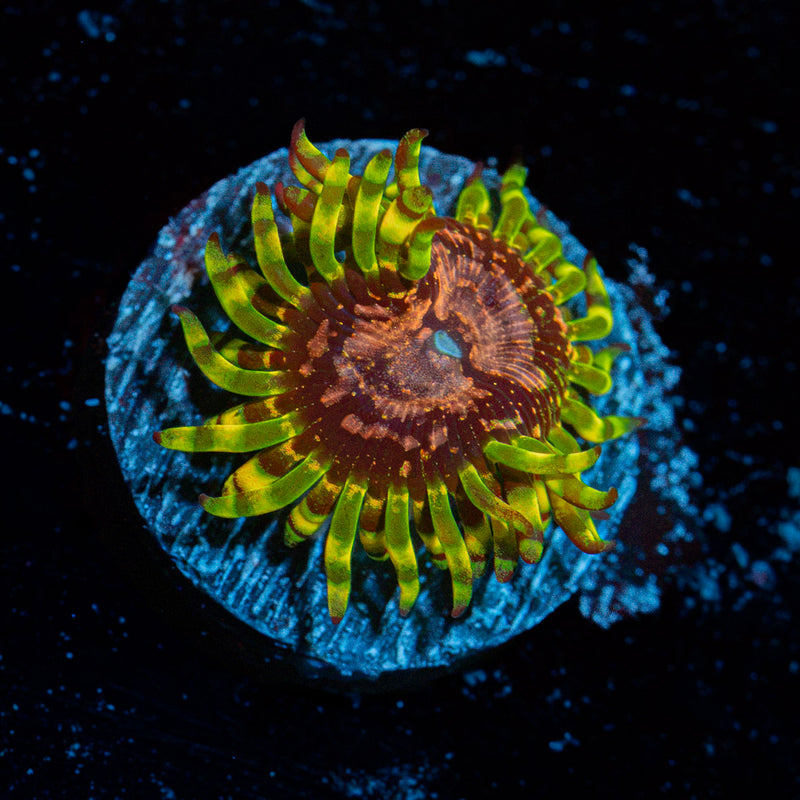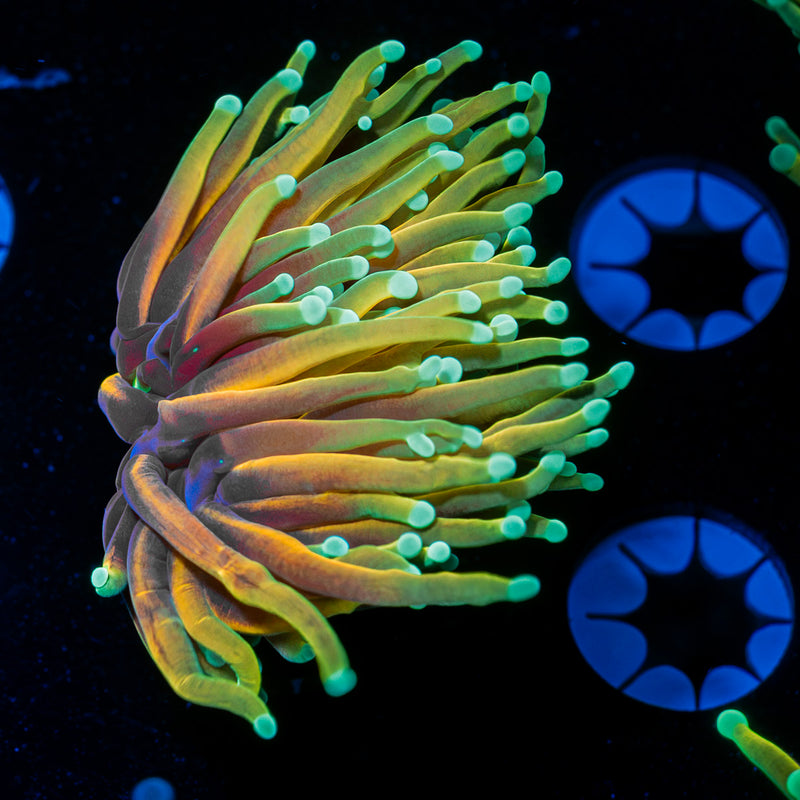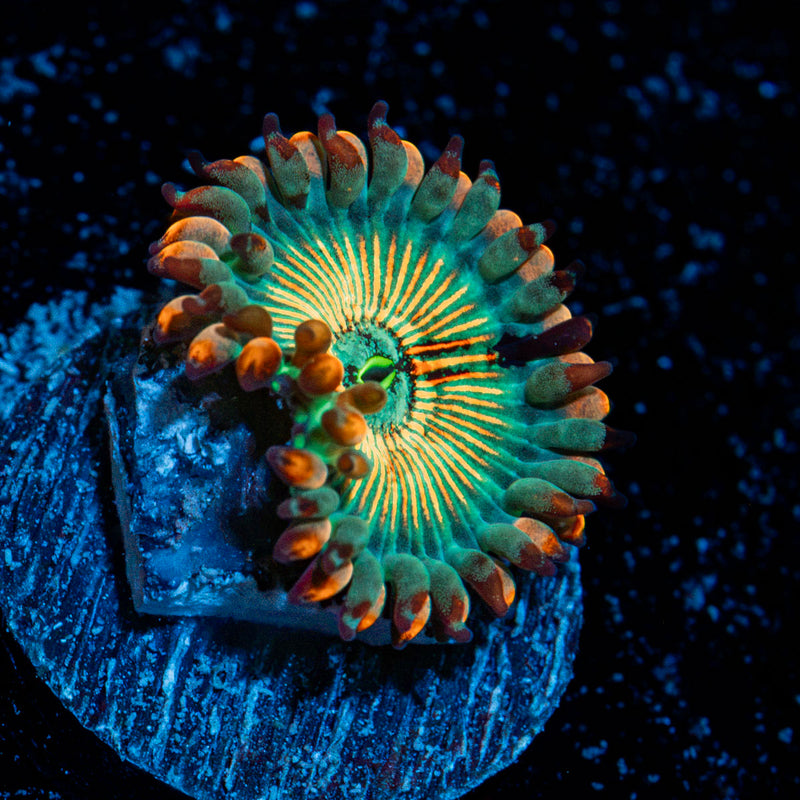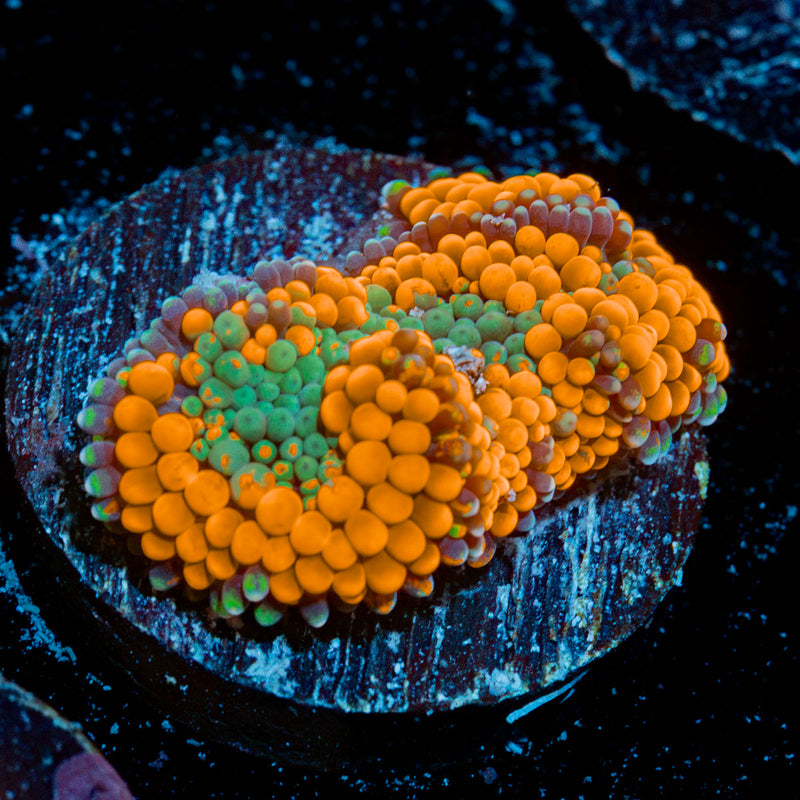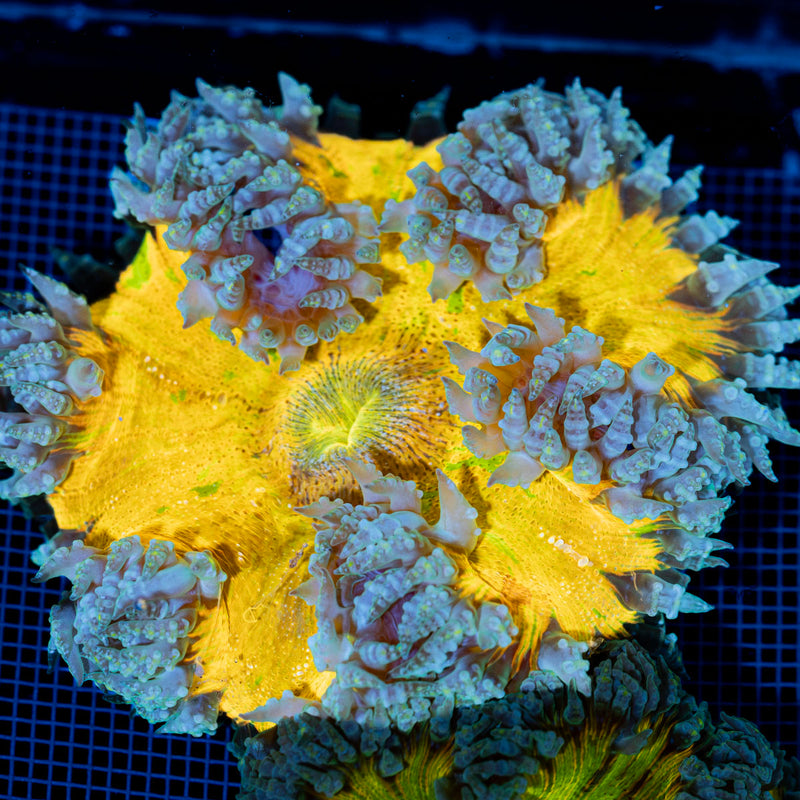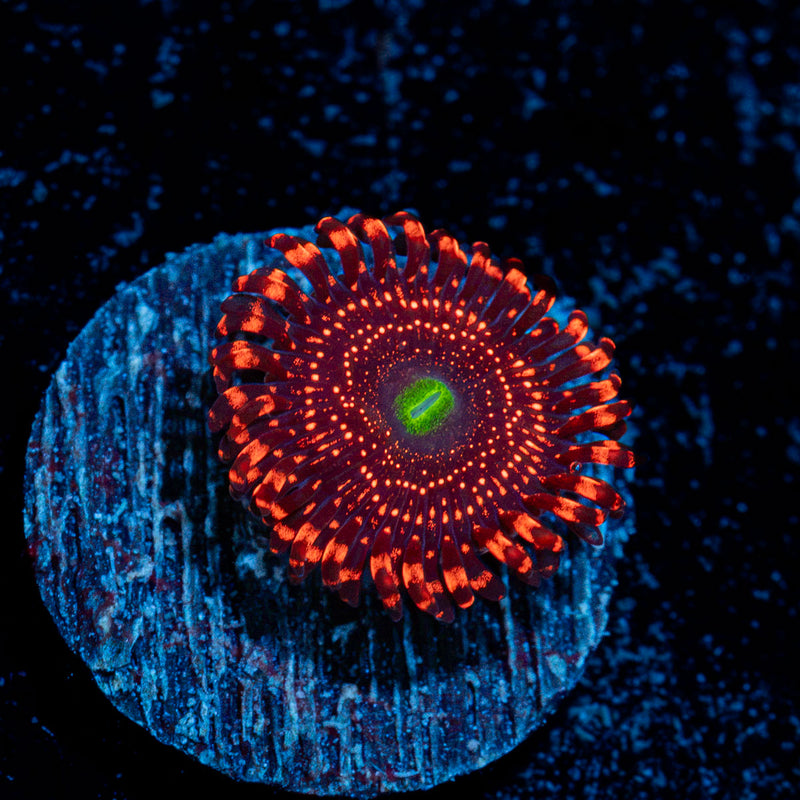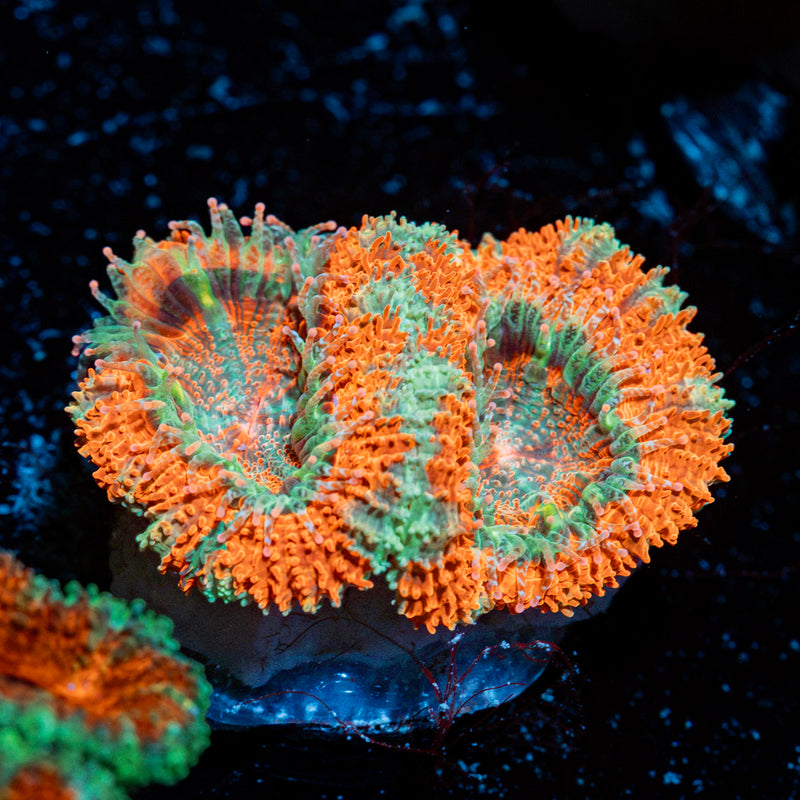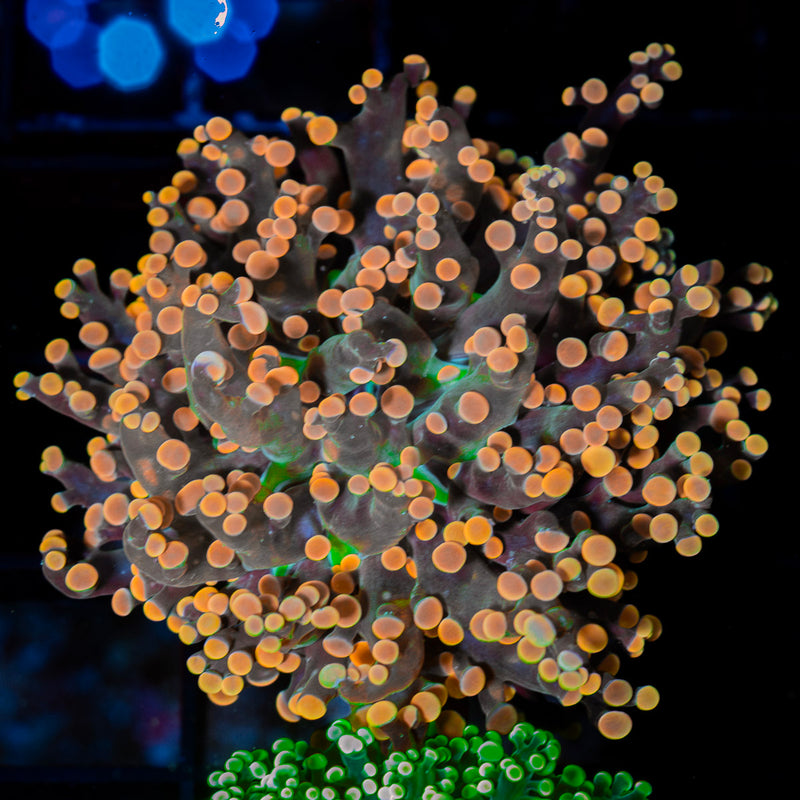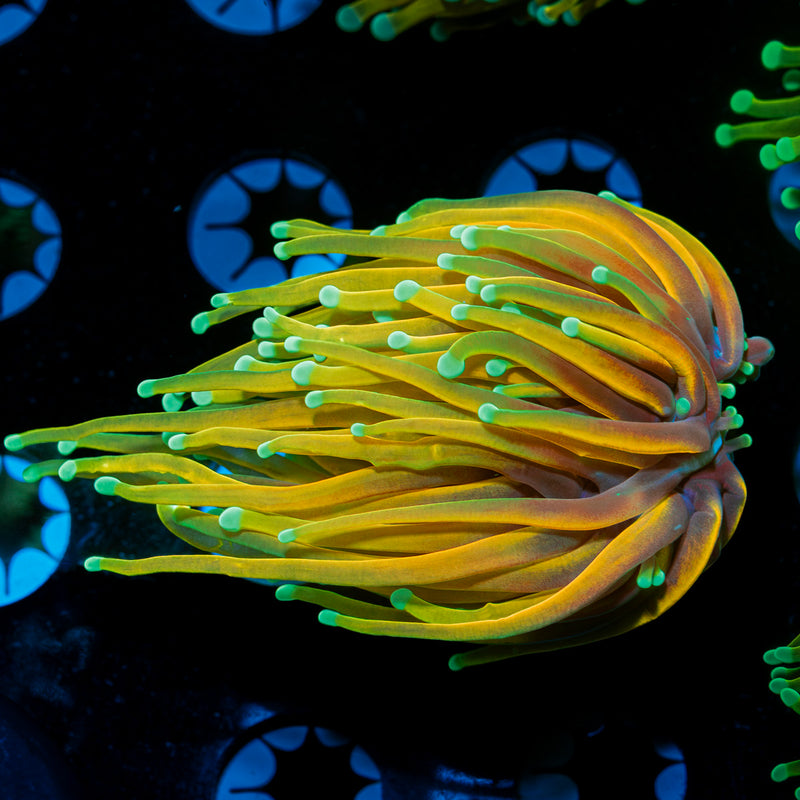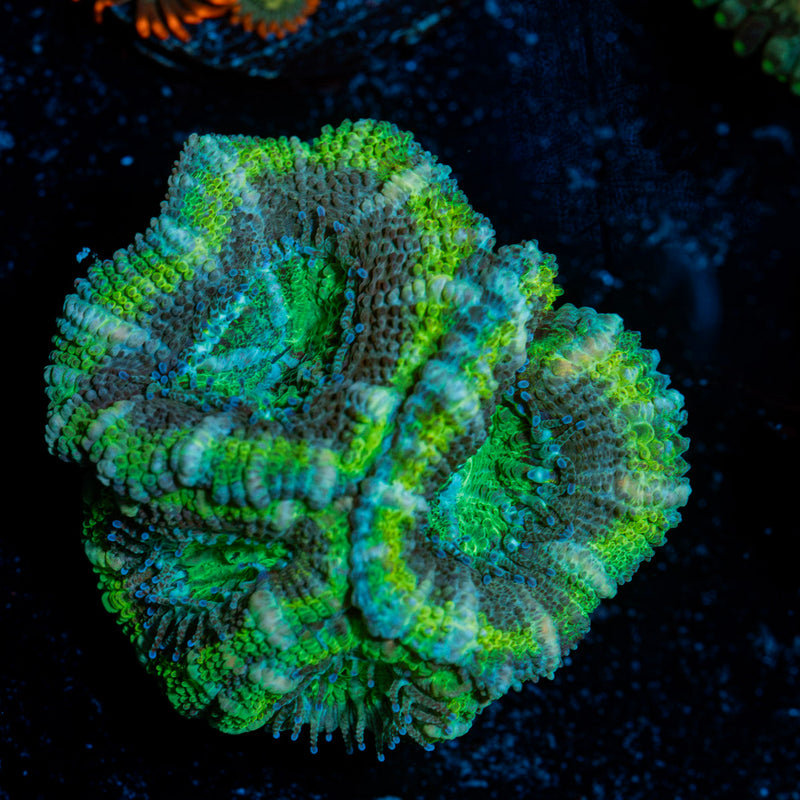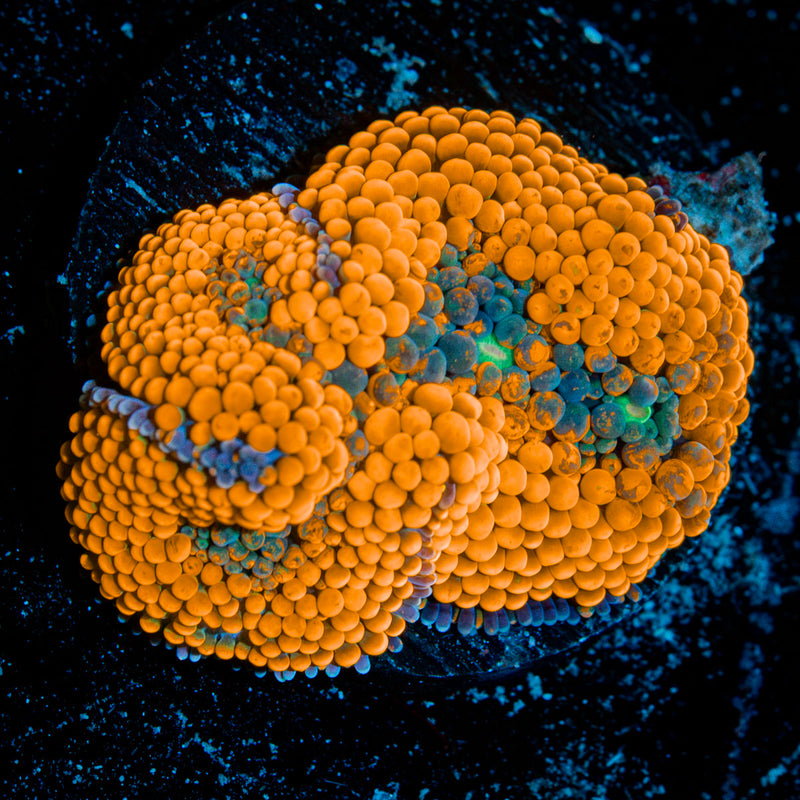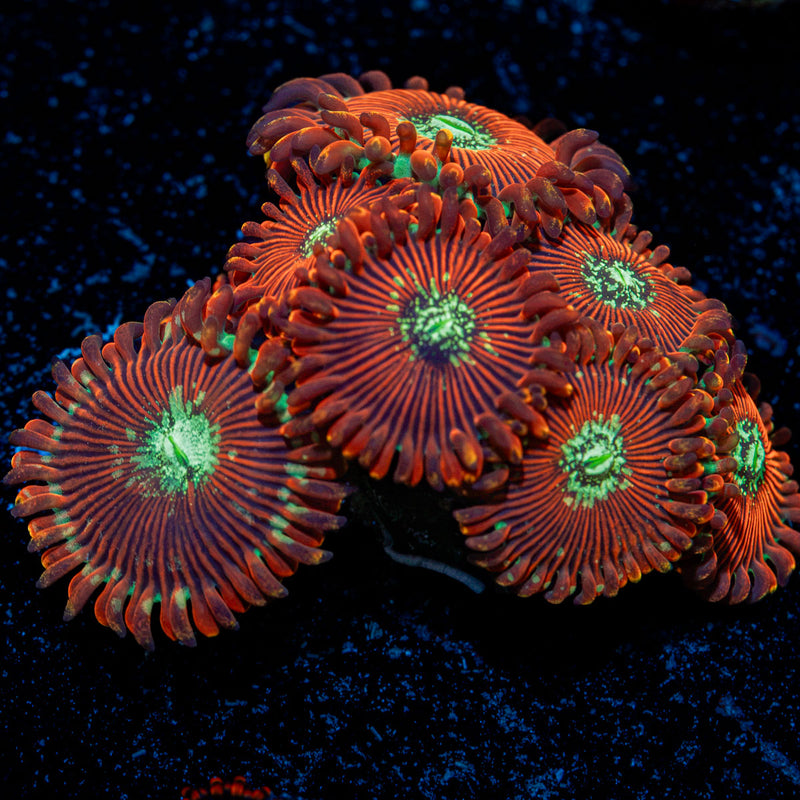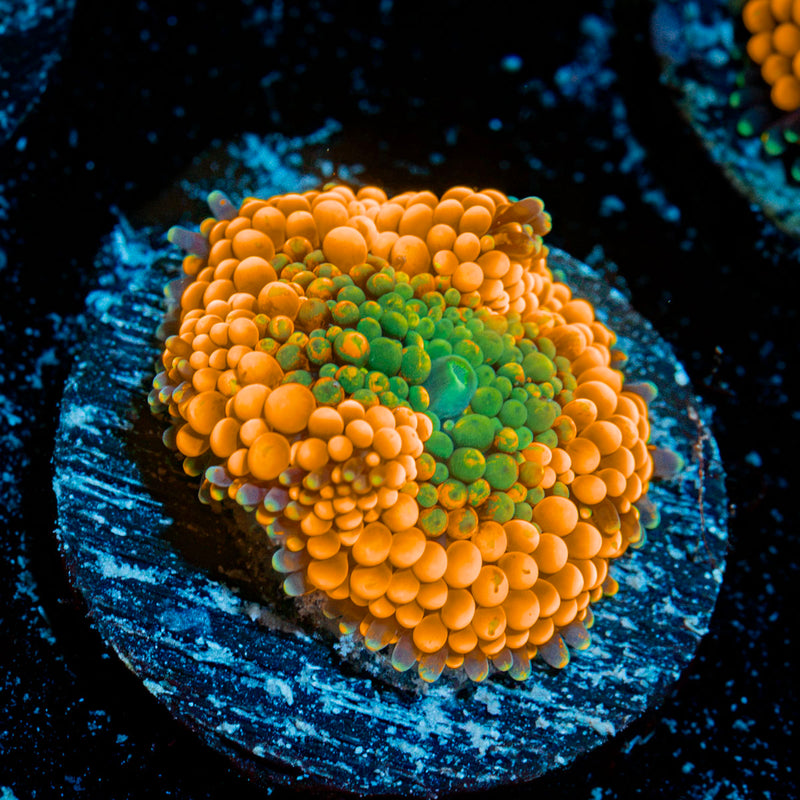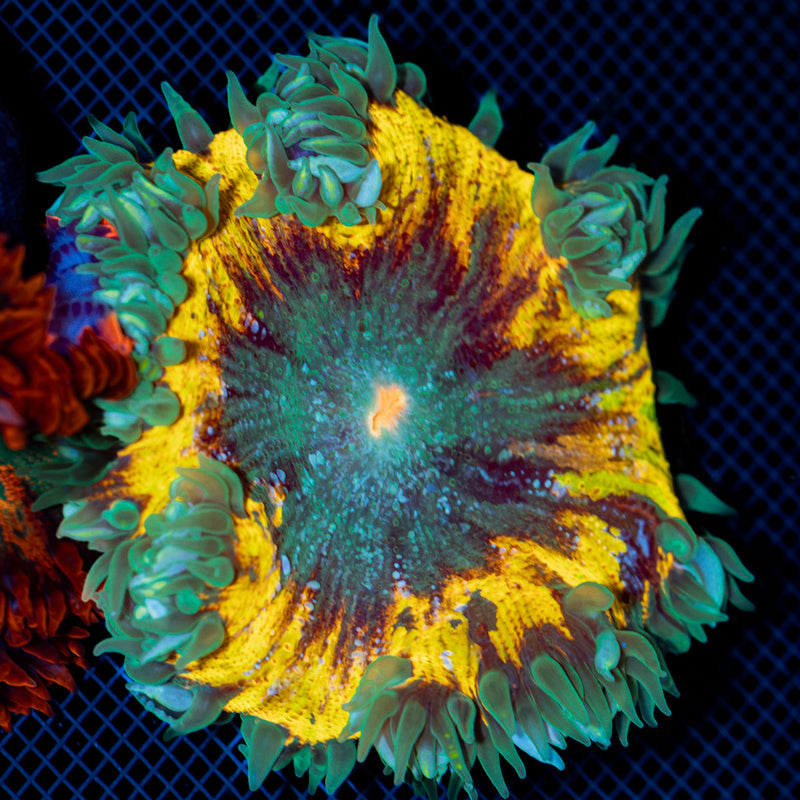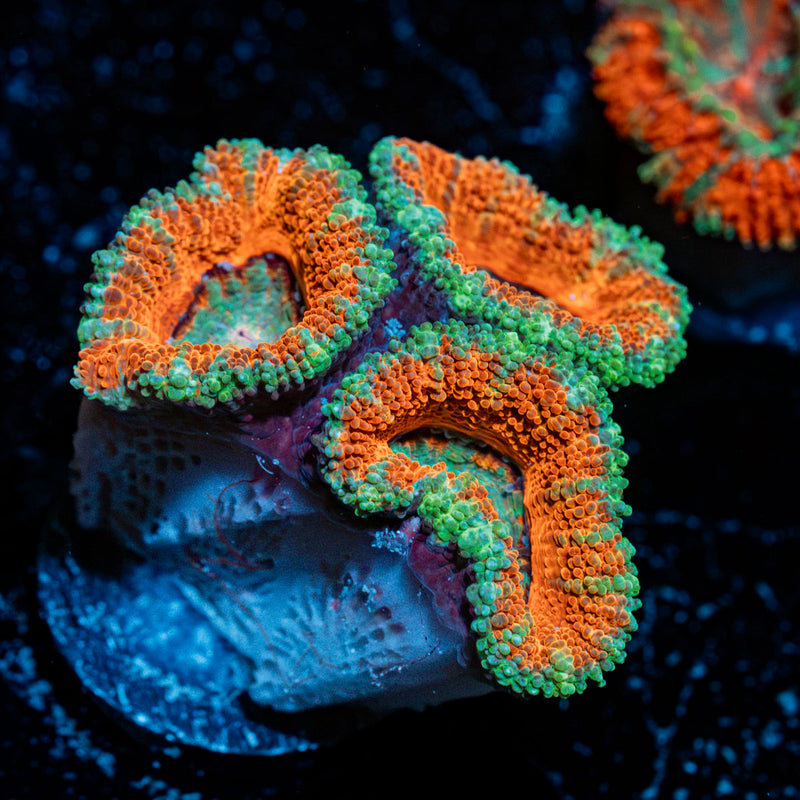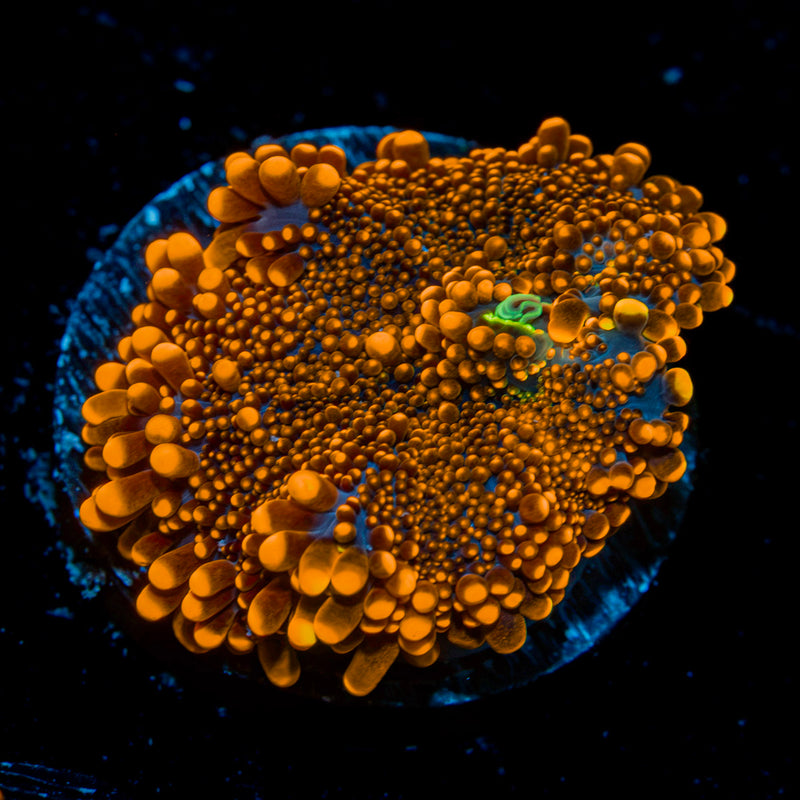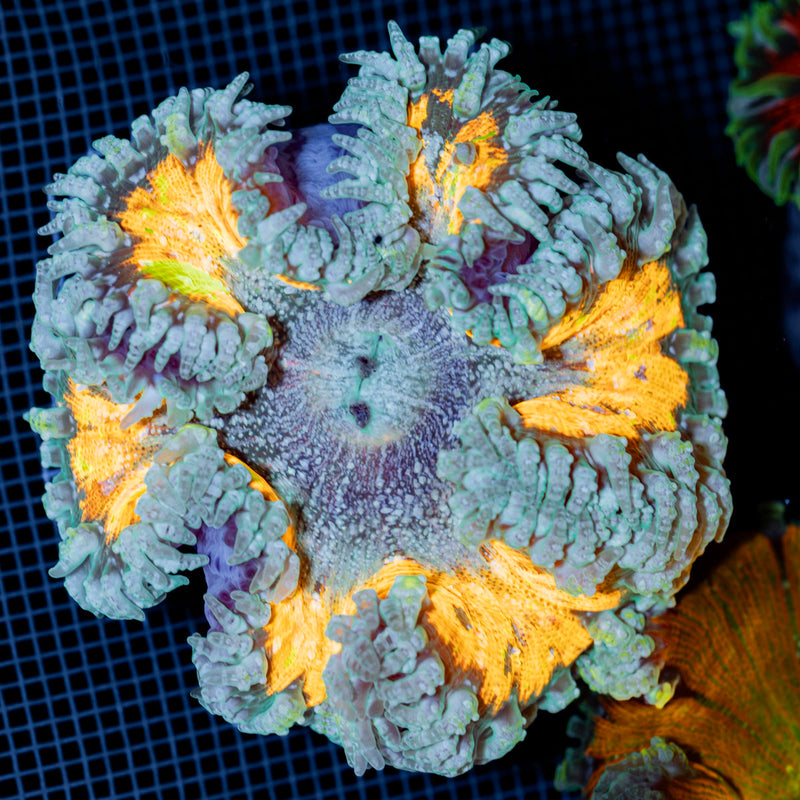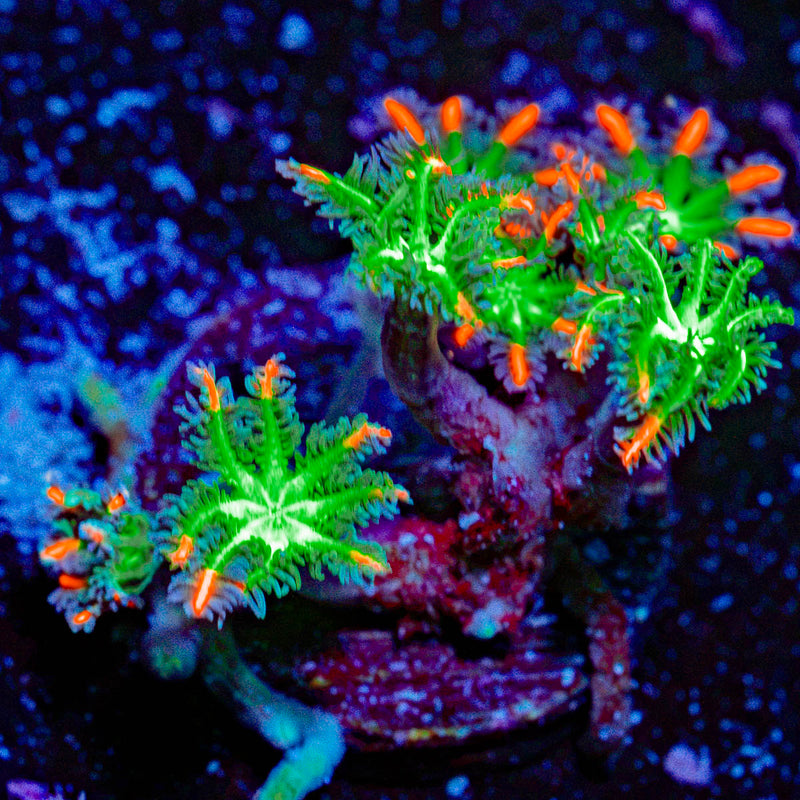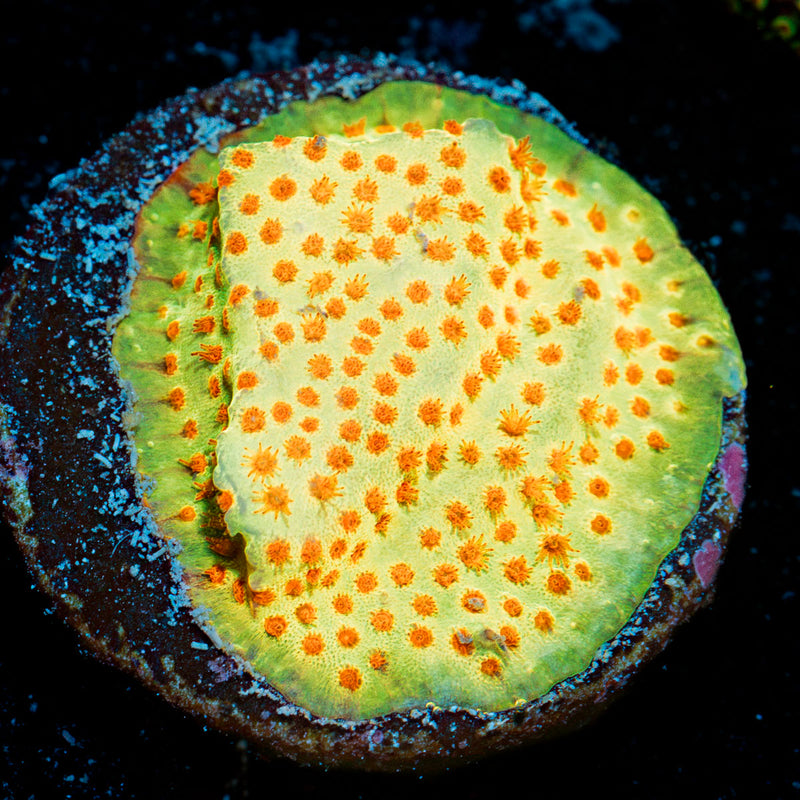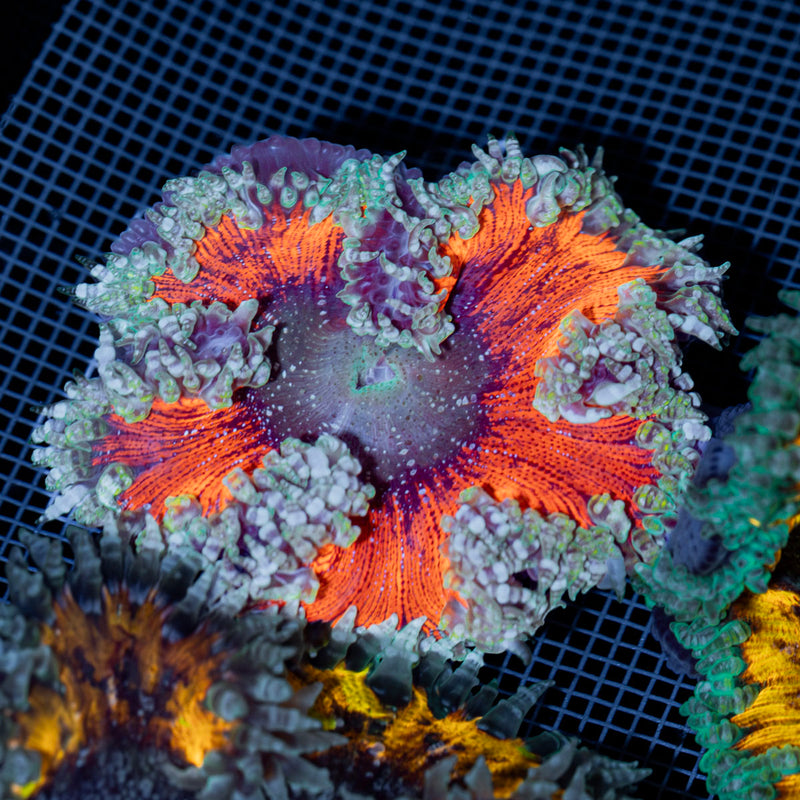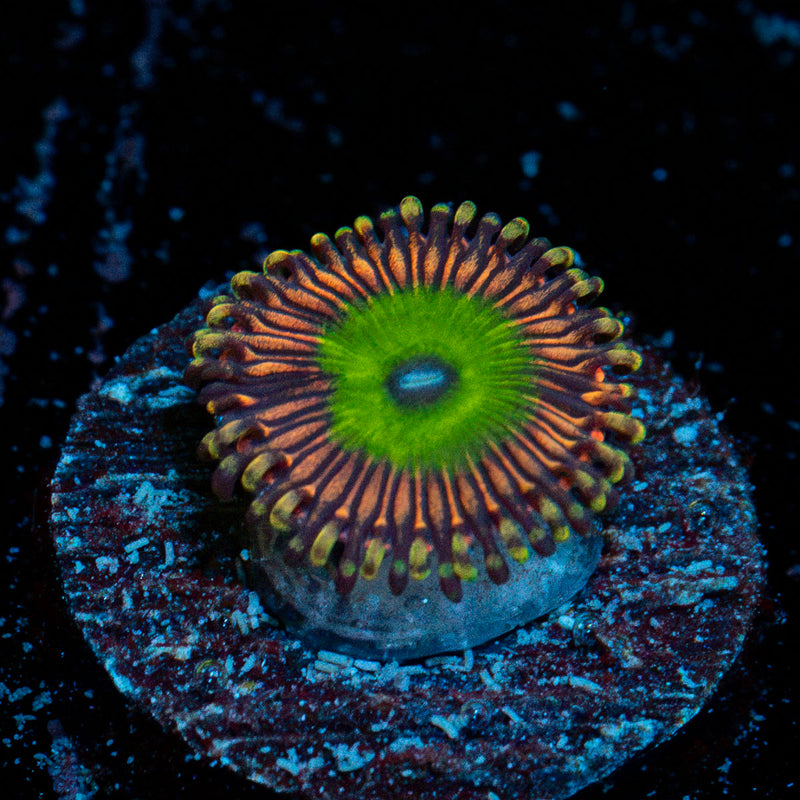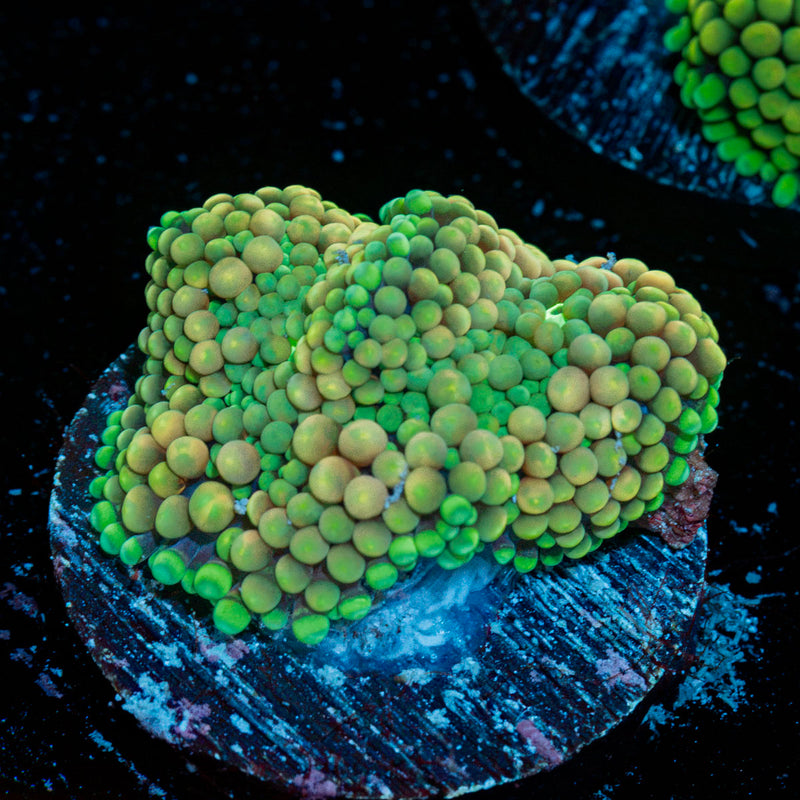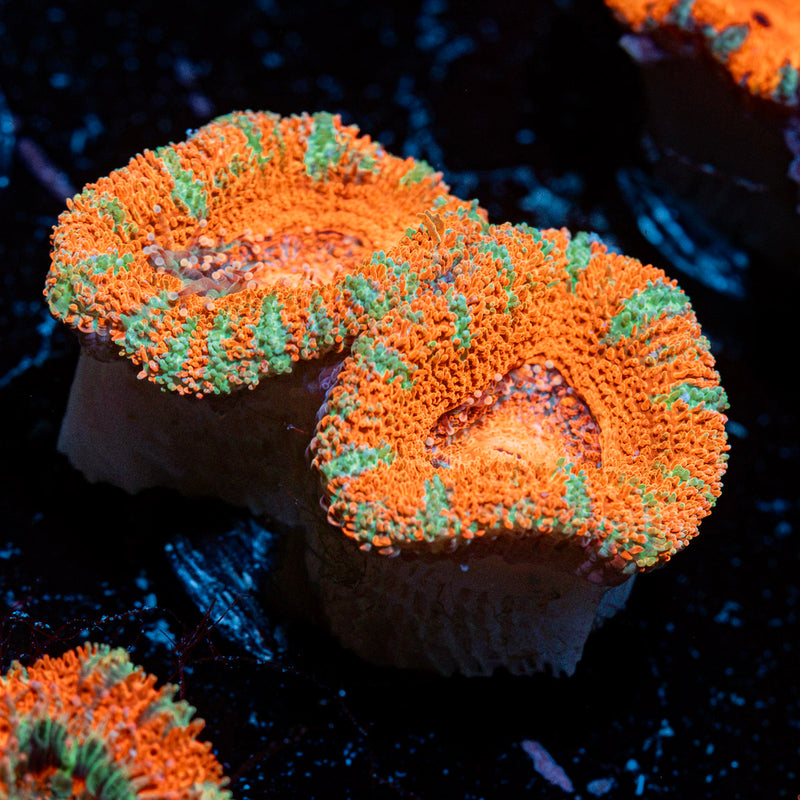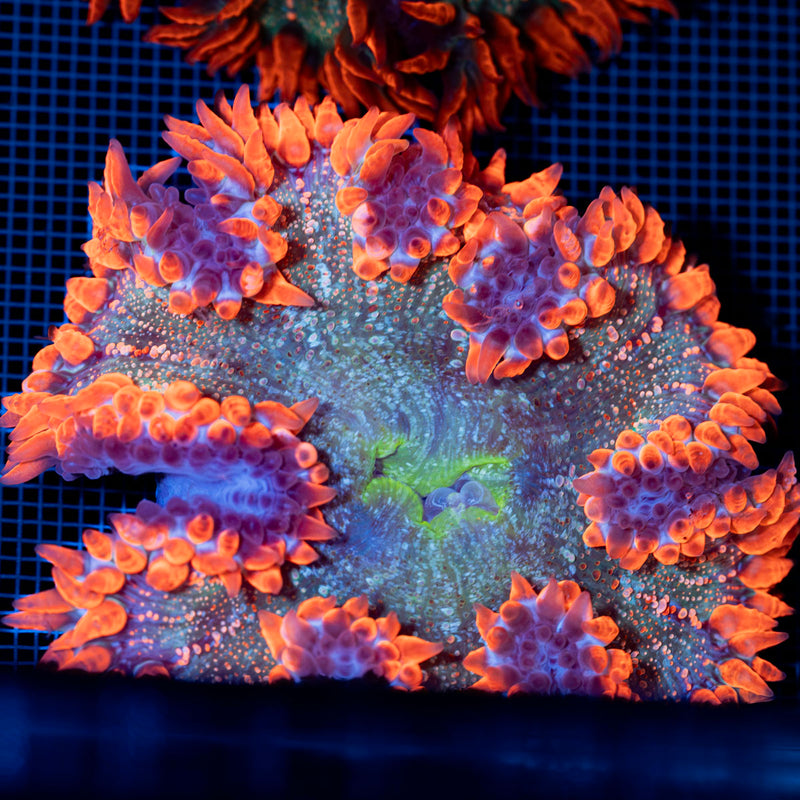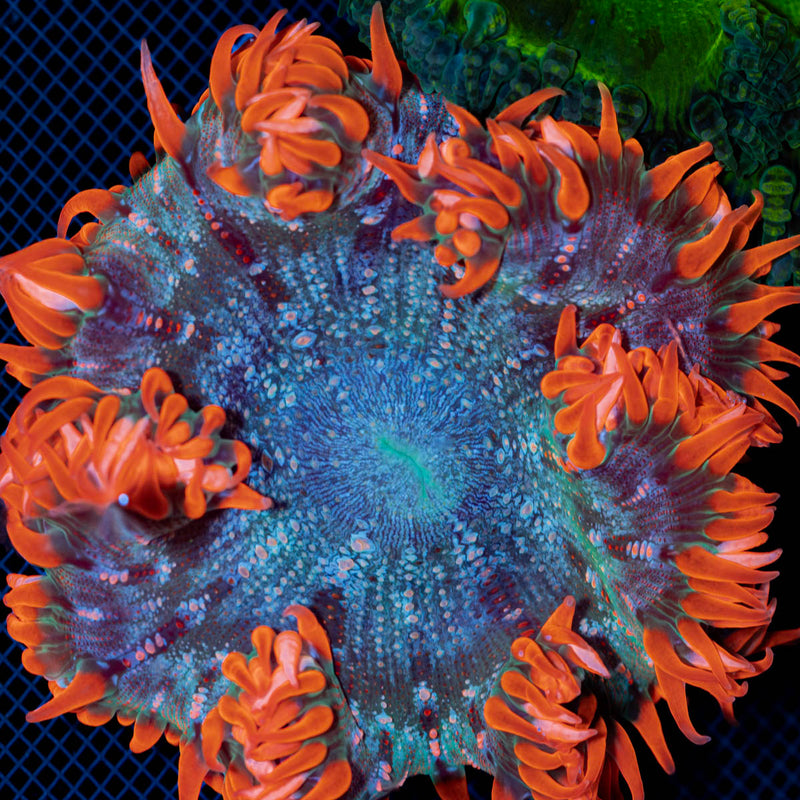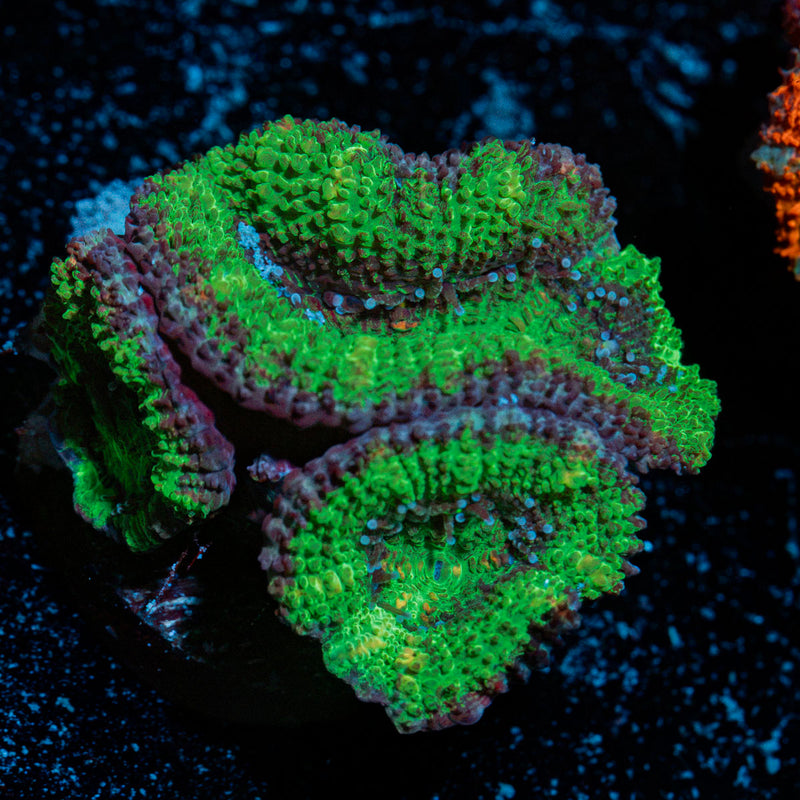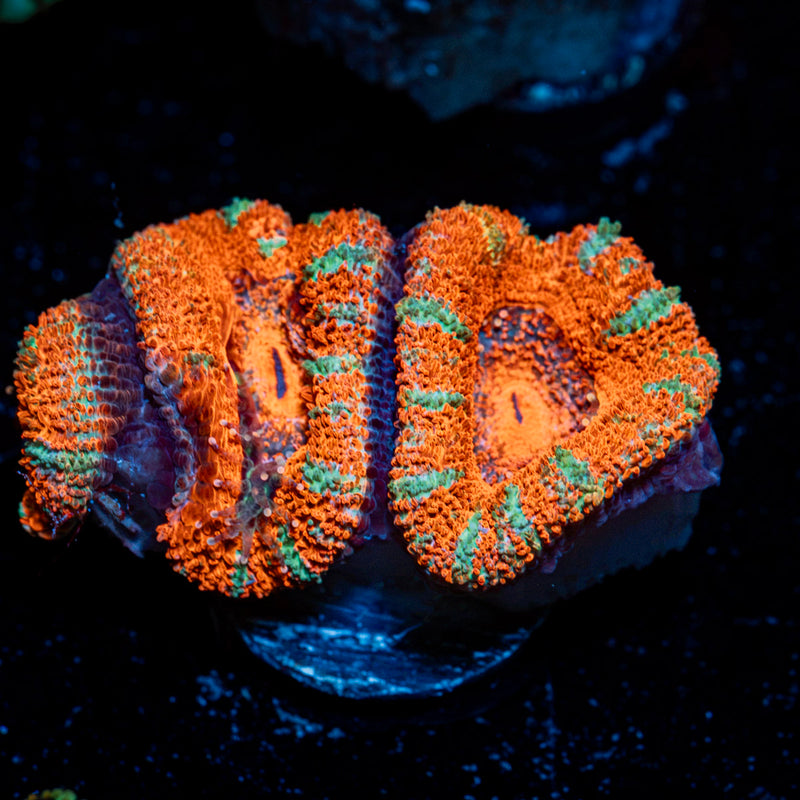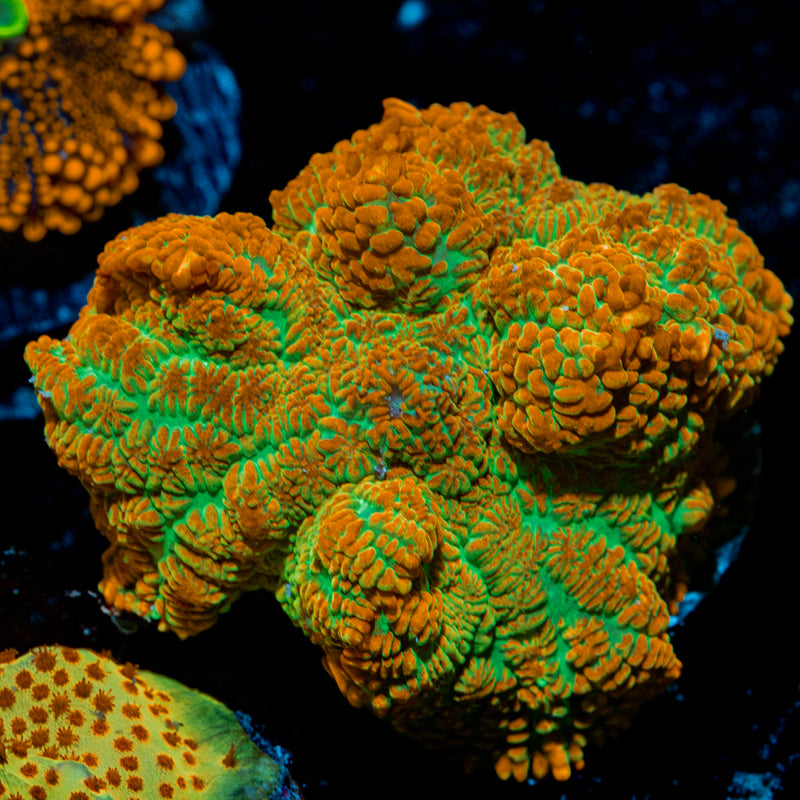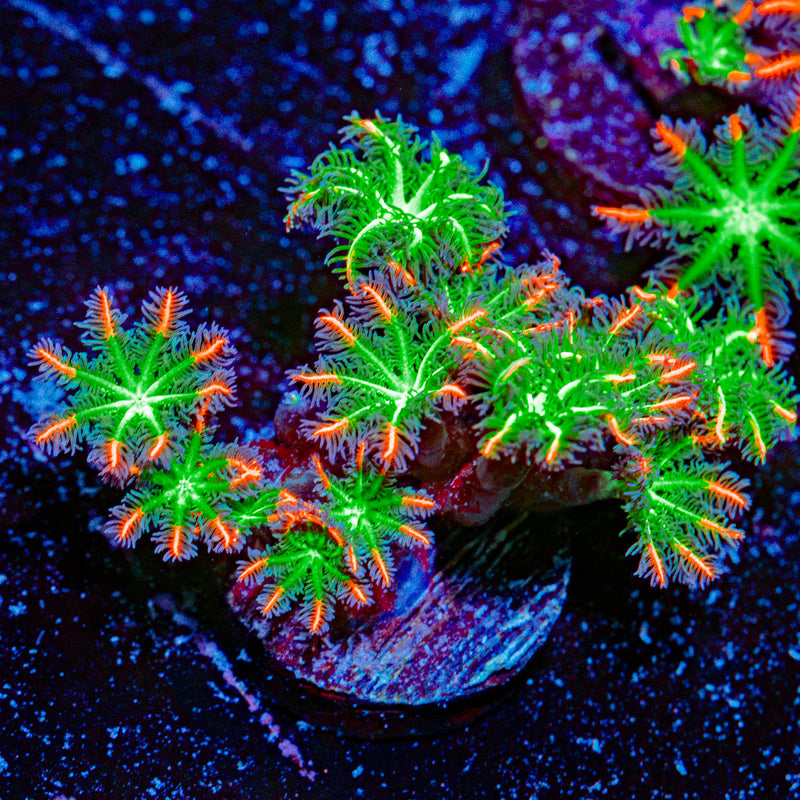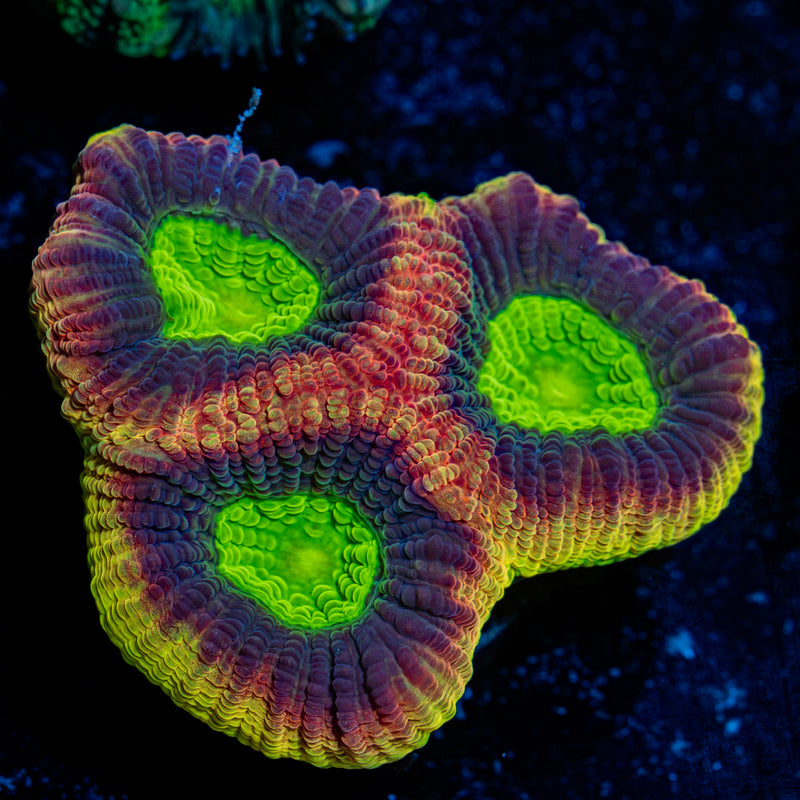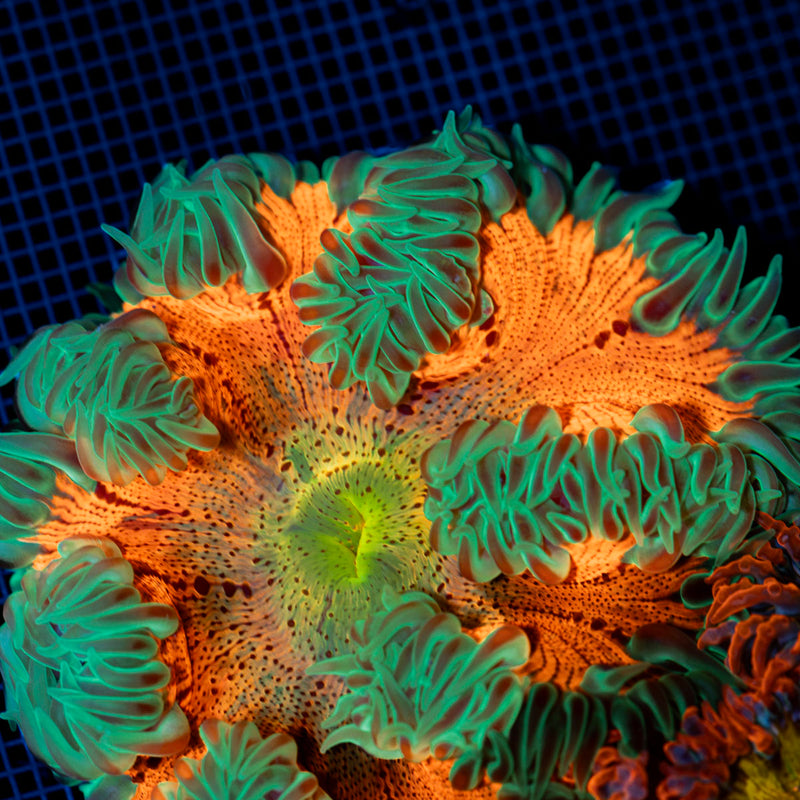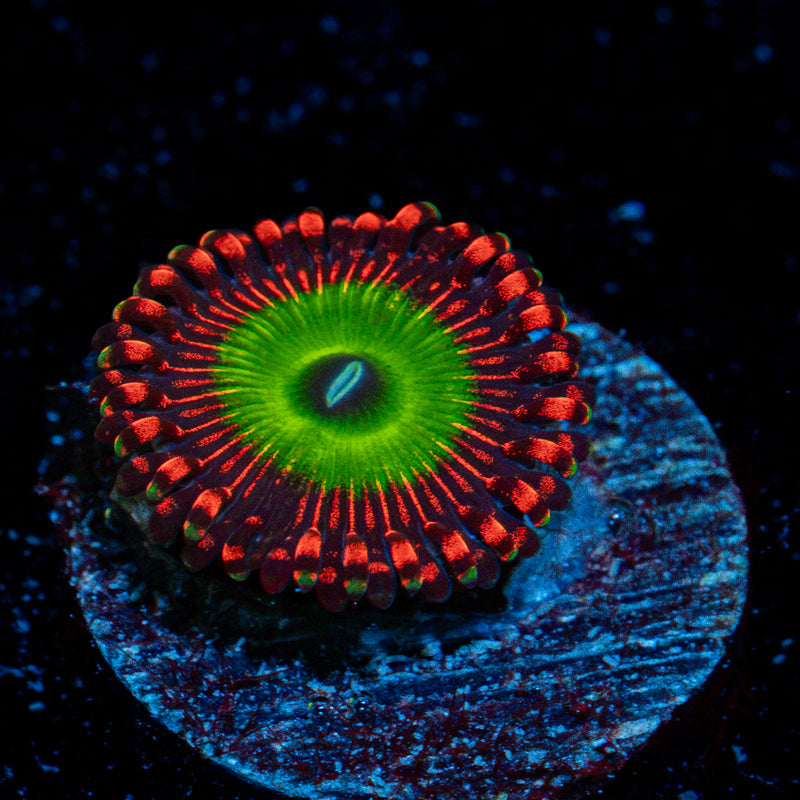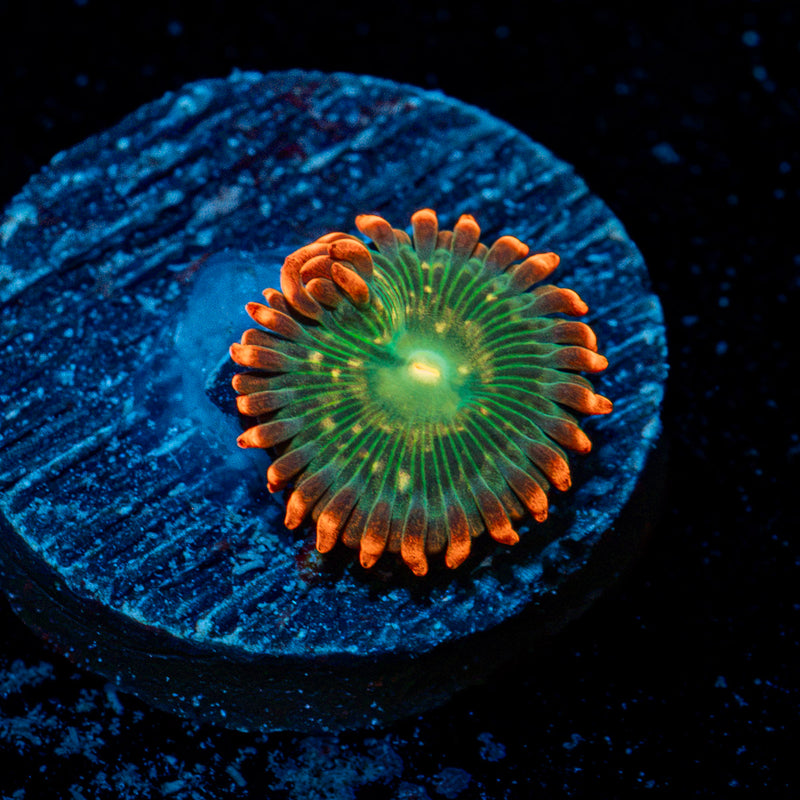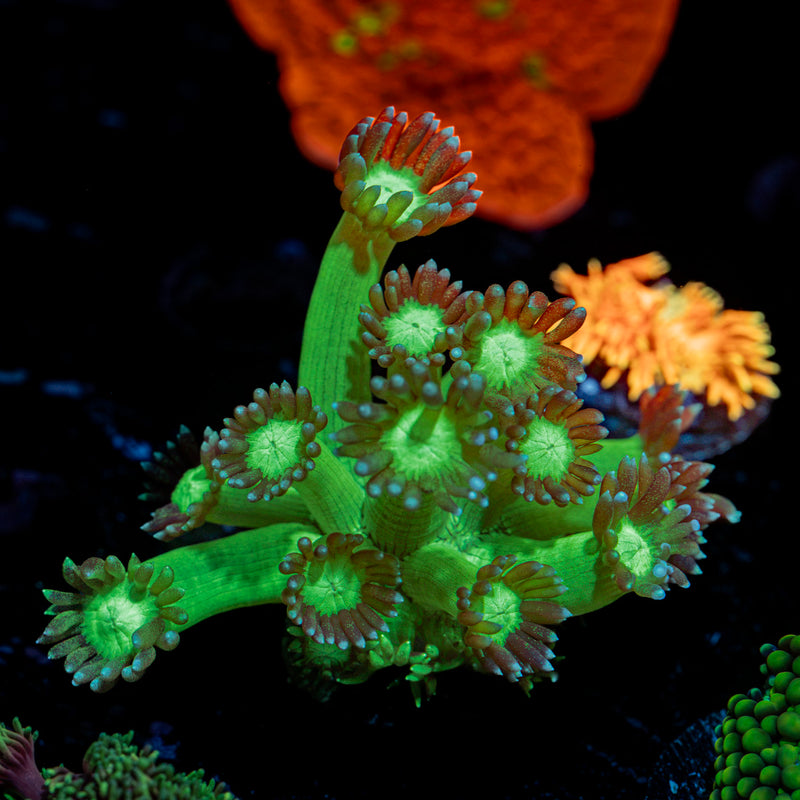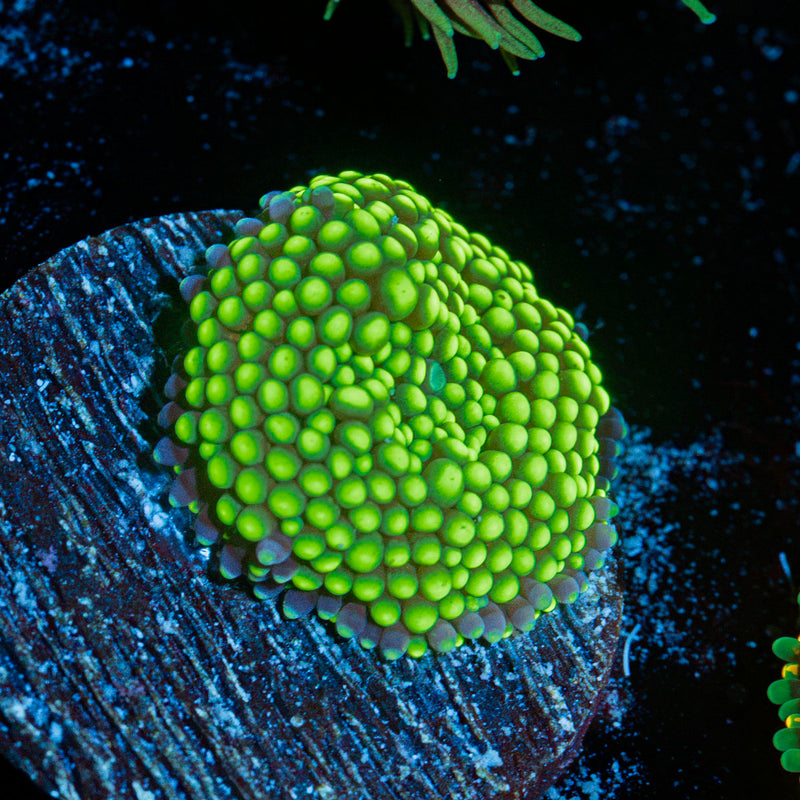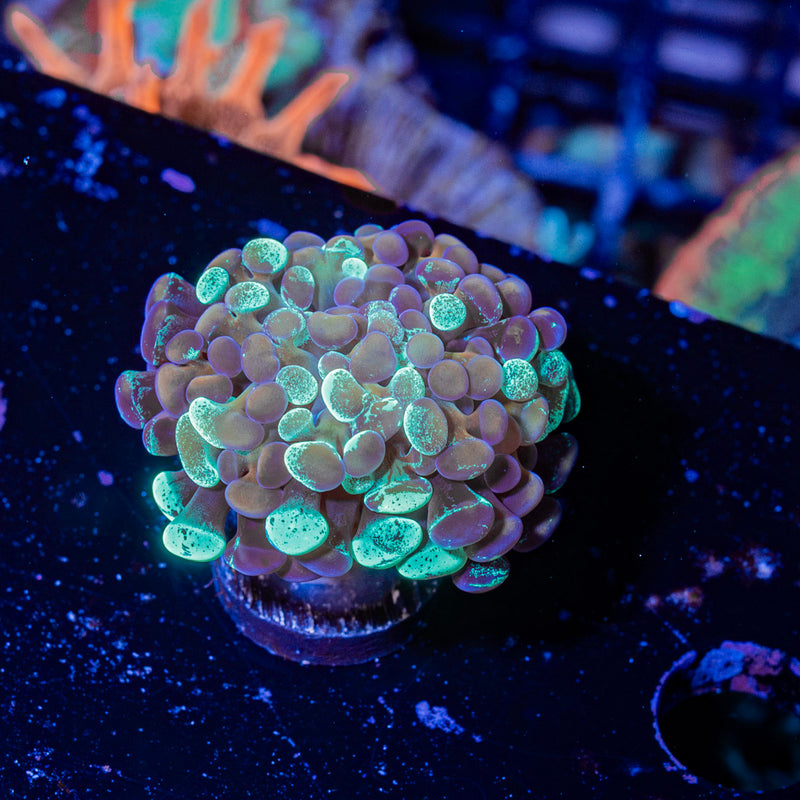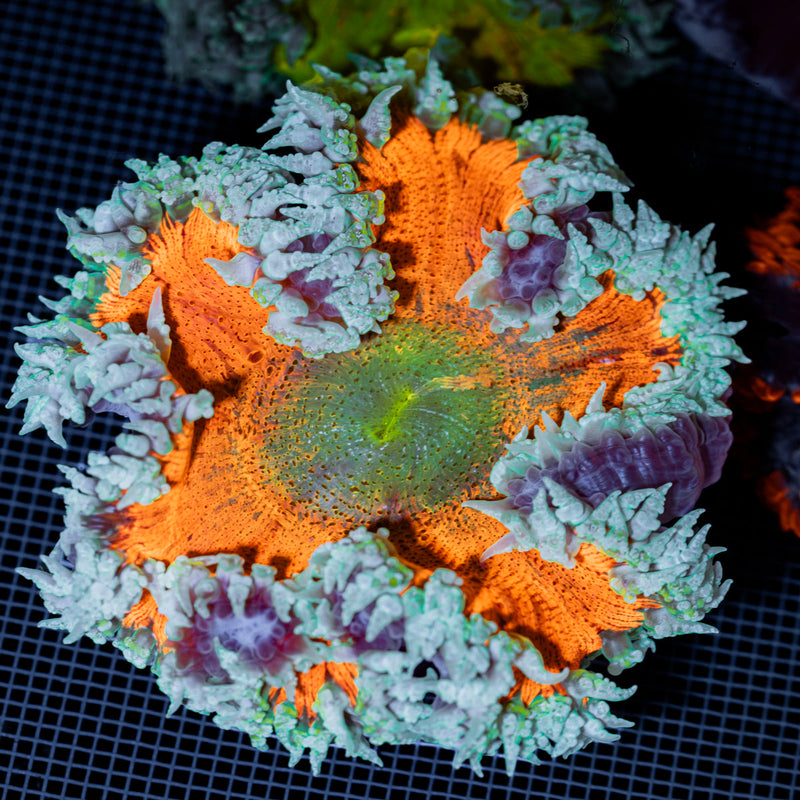
A new coral frag can arrive looking like a tiny, tightly closed version of the vibrant living jewel you chose online. That is normal. Shipping, temperature changes, darkness, and handling can leave even a healthy aquacultured coral temporarily withdrawn. Knowing how to acclimate coral frags gives them a calm first transition into your reef and helps you protect the color, tissue, and polyp extension you bought them for.
The goal is not to rush a coral from its shipping bag into its permanent spotlight. It is to avoid stacking stressors. Temperature, salinity, light intensity, flow, and water chemistry all matter, but they do not need to be adjusted through a long, complicated ritual. A clean, deliberate process is usually the safest one.
Before You Open the Box
Start with a ready reef tank. Your salinity should be stable, your temperature should be in range, and ammonia and nitrite should read zero. A newly set up tank may look clear and still be too immature for coral, especially sensitive SPS such as Acropora and Millepora. Stability matters more than chasing a perfect number.
Before opening the shipping bag, lower or turn off your aquarium lights. Corals shipped in darkness are not ready for an immediate blast from LEDs, even if they are accustomed to strong lighting at the coral farm. Keeping the tank dim for the first few hours prevents light shock while the frag settles into its new water.
Have a clean container, coral dip if you choose to use one, tank water, gloves, coral cutters if needed, and mounting supplies nearby. Do not use soap-cleaned containers or tools that may carry household chemical residue. A simple, dedicated acclimation setup makes the process feel easy and keeps your attention on the frag.
How to Acclimate Coral Frags Step by Step
1. Check the bag and temperature acclimate
Inspect each sealed bag for leaks, cloudy water, loose fragments, or obvious tissue damage. A coral that has shifted on its plug may still be completely healthy, so do not judge its condition before it has had time to settle.
Float the sealed bag in your sump or display tank for about 15 to 20 minutes. This gently brings the bag water closer to your aquarium temperature. Keep the bag sealed during this step. Opening it early allows gas exchange that can change the chemistry of shipped water quickly, particularly if ammonia has accumulated during transit.
If the bag is very cold or warm compared with your tank, take the slower end of that range. Avoid placing a bag directly under a heater outlet or in a high-flow area where it can tumble around.
2. Move the frag into a clean acclimation container
After temperature acclimation, open the bag and carefully pour the coral and shipping water into a clean container. Keep the shipping water out of your aquarium. It has done its job getting the coral safely to your door, but it is not water you want to introduce into your display.
At this point, compare salinity if you have a calibrated refractometer. If the shipping water and tank water are close - roughly within 0.002 specific gravity - a long drip acclimation is usually unnecessary. Many aquacultured corals tolerate a measured transfer very well when temperature is matched and tank parameters are stable.
If the salinity difference is larger, add small amounts of tank water to the container over 10 to 20 minutes. This is especially worthwhile for fleshy LPS, mushrooms, and anemones, which can be more reactive to abrupt changes. Do not extend the process for an hour or more simply out of caution. Once the bag is open, oxygen levels and waste chemistry can become less favorable.
3. Dip when appropriate
A coral dip is an optional but strongly considered step for many reef keepers. It can help remove pests, eggs, hitchhikers, and unwanted organisms before a new frag enters the display. Use a coral-specific dip exactly as directed on the label, with water taken from your aquarium and a separate rinse container of clean tank water.
Not every coral responds to dipping the same way. Zoanthids, mushrooms, chalices, torches, hammers, frogspawn, and SPS frags can all look irritated afterward, even when the dip was used correctly. That temporary response is not automatically a problem. The trade-off is simple: dipping adds a short-term stress event, but it may reduce the risk of introducing a long-term pest issue.
Wear gloves when handling zoanthids and palythoas, and avoid touching your face or eyes. These corals can contain palytoxin, a serious hazard when mishandled. Work carefully, keep the area ventilated, and wash up after the process.
4. Inspect the plug and tissue
Use this moment to inspect the frag plug, underside, and coral base. Look for algae, vermetid snails, flatworms, nudibranchs, eggs, or damaged tissue. A quick visual check is valuable, but avoid aggressive scraping around healthy encrusting tissue.
If a coral has loose tissue, exposed skeleton, or a damaged edge, give it gentle flow and a stable, low-stress placement rather than repeatedly moving or handling it. A healthy frag can recover from a rough-looking arrival better than many hobbyists expect, provided its new environment is clean and consistent.
5. Place the coral low and let it adjust
Start most new coral frags lower in the tank than their final intended position, preferably in moderate, indirect flow. This is particularly useful under powerful modern LEDs, where even a tank with reasonable PAR readings can create intense hotspots.
Soft corals, zoanthids, and mushrooms often appreciate lower to moderate light during their first week. LPS corals such as acans, chalices, torches, hammers, and frogspawn generally do well with moderate light and gentle, variable flow. SPS can require stronger light and flow over time, but a freshly shipped SPS frag should not be placed immediately at the highest point of the rockwork unless you know your lighting closely matches its prior conditions.
Secure the plug if possible. A frag that falls into the sand or gets knocked into a rock crevice may suffer more from physical damage than from acclimation itself. Coral putty or reef-safe glue can help, but make sure no glue touches living tissue.
The First Week Matters More Than the First Hour
Once the frag is in the tank, resist the urge to keep adjusting it. Corals need time to read their environment. Constantly changing placement, flow, or lighting can make it harder to tell whether a coral is genuinely unhappy or simply settling in.
For the first three to seven days, run a reduced lighting schedule or use your fixture's acclimation mode if available. You can then increase intensity gradually. Watch the coral at different times of day. A torch may inflate and sway once it feels comfortable, while a zoanthid colony may take several days to open fully. SPS may show subtle signs first, such as stable tissue and normal color, before you see strong daytime polyp extension.
Keep water parameters steady rather than reacting to every small visual change. Temperature around 76 to 79°F, salinity near 1.025 to 1.026, and consistent alkalinity, calcium, magnesium, nitrate, and phosphate create the foundation corals need. Exact targets can vary by system, but sudden swings are far more dangerous than a slightly imperfect yet stable reading.
Signs Your Coral Frag Is Settling In
A coral does not need to look fully expanded on day one to be healthy. Good early signs include intact tissue, improving color after shipping, gradual polyp extension, and a firm attachment to the plug or rock. Many corals look their best after several days of stable conditions, not within minutes of being added.
Warning signs deserve attention when they persist or worsen. Rapid tissue loss, brown jelly on LPS, a foul odor, bleaching under intense light, or a coral repeatedly being blasted by flow all call for action. Check nearby parameters, inspect for pests or physical damage, and move the coral only when there is a clear reason to do so.
At Riptide Aquaculture, carefully aquacultured frags are grown with the home reef in mind, but every aquarium has its own light spectrum, nutrient level, and flow pattern. The most successful acclimation is the one that respects those differences instead of treating every coral category exactly the same.
Give a new frag clean water, a dim and secure first placement, and a few quiet days to respond. Soon, that small shipped piece can begin opening into the colorful, thriving part of your reef display you envisioned.