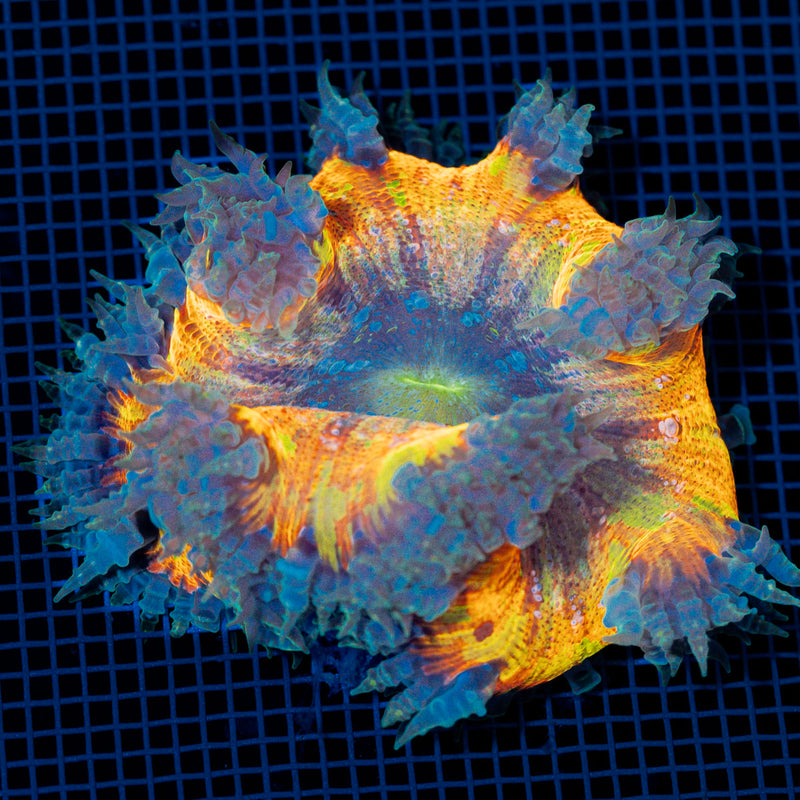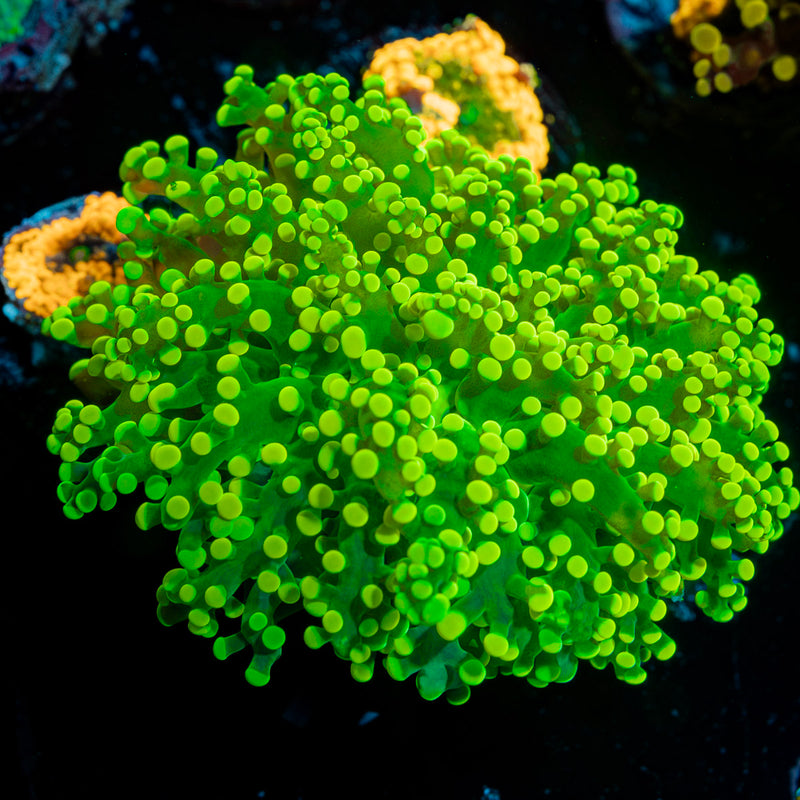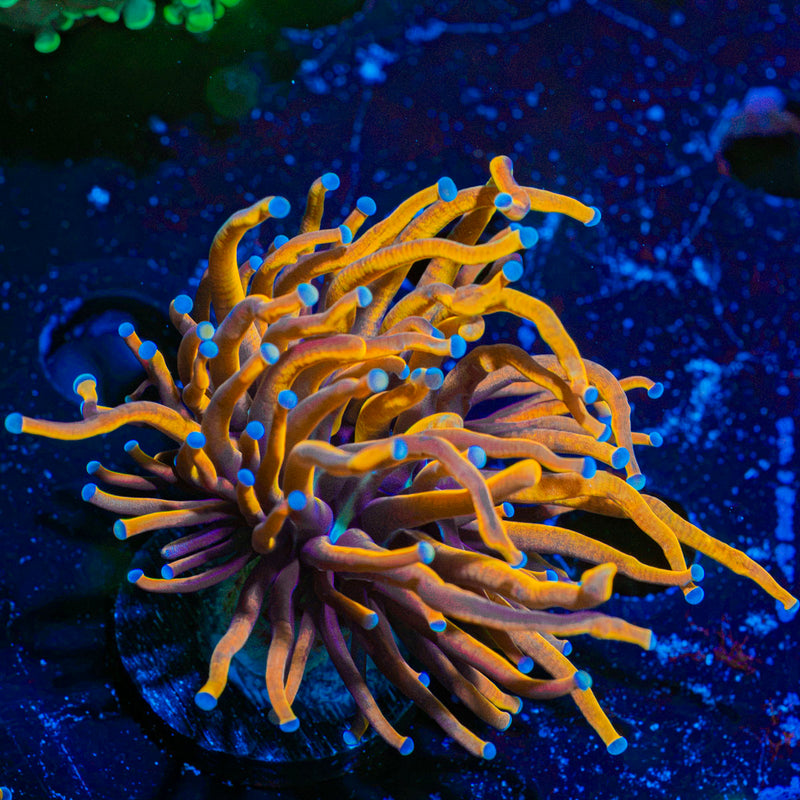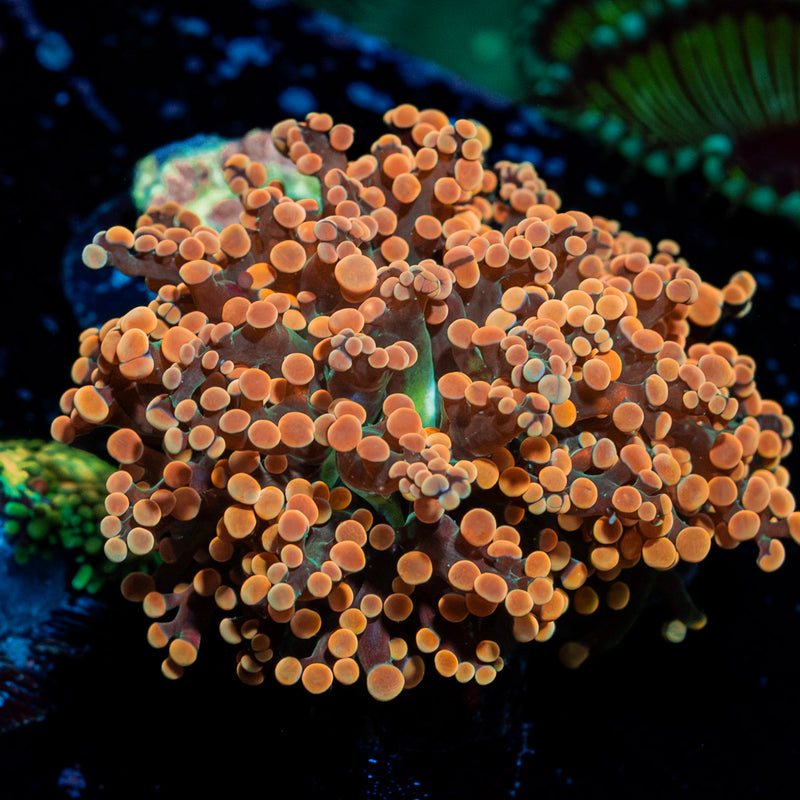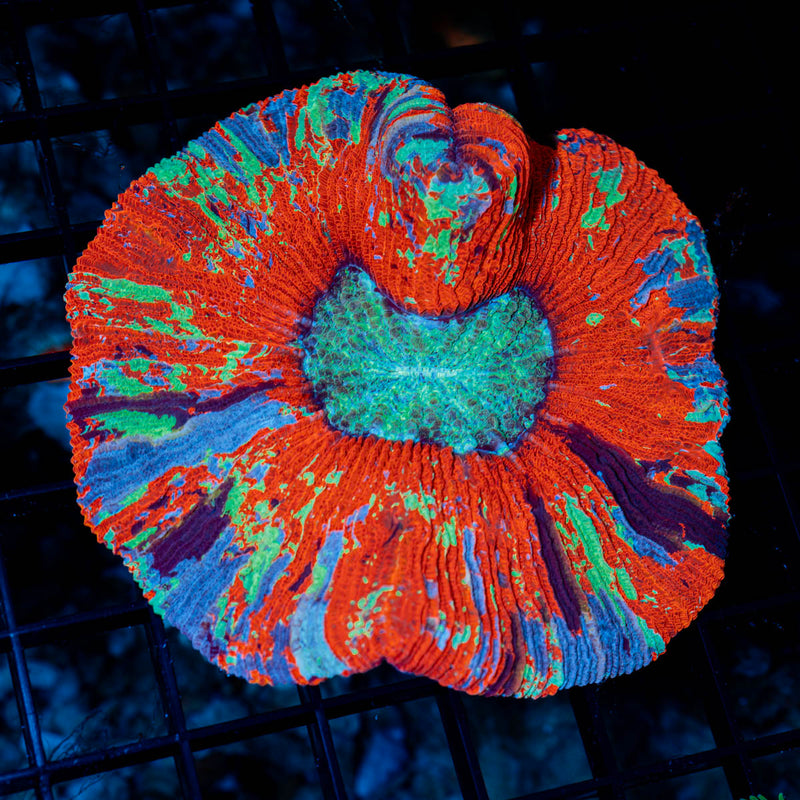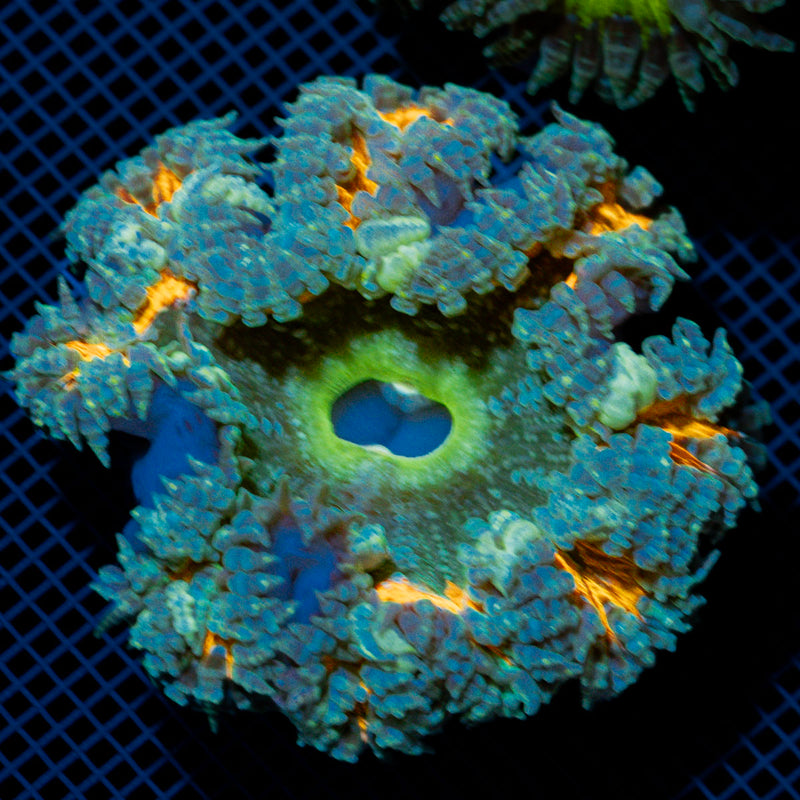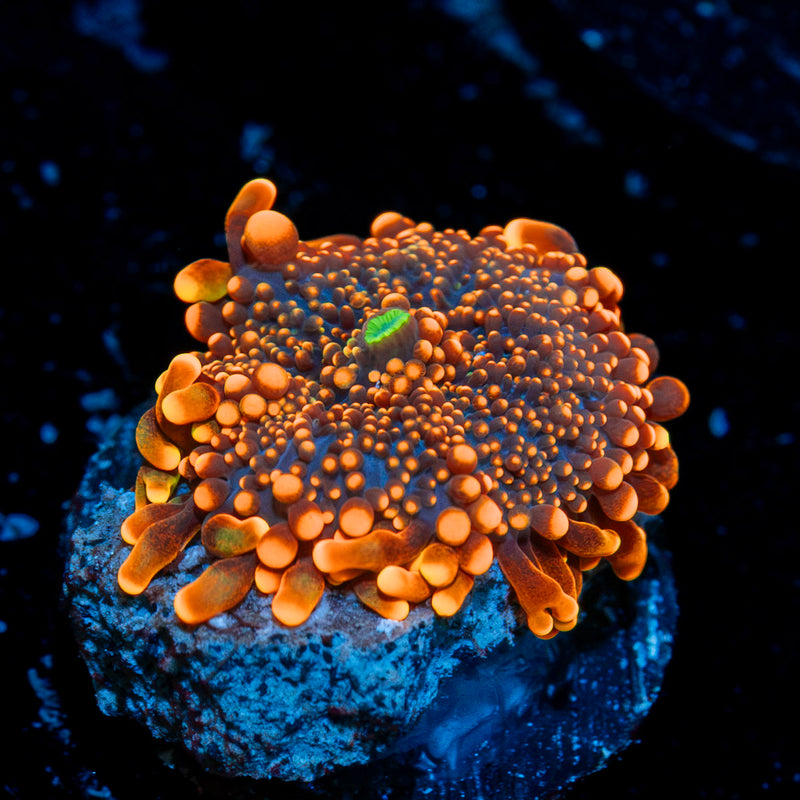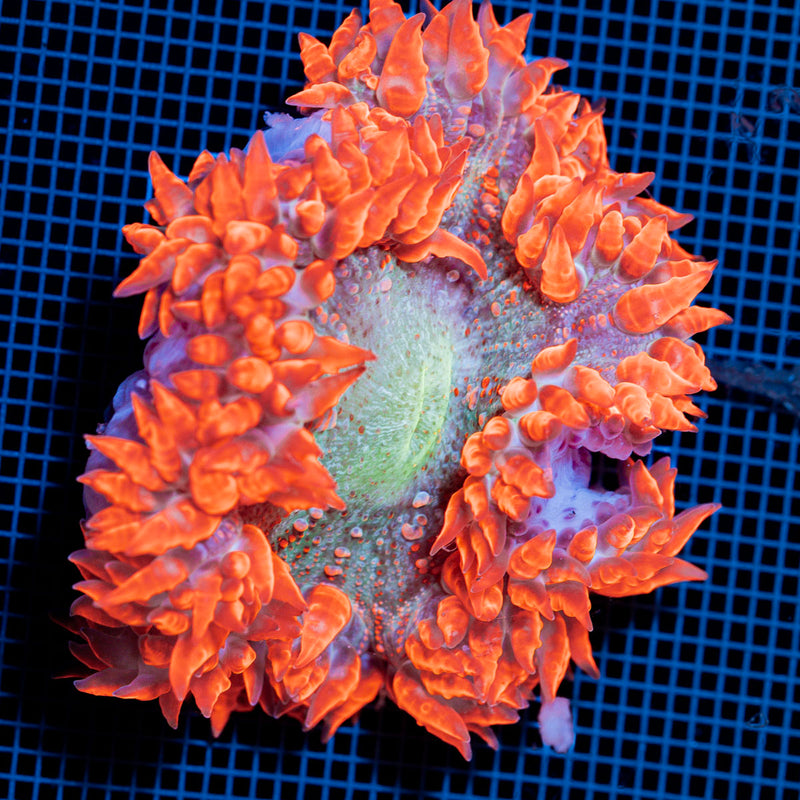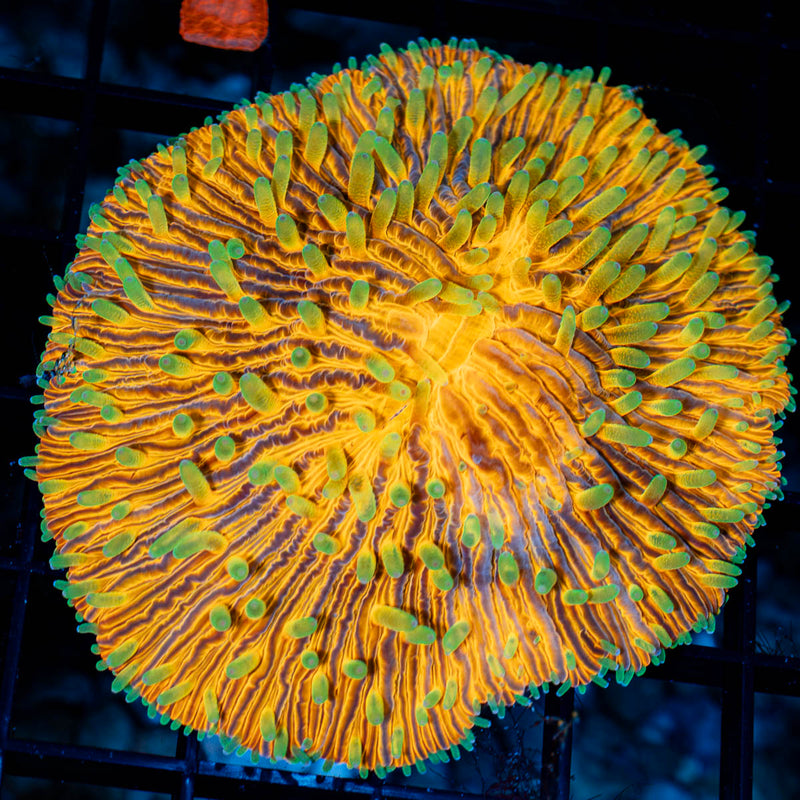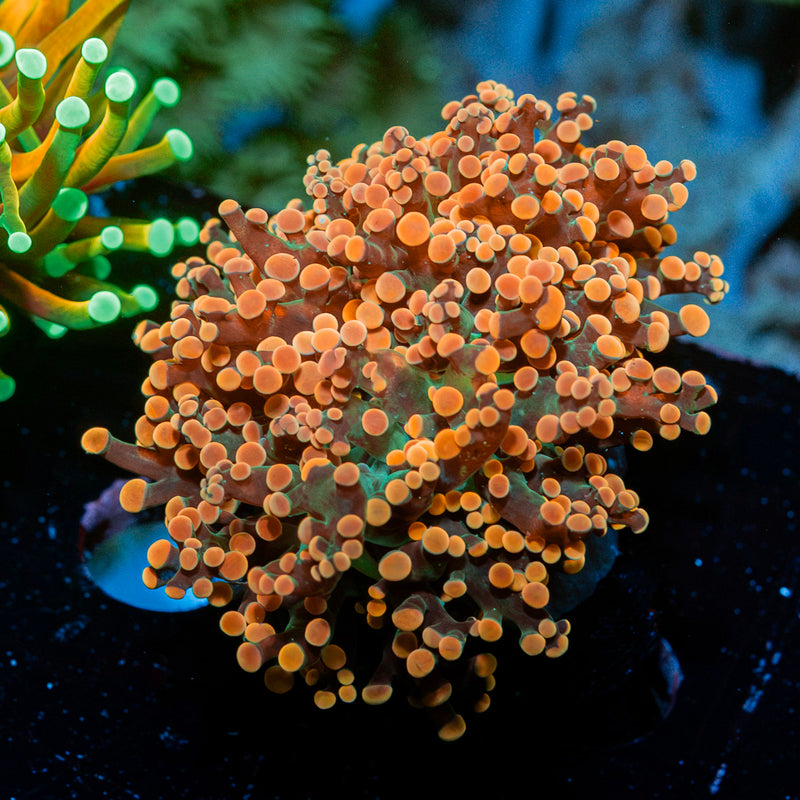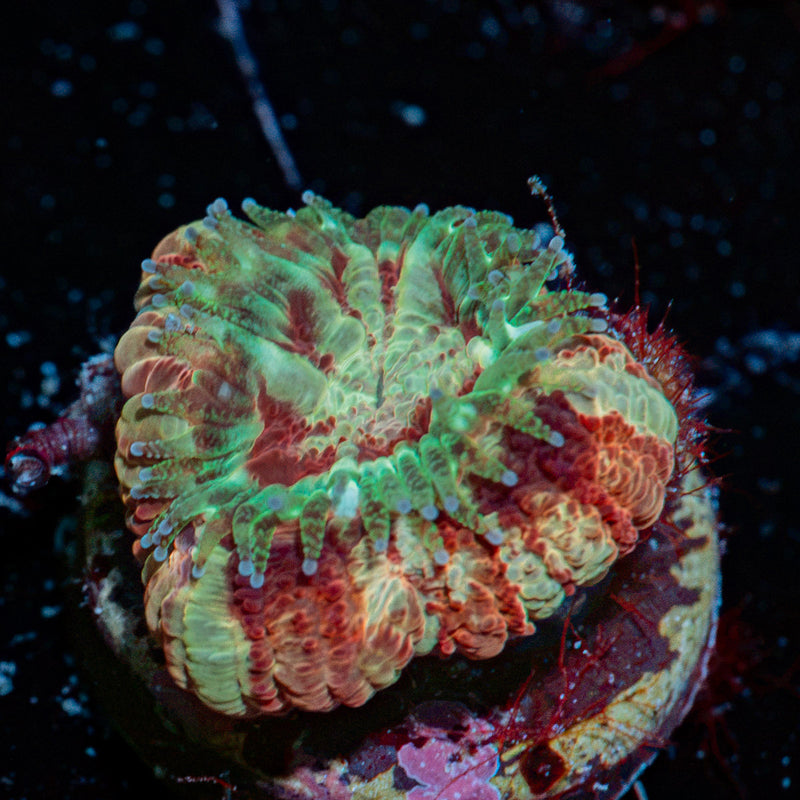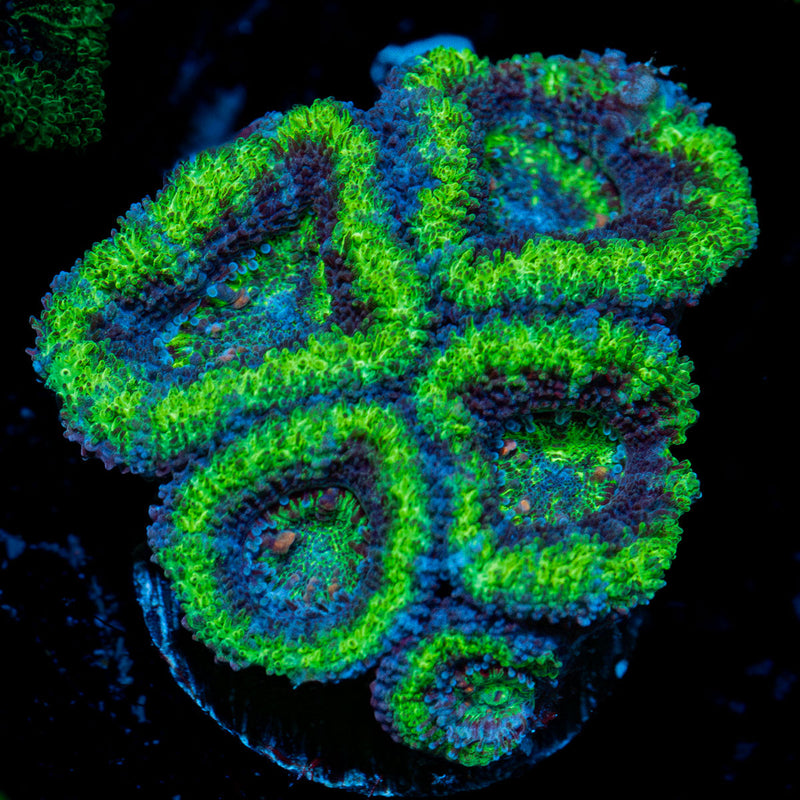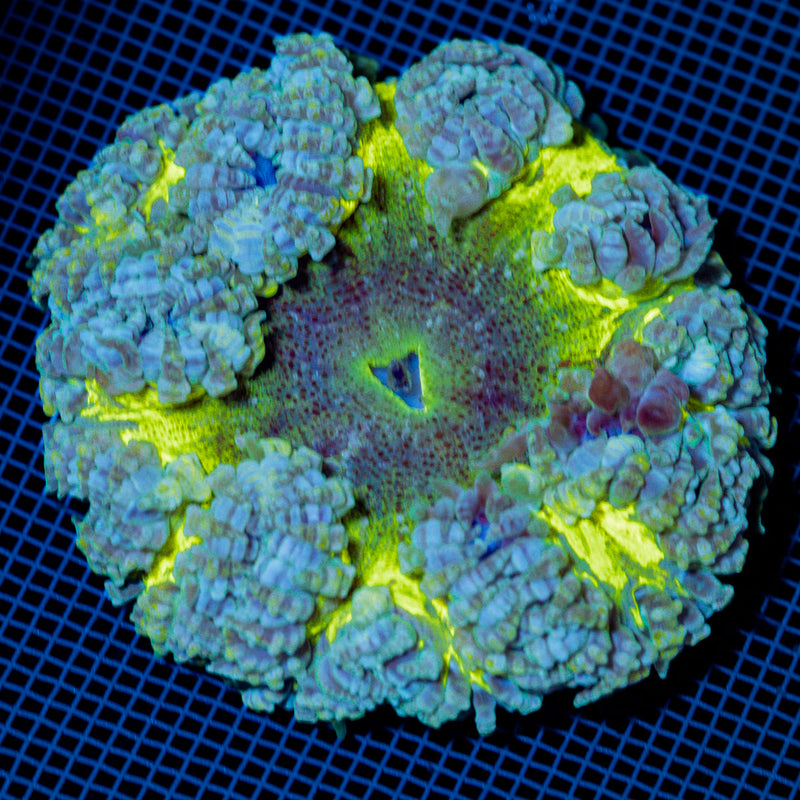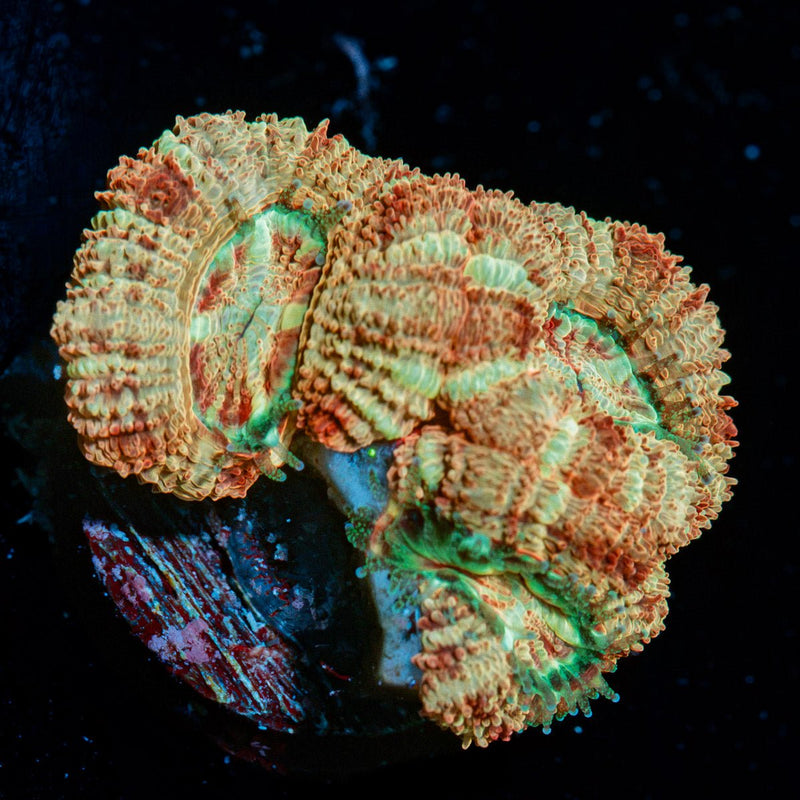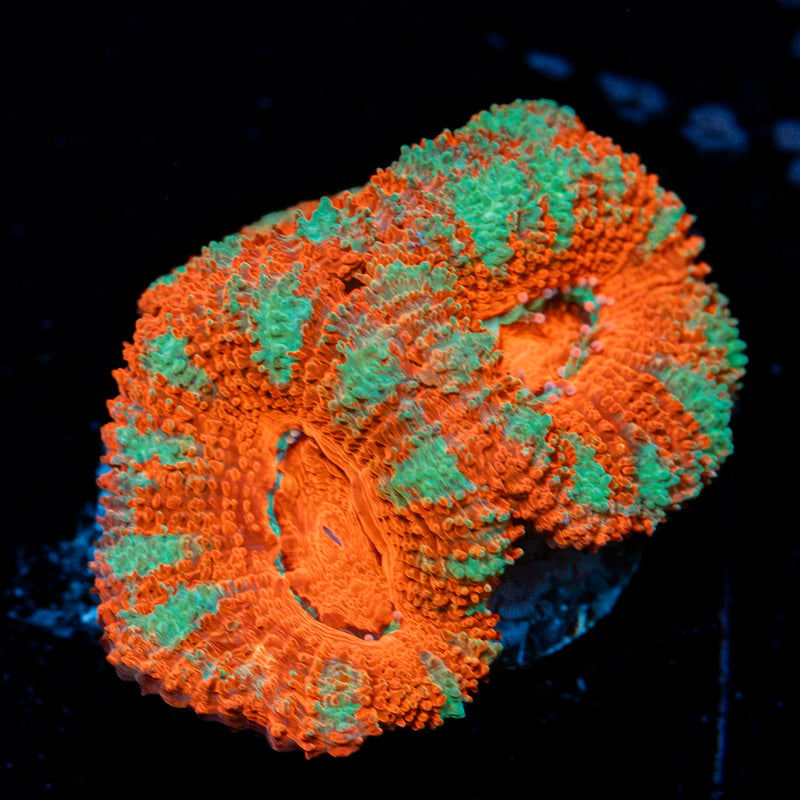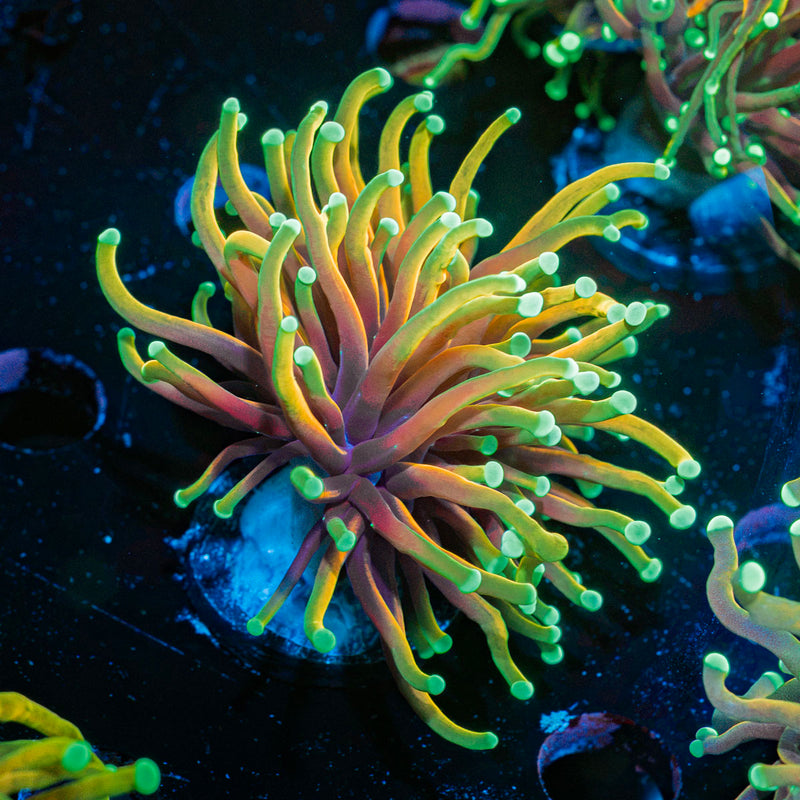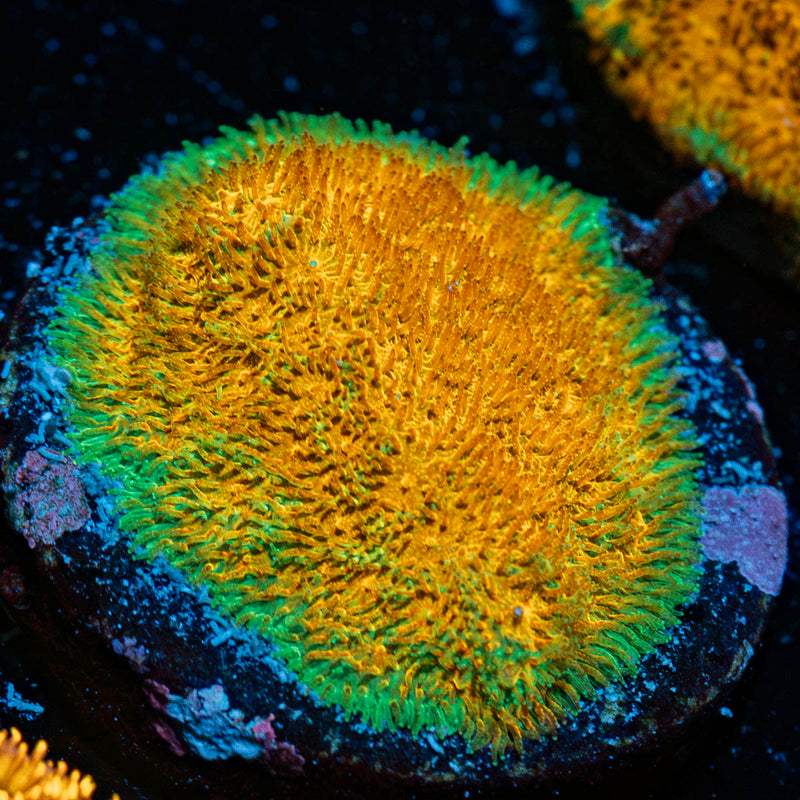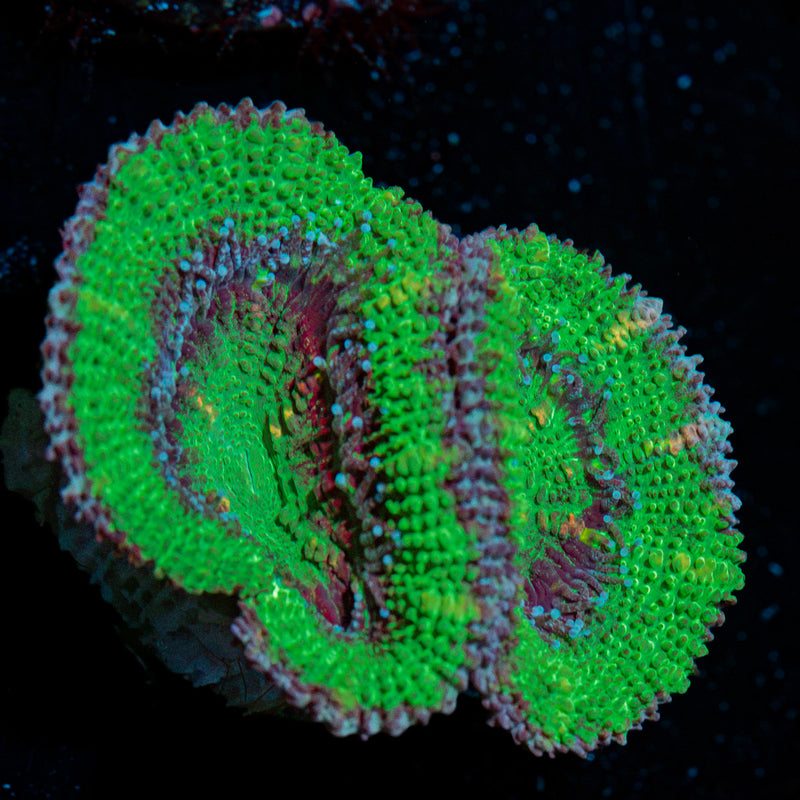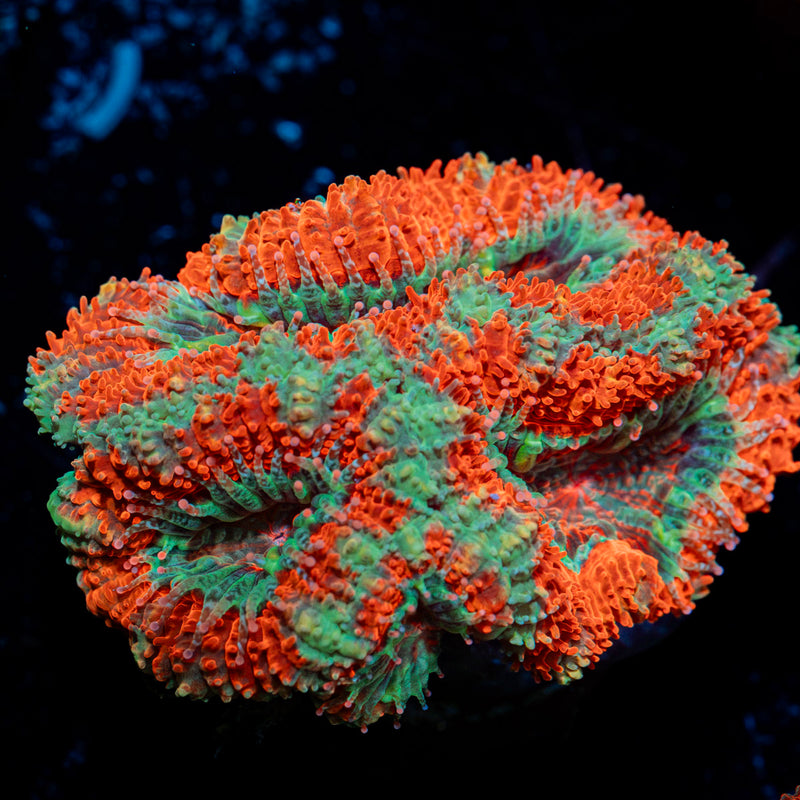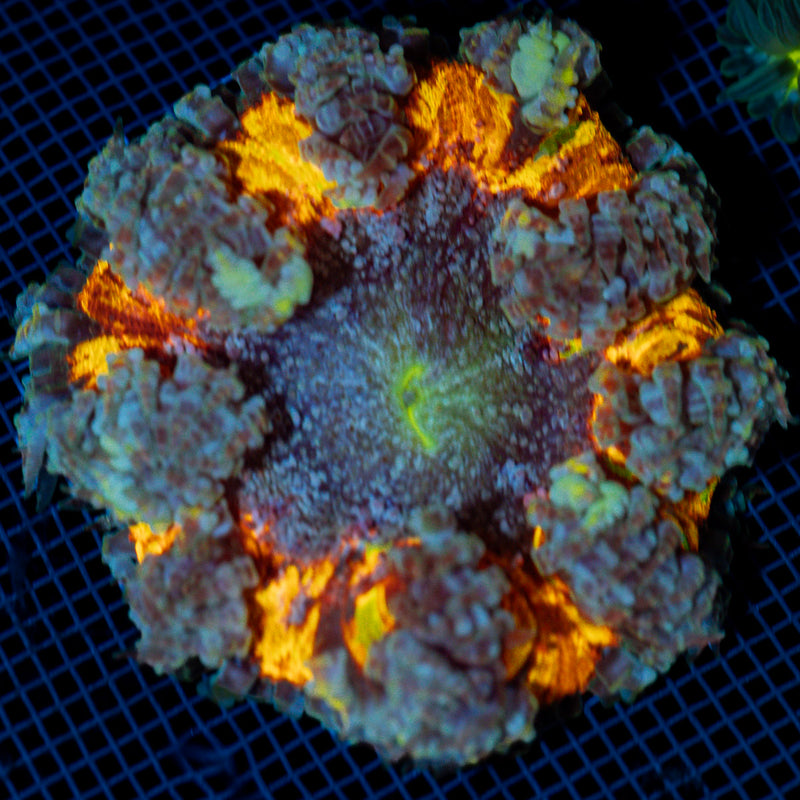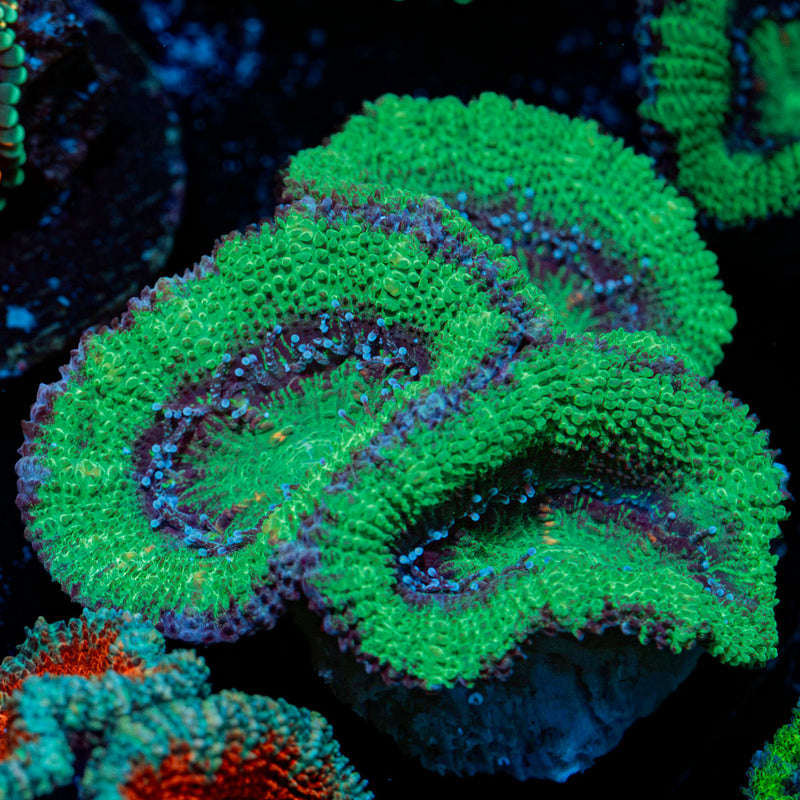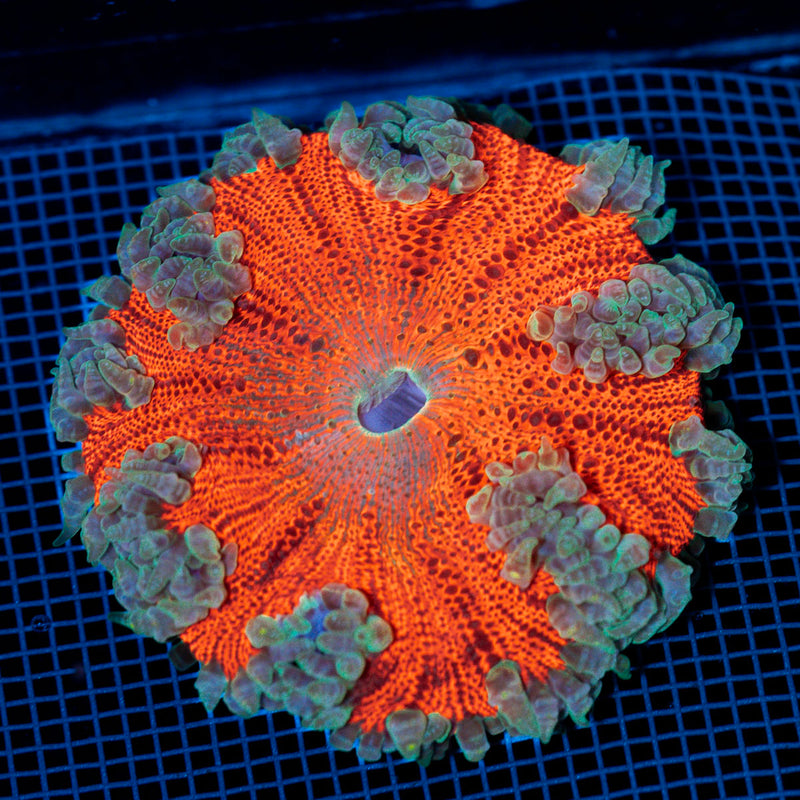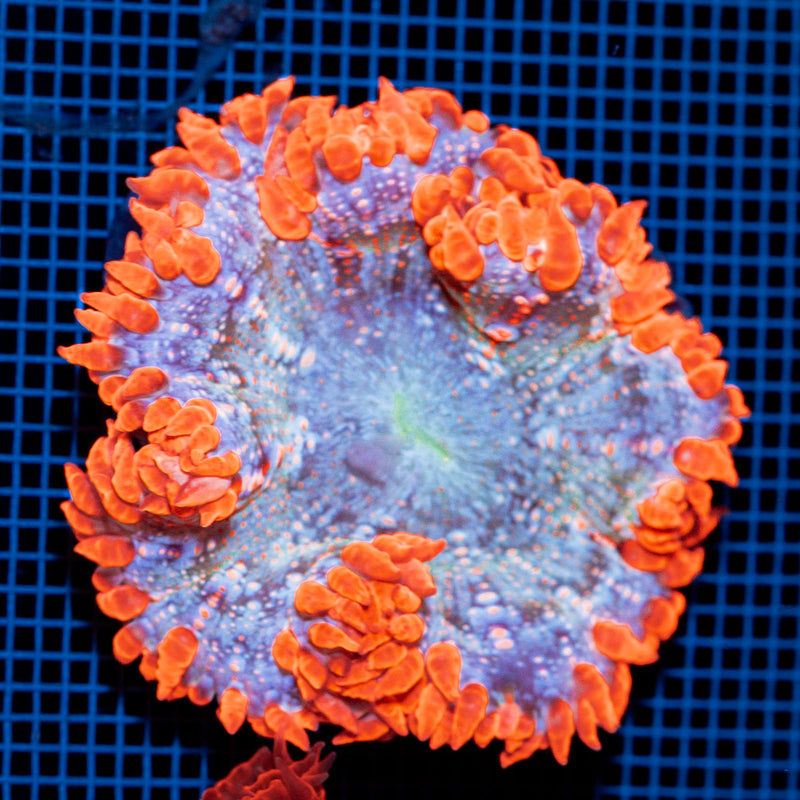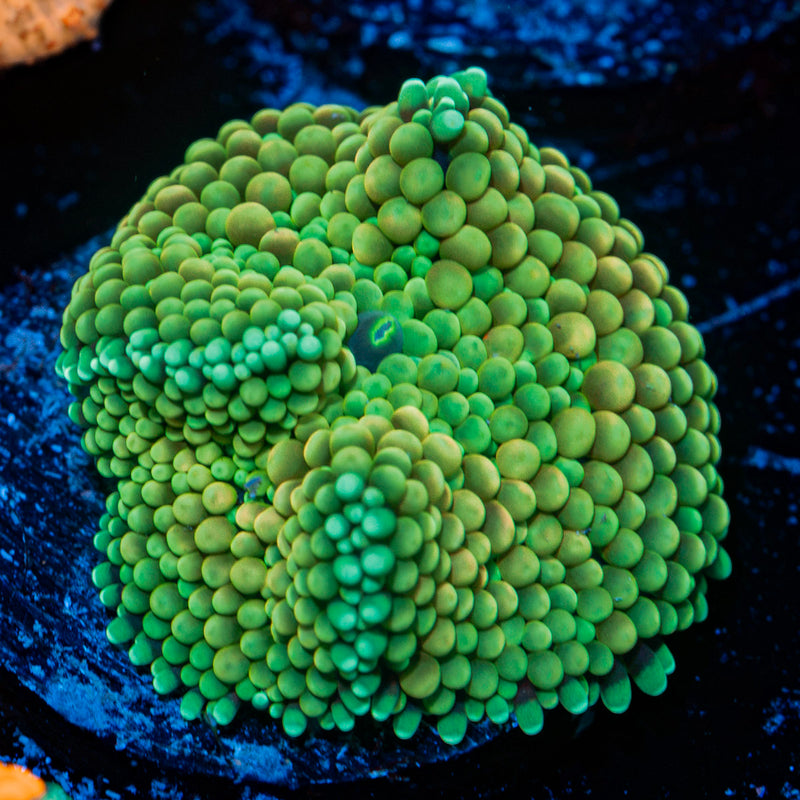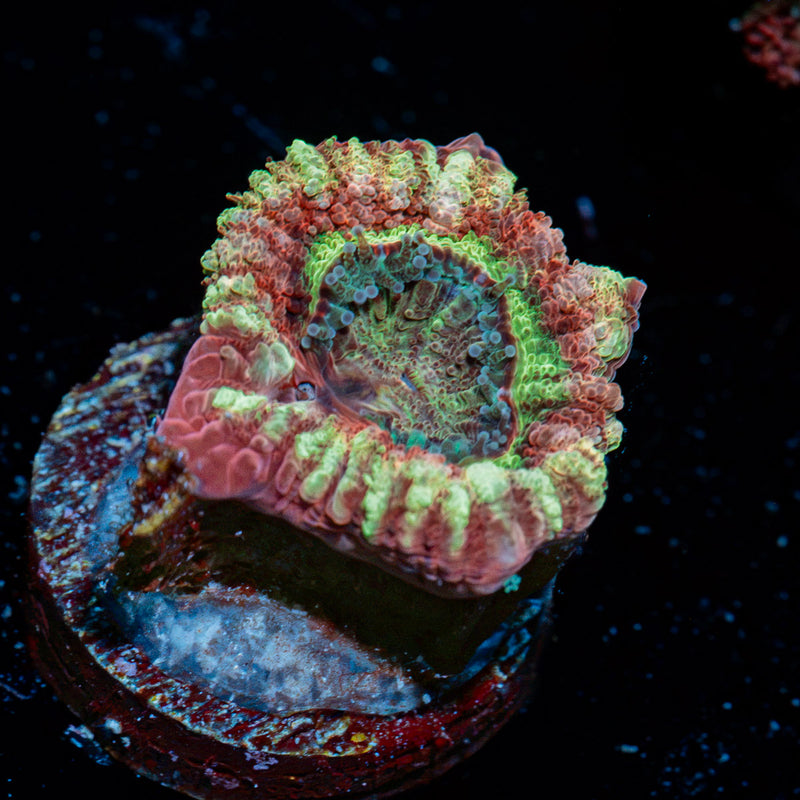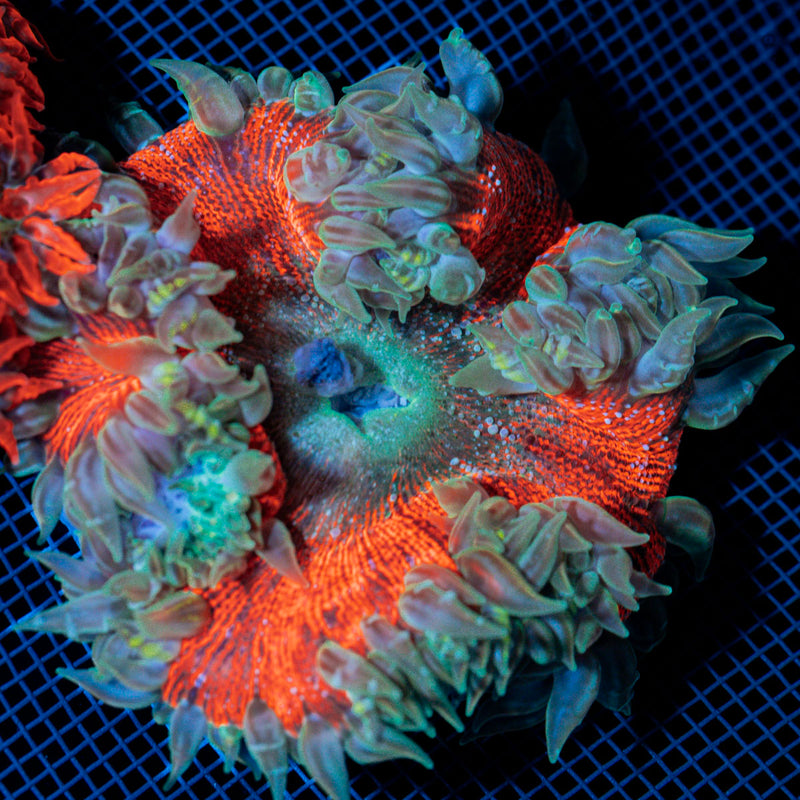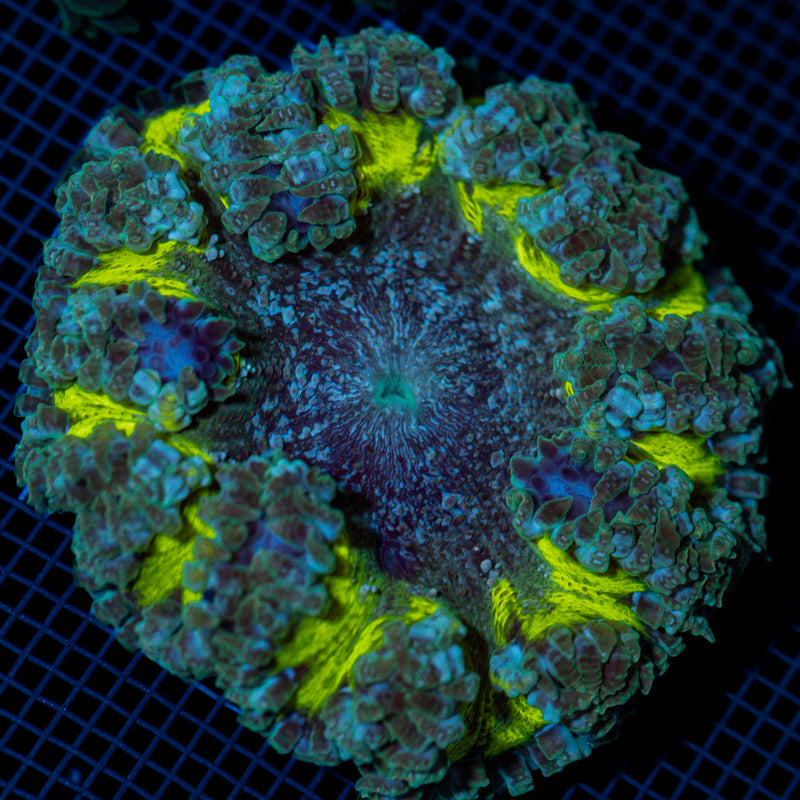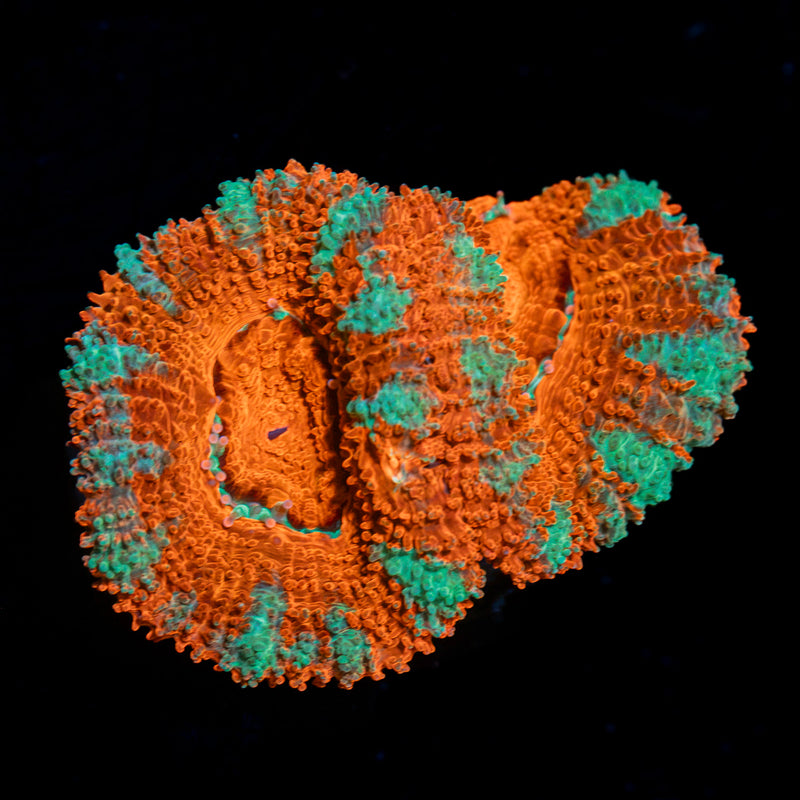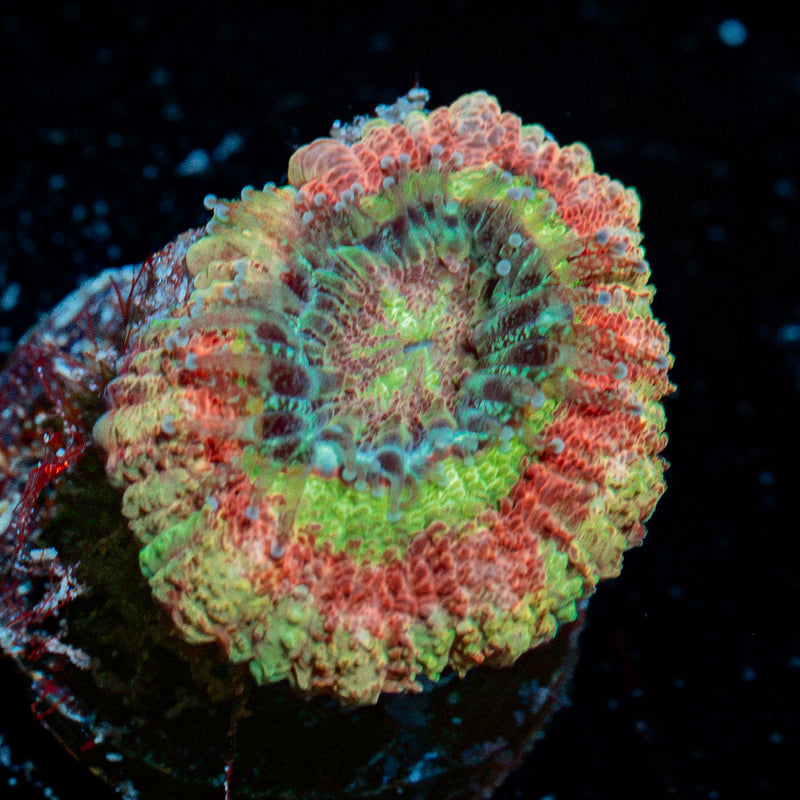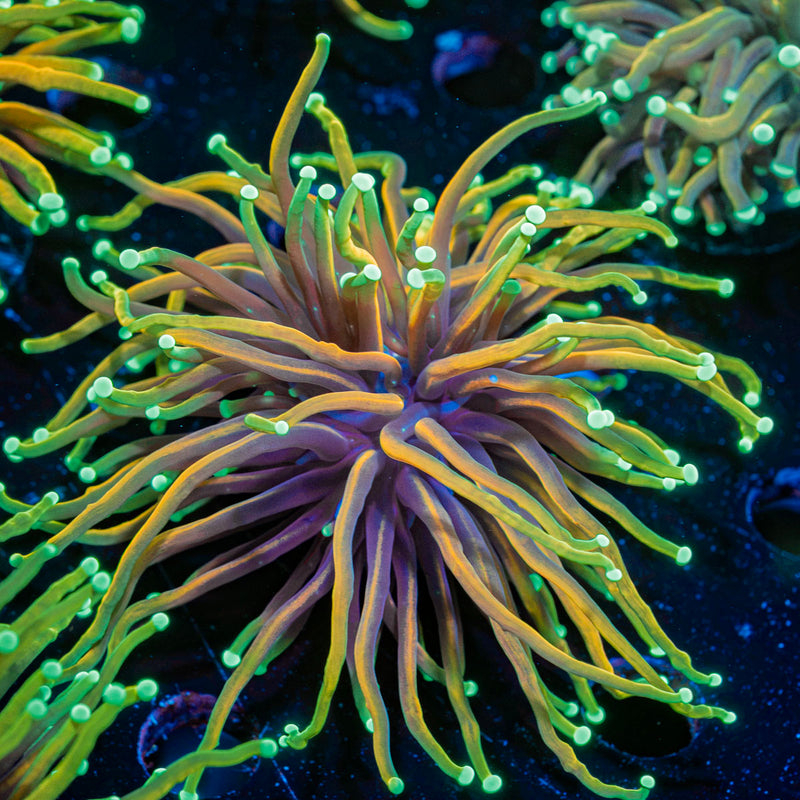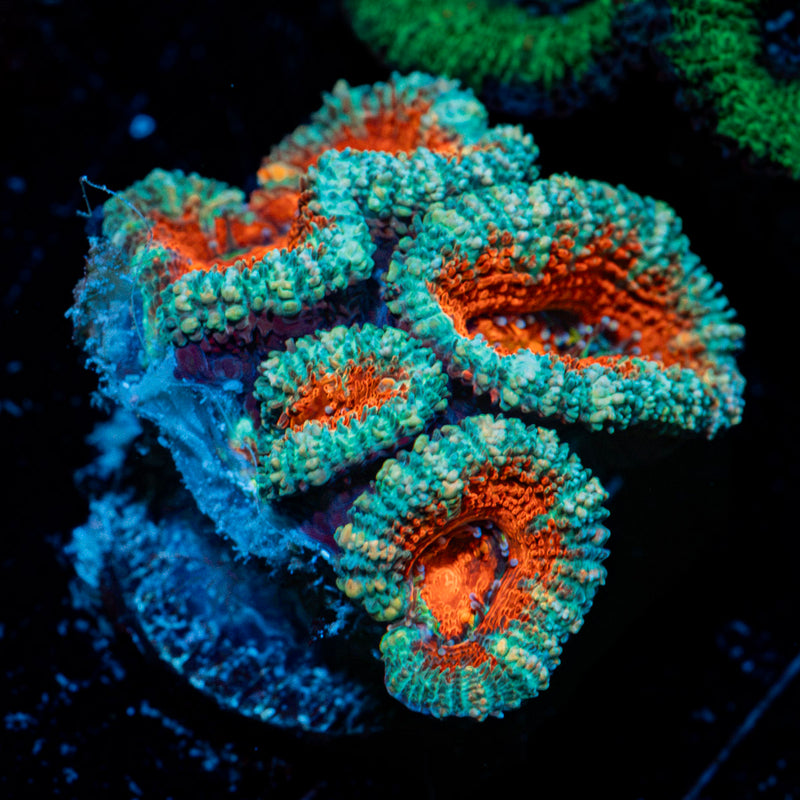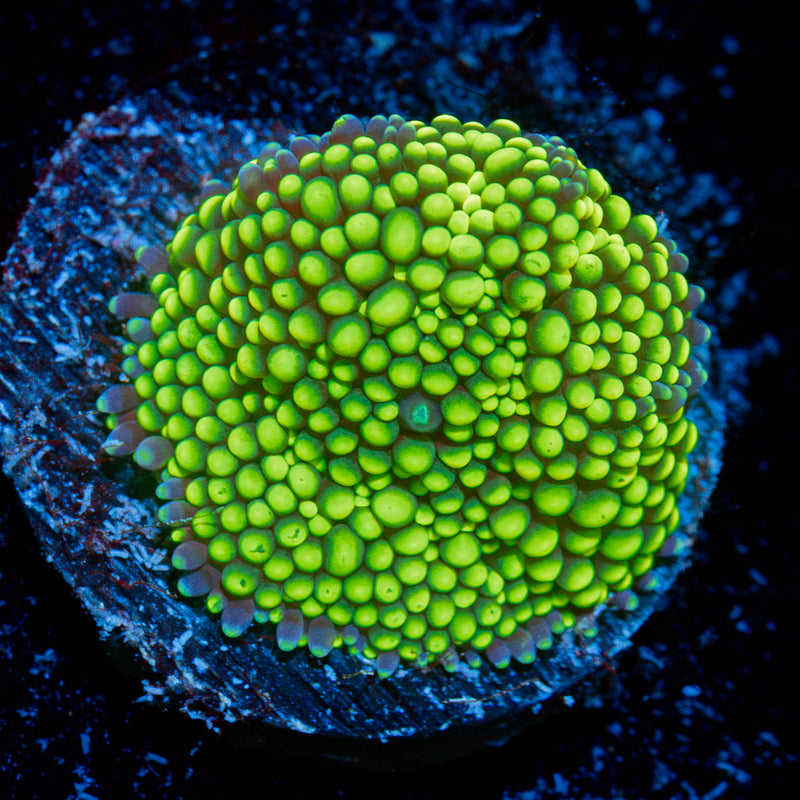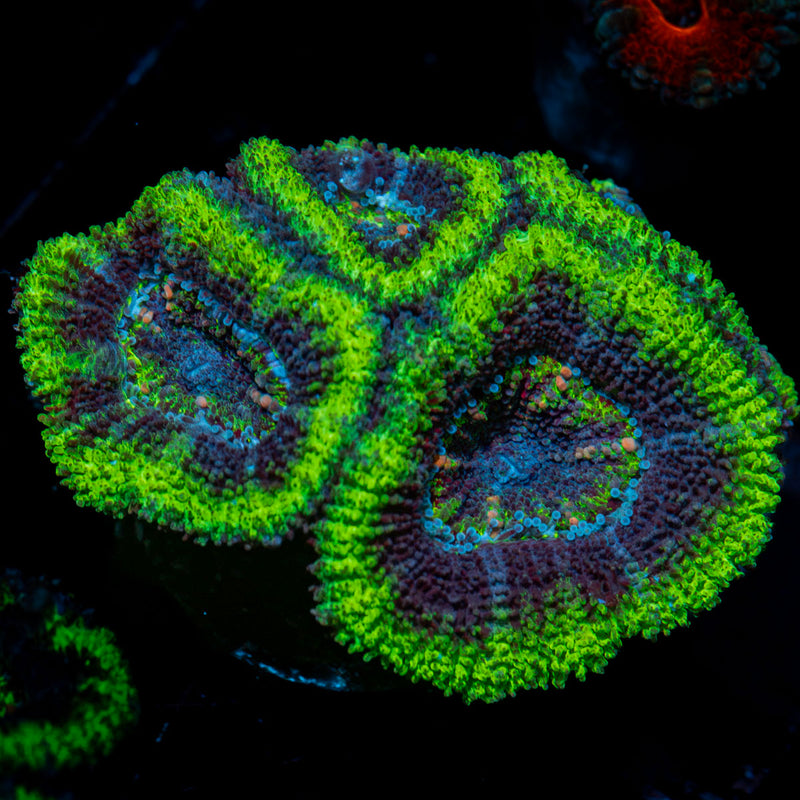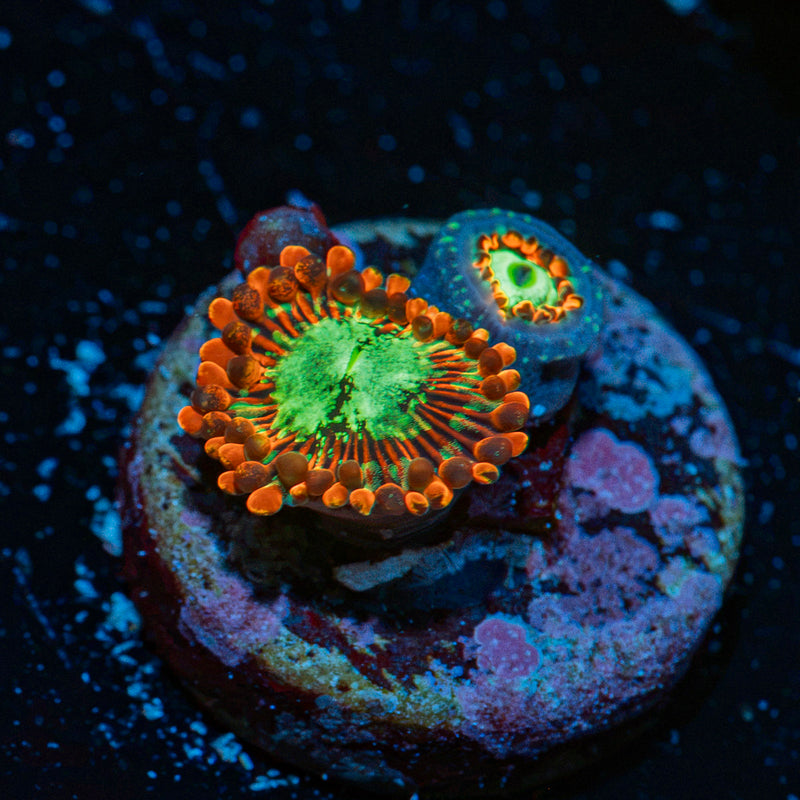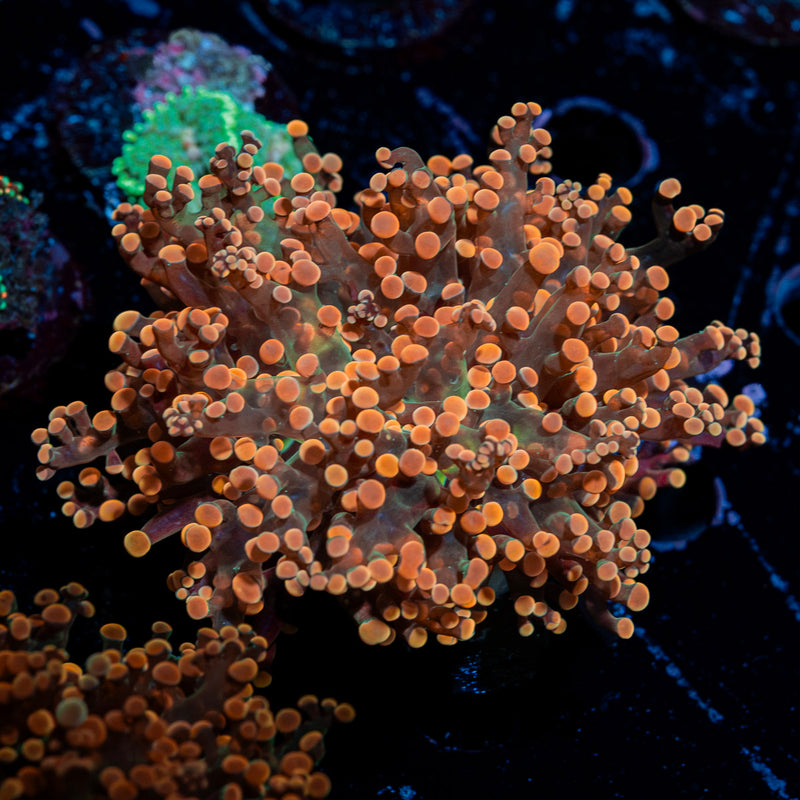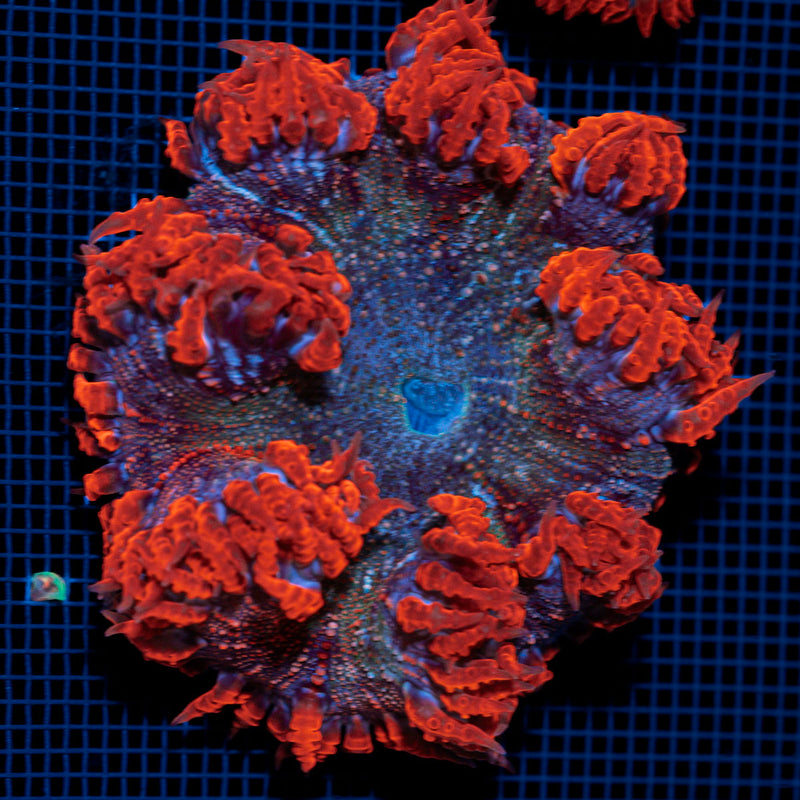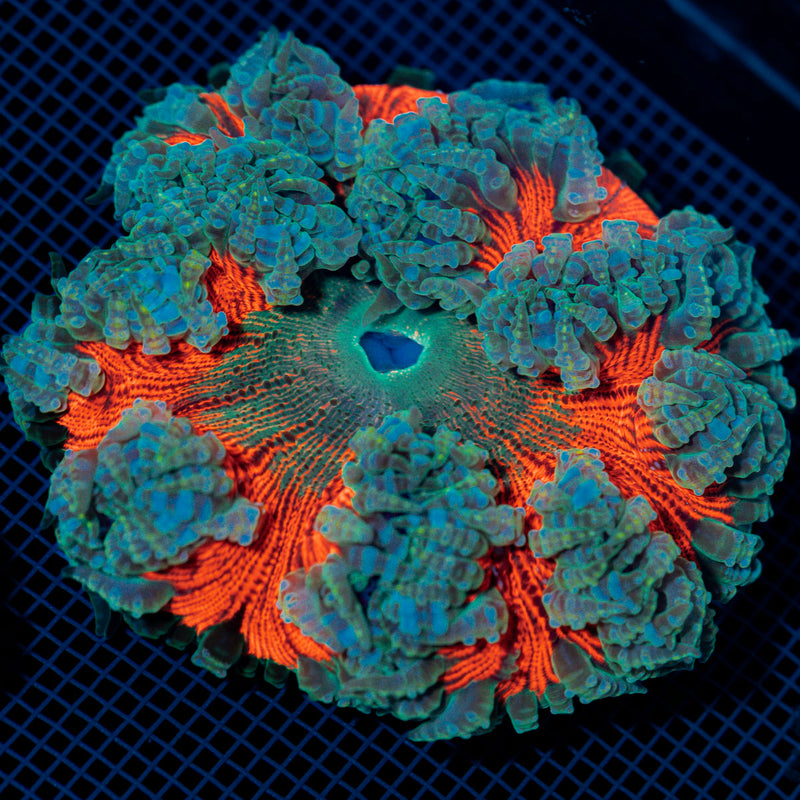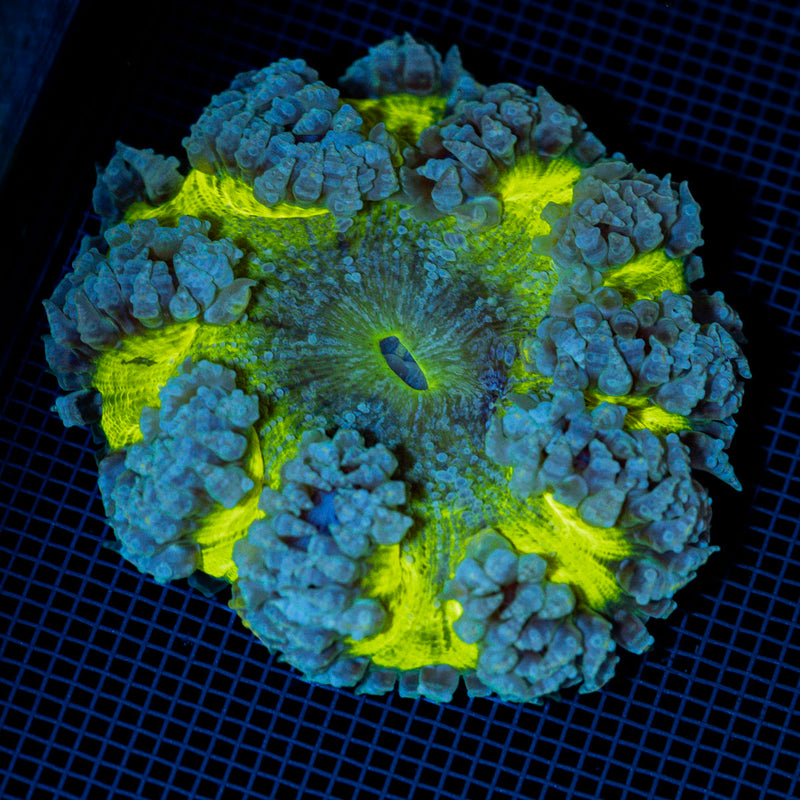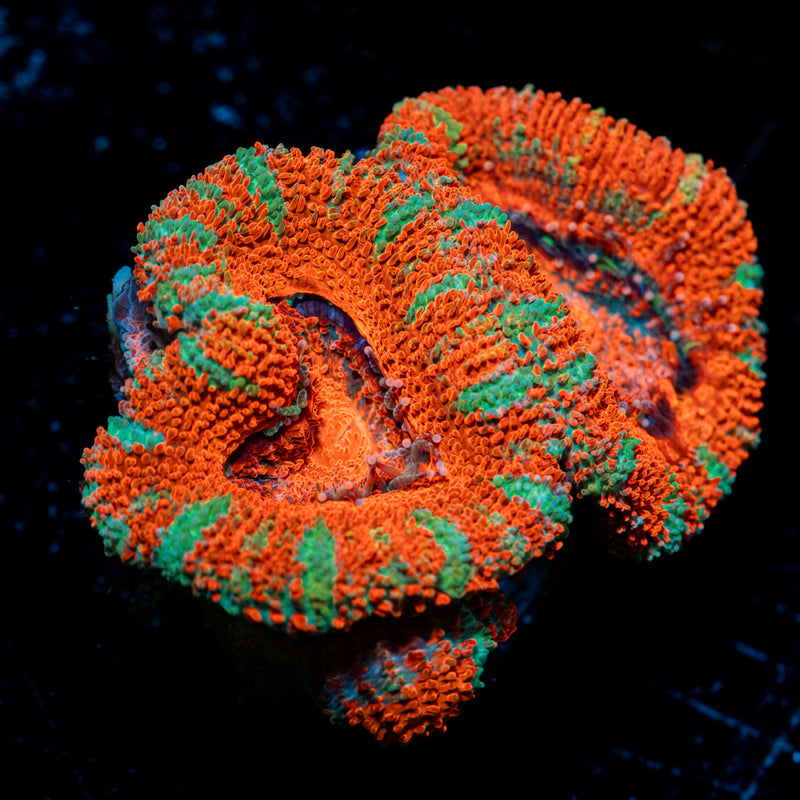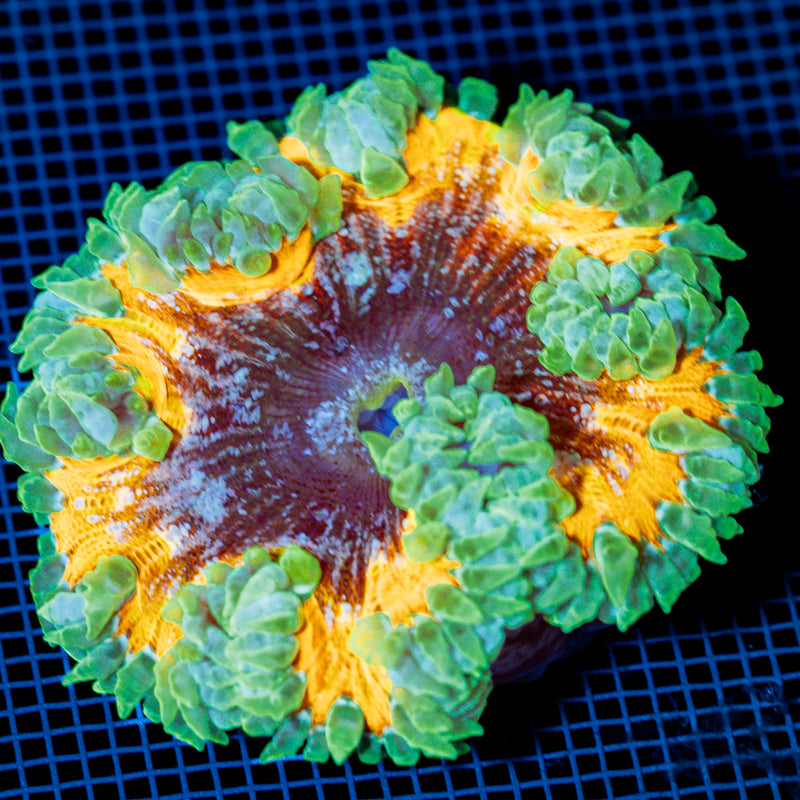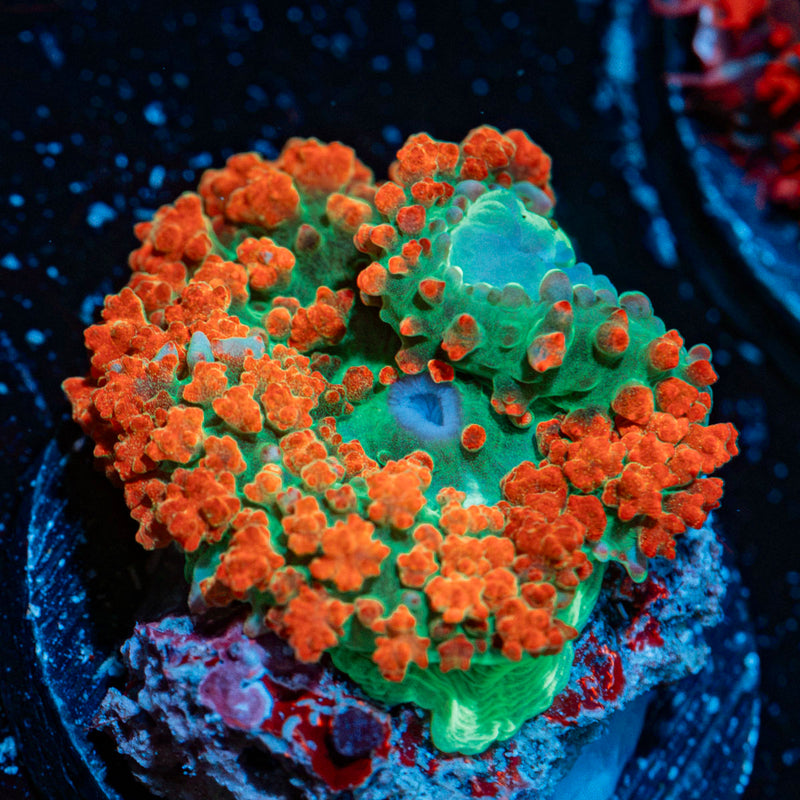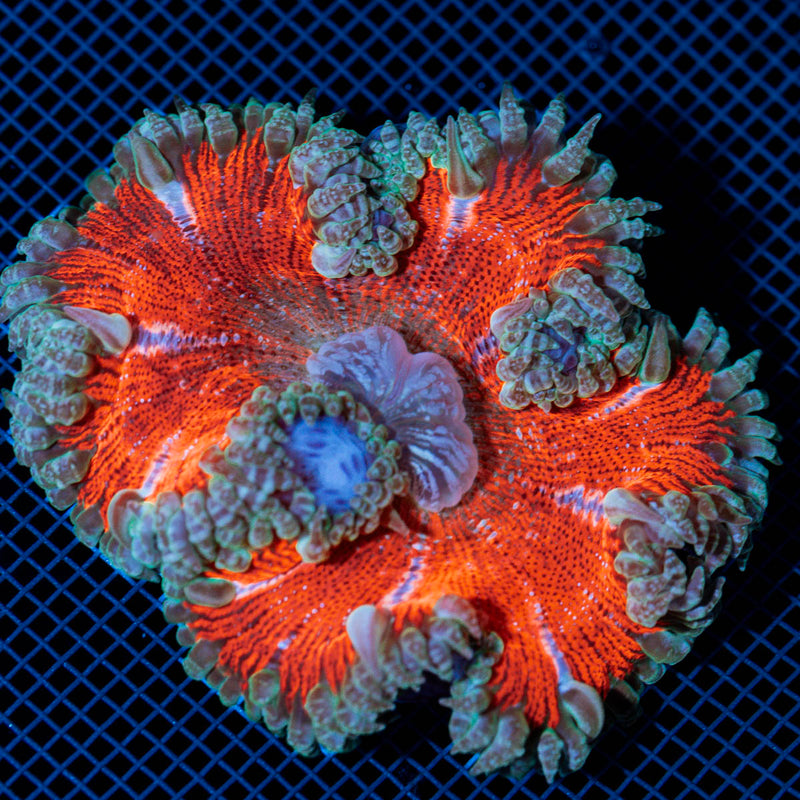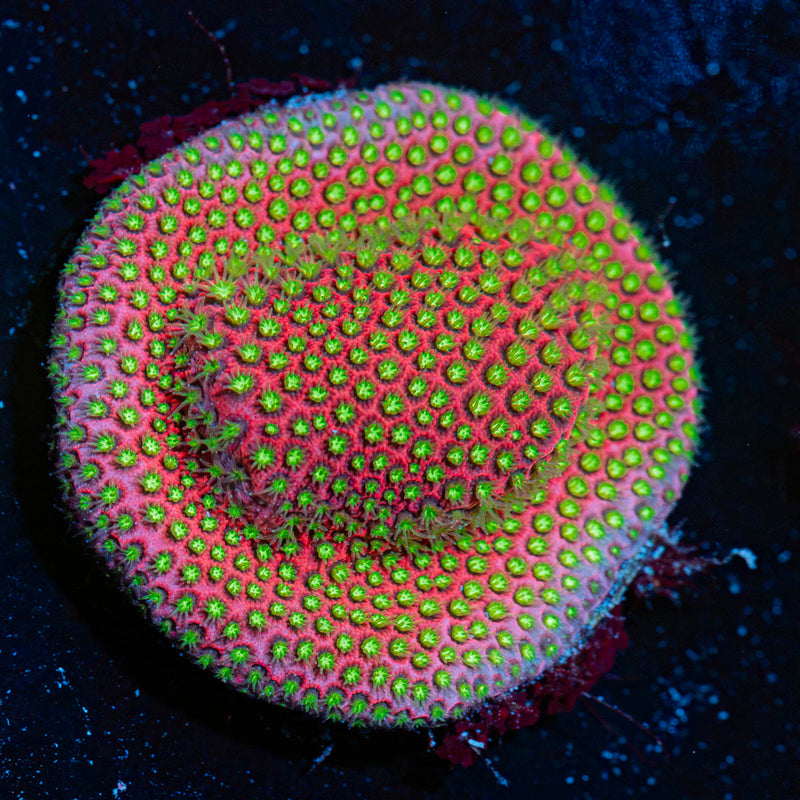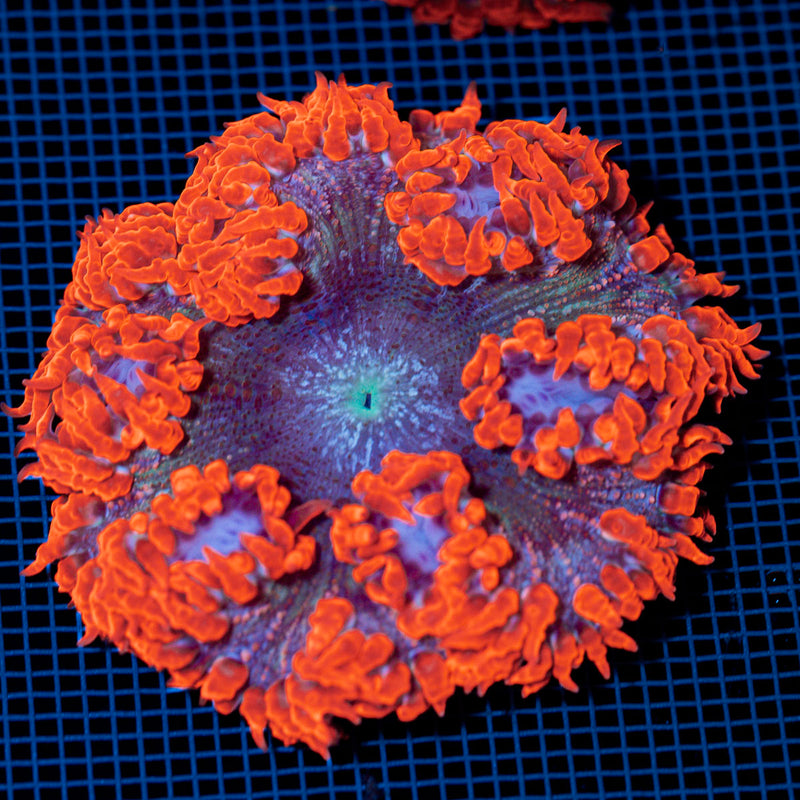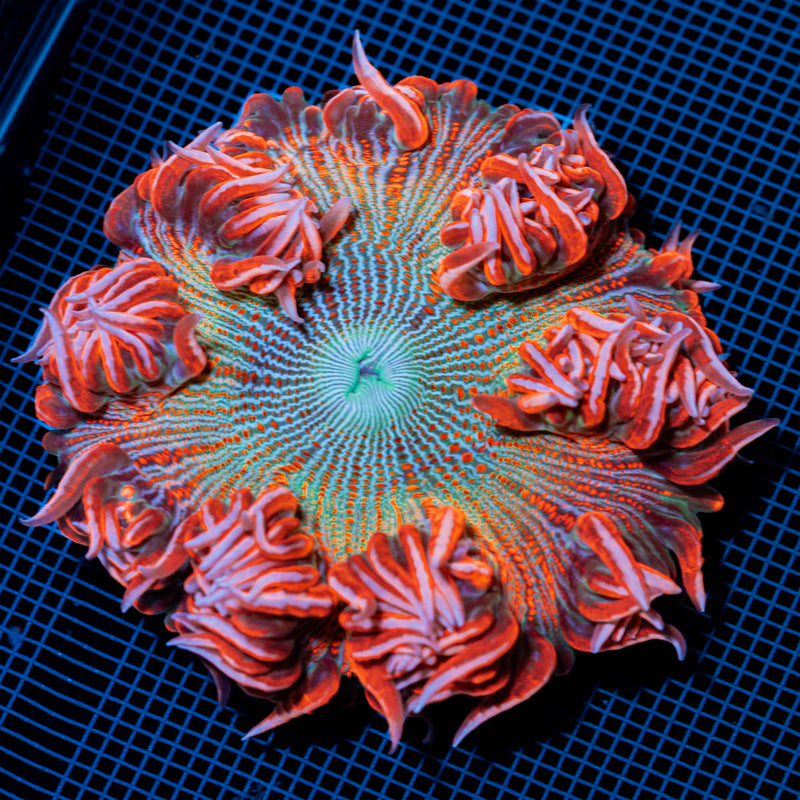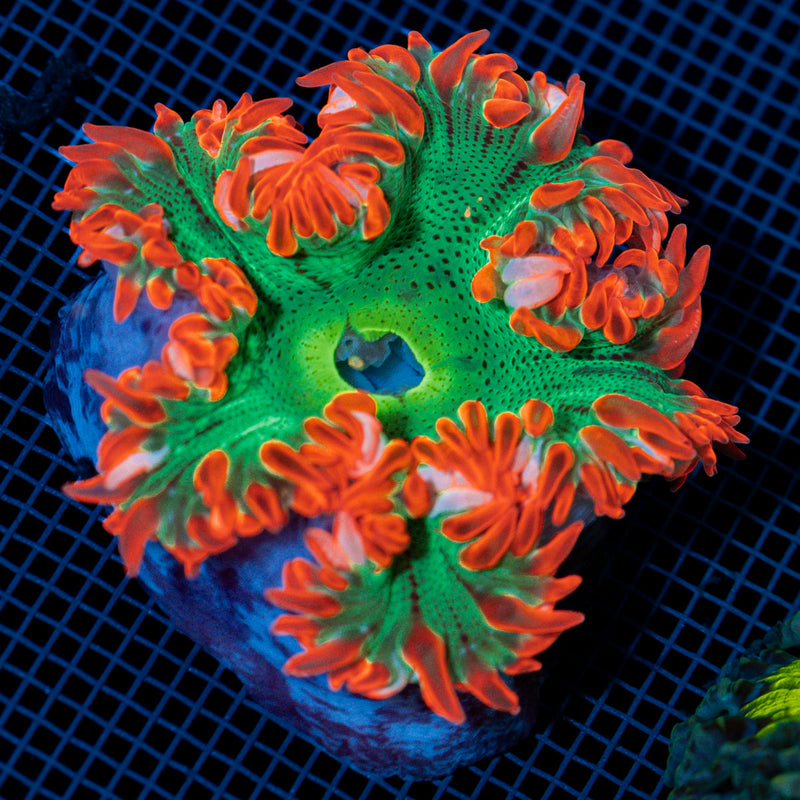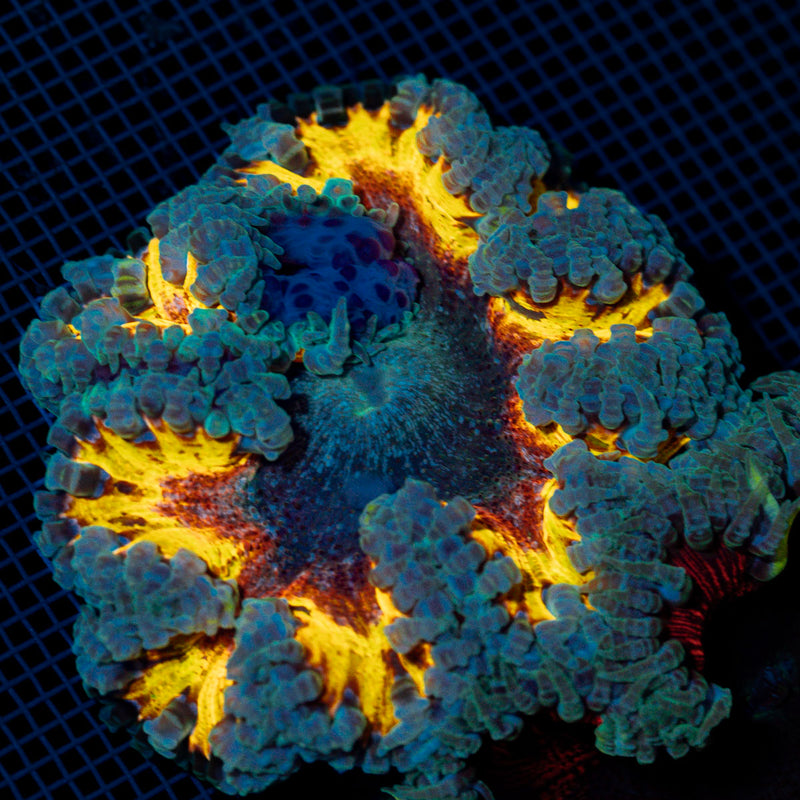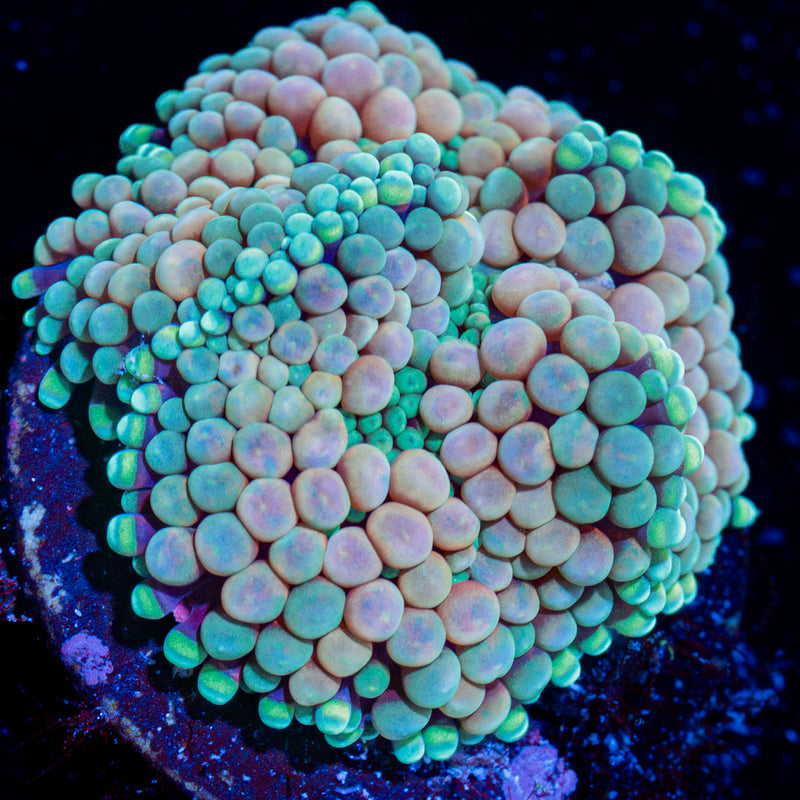
A single frag can look like a perfect little jewel under blue lights and still bring in flatworms, nudibranchs, algae, or bacterial trouble you do not want anywhere near your display. That is why a coral quarantine setup is not overkill - it is one of the smartest ways to protect the color, growth, and long-term stability of your reef.
For beginners, quarantine feels like one more tank to buy and one more routine to manage. For experienced reef keepers, it can feel tempting to skip when a new piece looks clean and healthy. But coral pests are good at hiding, and some of the worst problems start small. A simple quarantine system gives you time to inspect, dip, observe, and let new corals settle in before they join the main reef.
Why a coral quarantine setup matters
Coral quarantine is really about risk control. You are not trying to create a forever home. You are creating a temporary holding environment where you can catch problems early without exposing your entire display.
That matters because corals often arrive a little stressed from shipping, even when they are healthy and well packed. Fresh cuts, retracted tissue, and muted color can make it harder to spot issues on day one. In a quarantine tank, you can watch how the frag responds over several days or weeks, see whether polyp extension improves, and inspect for hitchhikers under calmer conditions.
It also helps with placement decisions. A torch that looked bright and puffy in a vendor photo may still need time before it is ready for your display's full light and flow. An SPS frag may look stable at first, then start showing bite marks a week later. Quarantine buys you clarity.
What makes a good coral quarantine setup
A good setup is stable, easy to inspect, and easy to clean. It does not need to be fancy. In fact, simpler is usually better because you want fewer places for pests to hide and fewer variables to chase.
Most hobbyists do well with a small bare-bottom aquarium in the 10 to 20 gallon range. That size is affordable, manageable, and large enough for a reasonable mix of frags. Bare bottom makes it much easier to siphon out debris, inspect for pests, and avoid absorbing medications or dips into sand and rock.
You will need a heater and a reliable thermometer to keep temperature steady. A small powerhead is useful for moderate flow, but avoid blasting fresh frags. Lighting should match the kind of coral you typically buy, but quarantine is not the place to chase peak coloration. You want enough light to keep corals healthy while they recover and adjust.
A simple frag rack is almost always better than stacking frags on the bottom. It keeps pieces organized, makes inspection easier, and helps you separate corals if one starts looking questionable. Many reef keepers also run a basic filter, such as a sponge filter or a small hang-on-back filter, mainly for biological support and water movement.
Equipment to keep it simple
If you are building your first coral quarantine setup, keep the gear list practical. You need the tank, heater, thermometer, flow, light, and some form of filtration. You will also want coral dip, separate tools like tweezers and cutters, a flashlight for inspections, and a few dedicated containers for dipping and rinsing.
The big idea is separation. Do not share water, tools, plugs, or racks between quarantine and your display unless they have been cleaned and dried properly. Cross-contamination is one of the easiest ways to undo the whole point of quarantine.
This is also one area where used equipment can be a smart buy, as long as it is clean and dependable. A quarantine tank does not need show-tank aesthetics. It needs consistency.
Setting up the tank before corals arrive
The best time to think about quarantine is before the box lands on your doorstep. Have the tank cycled or at least biologically ready, with salinity and temperature matched closely to the system you plan to keep the corals in long term.
Stable parameters matter more than chasing some perfect universal number. Most corals will tolerate a range if the tank is steady. Big swings in alkalinity, salinity, or temperature are far harder on fresh arrivals than being slightly above or below your ideal target.
Keep the interior minimal. Skip live rock if your goal is strict observation and easy pest control. Rock creates hiding spots for hitchhikers and makes it harder to inspect or treat the system. Some hobbyists use inert frag tiles or small sections of PVC for structure, but even that is optional.
When the tank is ready, test it like you would a small display. Make sure the heater holds temperature, the flow pattern is not too aggressive, and evaporation is manageable. Small tanks can swing quickly, so top-off discipline matters.
How to receive and process new corals
When new corals arrive, resist the urge to rush them straight into the quarantine tank. Start by checking the bags, looking for obvious tissue damage, foul odor, or excessively cloudy water. Then acclimate with intention, not habit.
For many corals, temperature matching and a careful transfer are more important than a long drip acclimation, especially if shipping water quality has declined. After that, inspect each frag closely. Look at the plug, the underside, the frag rack contact points, and any crevices around the base. Pests and eggs often hide where you are least likely to glance.
A coral dip is a useful first line of defense, but it is not magic. Dips can help knock off many pests, yet they do not reliably solve every problem and often do not affect eggs. That is why observation matters just as much as dipping.
If a plug looks suspicious or overly encrusted with algae, sponge, or debris, many hobbyists prefer to remove the coral from the original plug and remount it to a clean one. That extra step can dramatically reduce the chance of importing something unwanted.
Observation is where quarantine pays off
The first few days are usually about recovery. You are watching for tissue recession, unusual slime, closed polyps, bleaching, pest activity, and how the coral responds to light and flow. Not every unhappy coral is infected or infested. Sometimes a new frag just needs a little time.
This is where trade-offs come in. A shorter quarantine may feel convenient, but some pests are easy to miss if you only observe for a few days. A longer quarantine gives you better odds of spotting trouble, but it also requires more consistency with maintenance and parameter control. Many reef keepers aim for a few weeks, then extend if anything looks questionable.
Keep notes if you are managing multiple pieces. It helps more than most people expect. A quick record of arrival date, dip date, and visible changes makes it easier to spot patterns and decide when a coral is truly ready for the display.
Lighting and flow during quarantine
This is one of the most common places people make quarantine harder than it needs to be. New corals do not need to be blasted with display-level intensity on day one. They need enough light to stay healthy while they recover from shipping and settle into your care.
For LPS, soft corals, zoanthids, and mushrooms, moderate light and gentle to moderate flow are usually a comfortable starting point. SPS often need stronger conditions eventually, but even then, a measured ramp-up is safer than sudden intensity.
Watch the coral, not just the settings. A vibrant hammer with good extension tells you more than a number on a light schedule. A pale acro with reduced polyp extension may need adjustment. Quarantine is a controlled environment, which makes these signals easier to read.
Common mistakes to avoid
The biggest mistake is treating quarantine like a spare tank you can ignore. Small systems can shift fast, and fresh corals are not forgiving of unstable conditions. If you set one up, commit to checking it.
Another common error is overcrowding. It is tempting when a shipment includes several stunning frags, but packed racks make inspection harder and increase the chance of stings, shading, and stress. Give each coral room.
The last big one is assuming a dip equals quarantine. It does not. Dipping is a step. Quarantine is a process.
When to move coral into the display
A coral is ready when it looks stable, pest-free, and adjusted to captive conditions. That can mean good extension, consistent tissue health, normal coloration for the species, and no signs of hitchhikers after repeated inspection.
Before transfer, think about the jump from quarantine to display. Match salinity and temperature, and be realistic about light. A beginner-friendly mushroom or zoa may transition easily. A bright, high-end SPS frag may need a more careful placement plan. Healthy aquacultured corals usually adapt well, but even beautiful, hardy pieces benefit from patience.
For reef keepers building a tank full of colorful, living jewels, quarantine is not the glamorous part of the hobby. It is the protective part. It keeps one exciting purchase from turning into months of frustration, and it gives every new frag a calmer, cleaner start before it earns its place in the display.