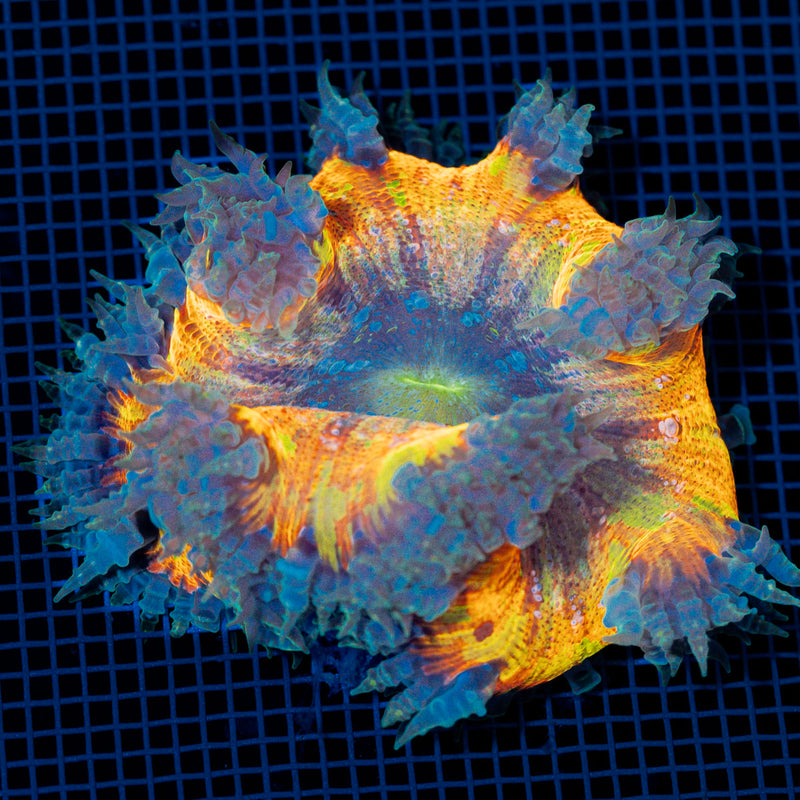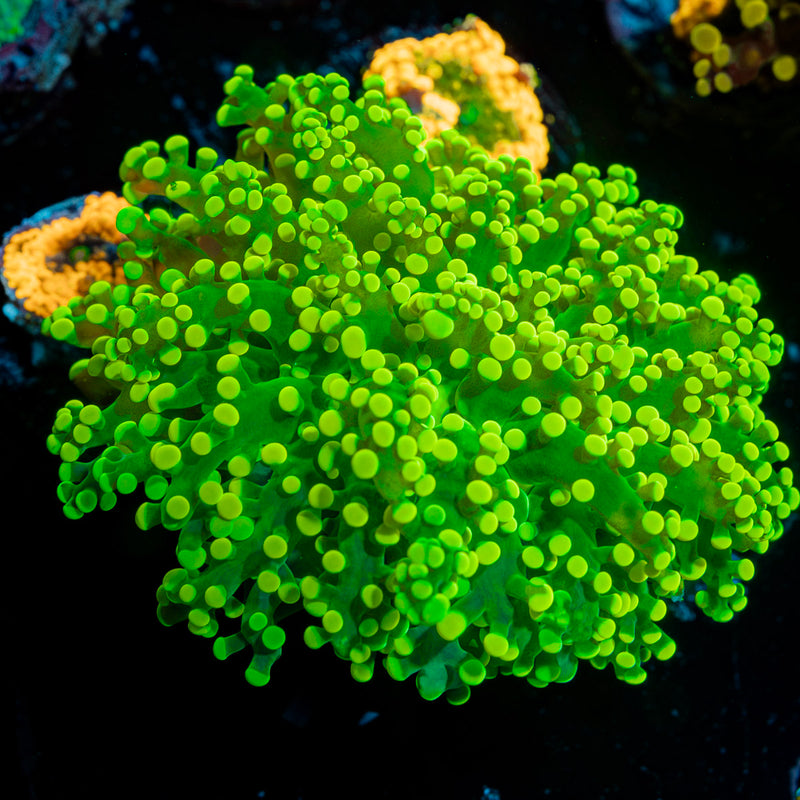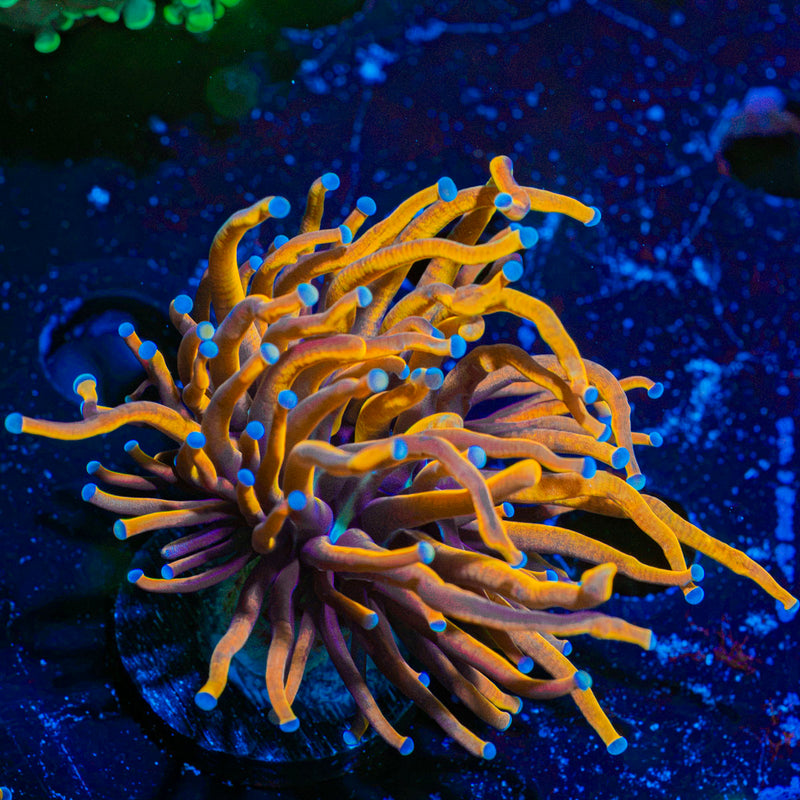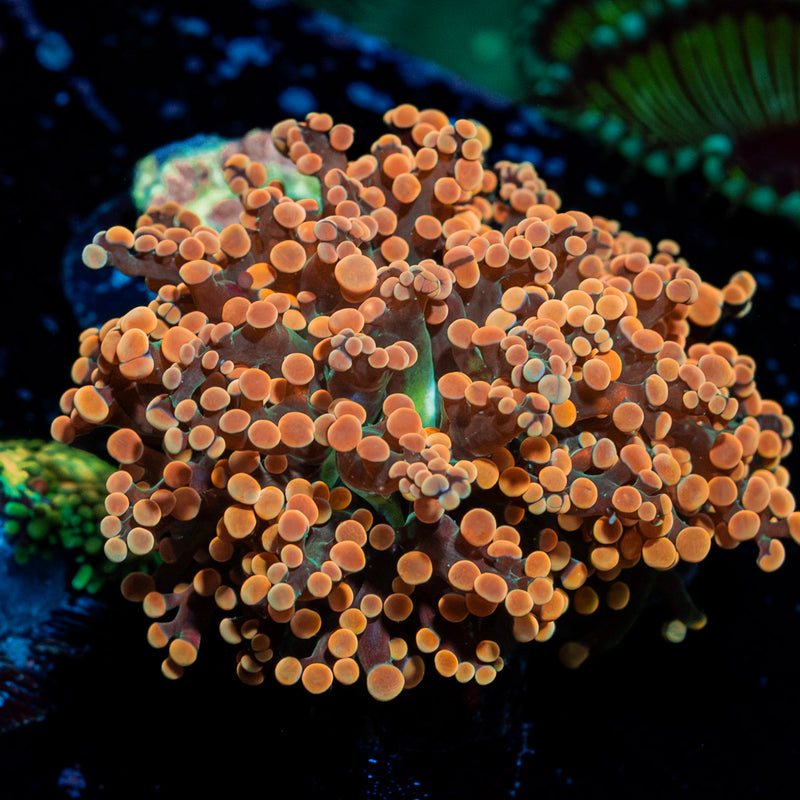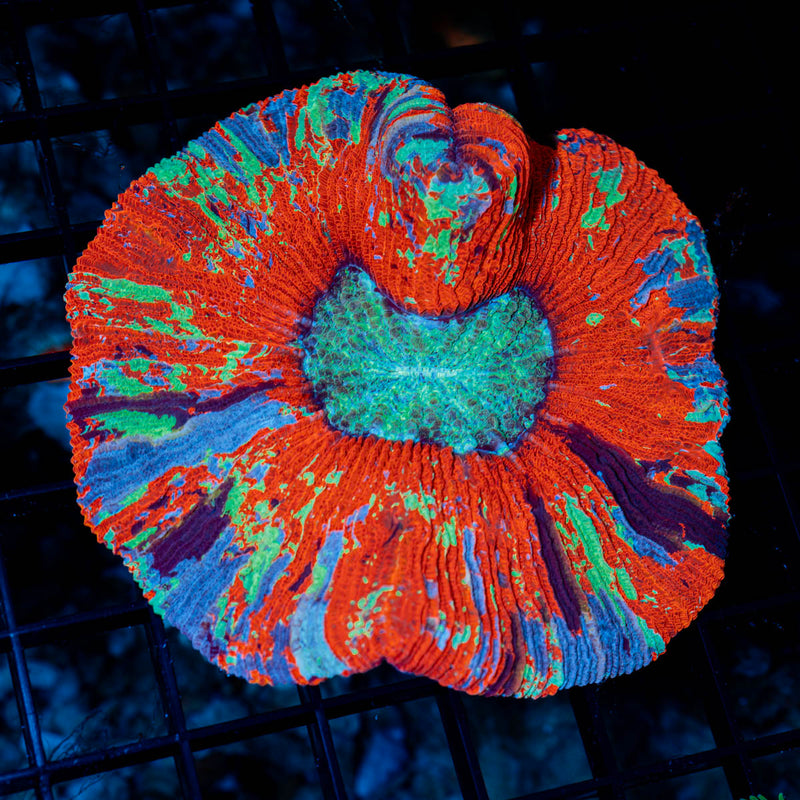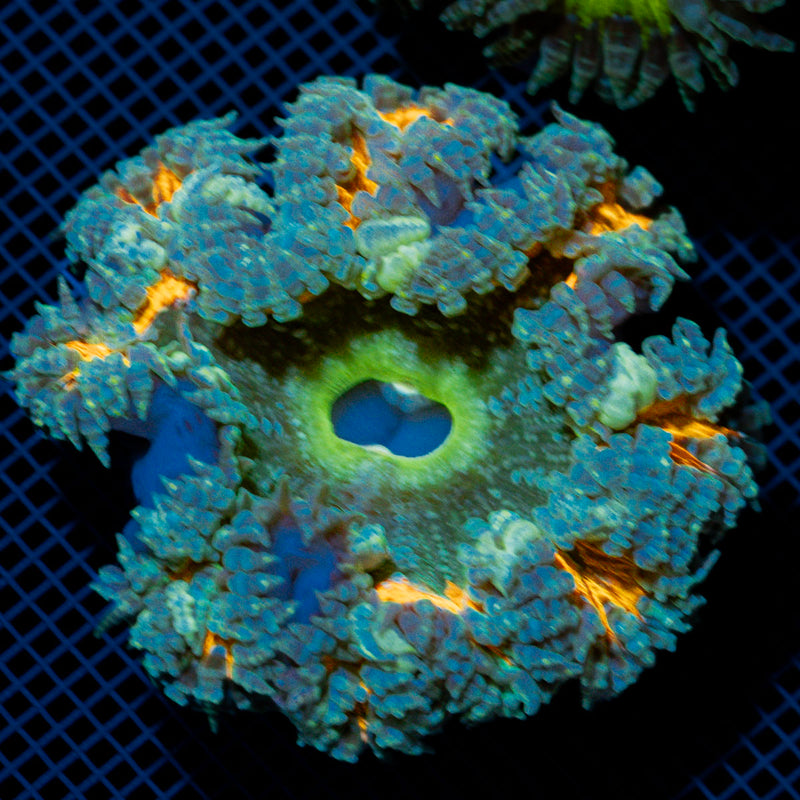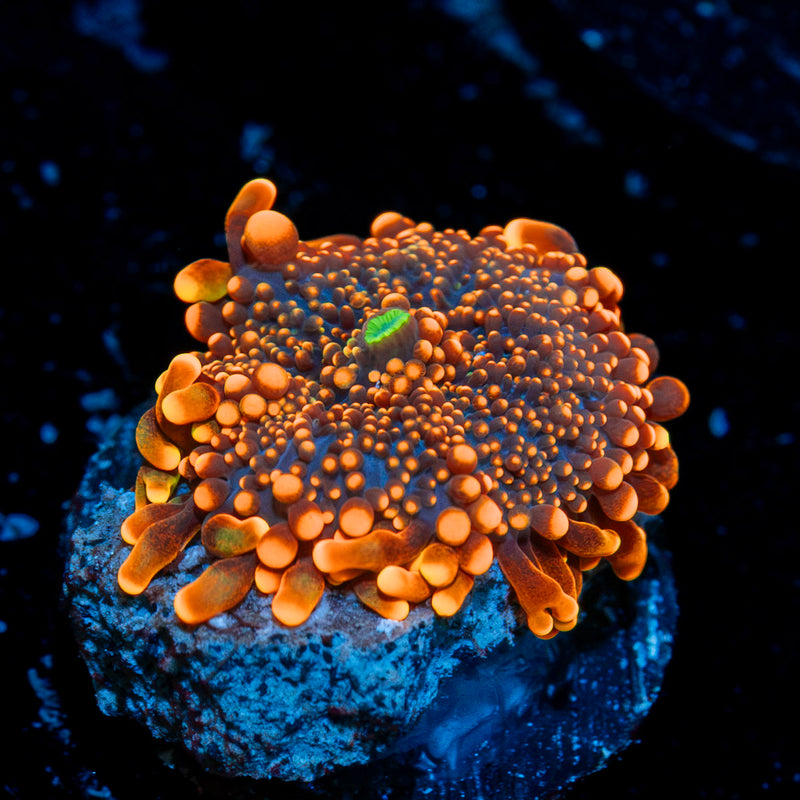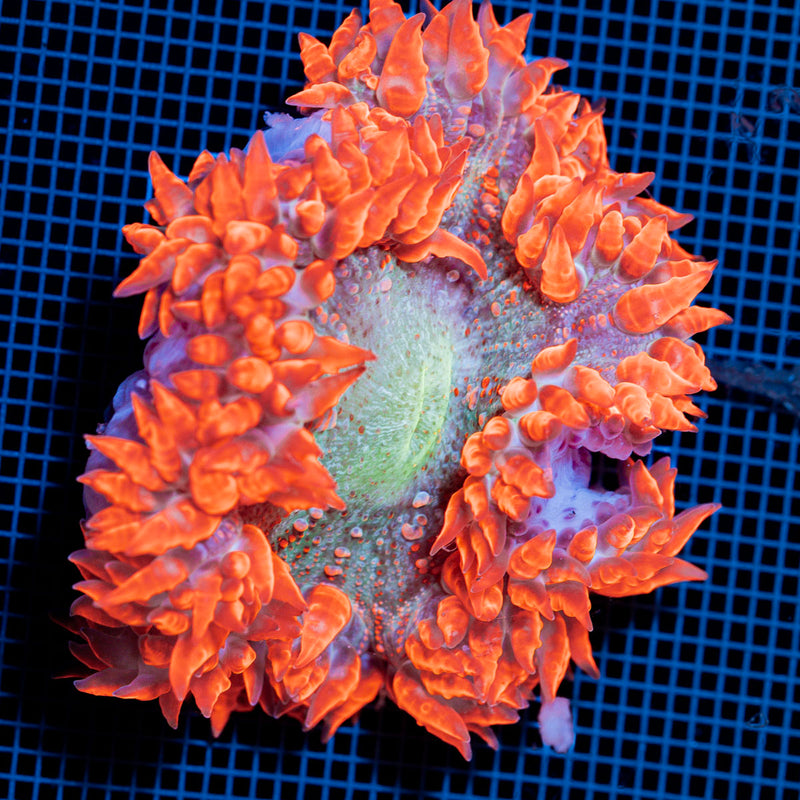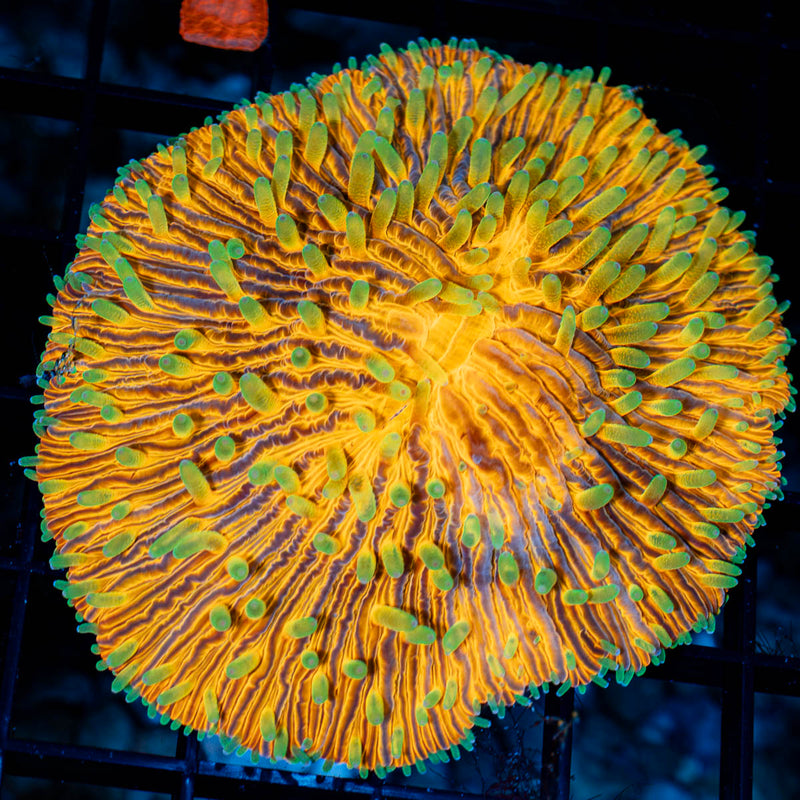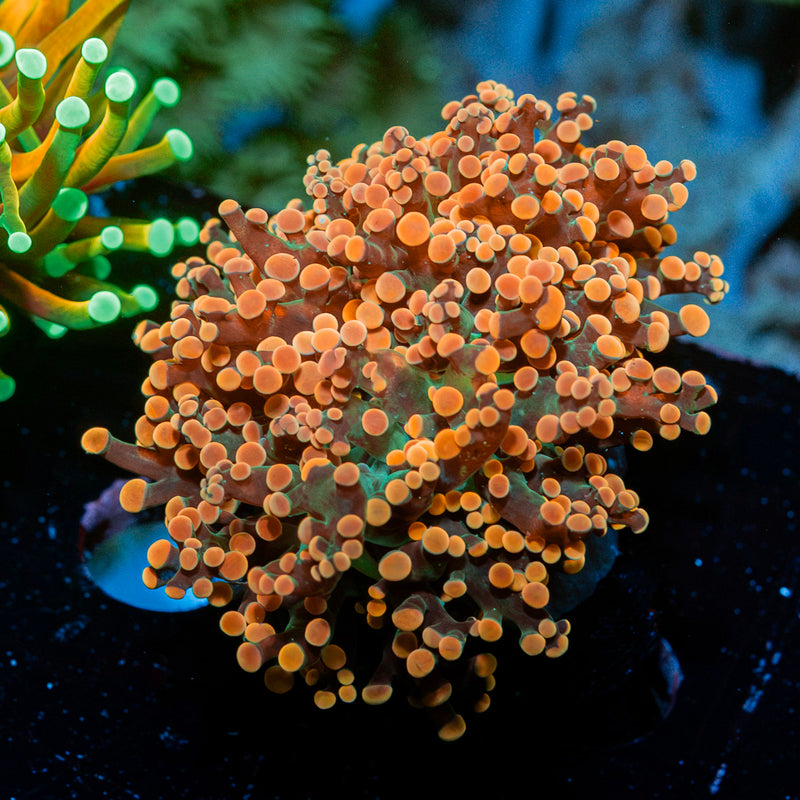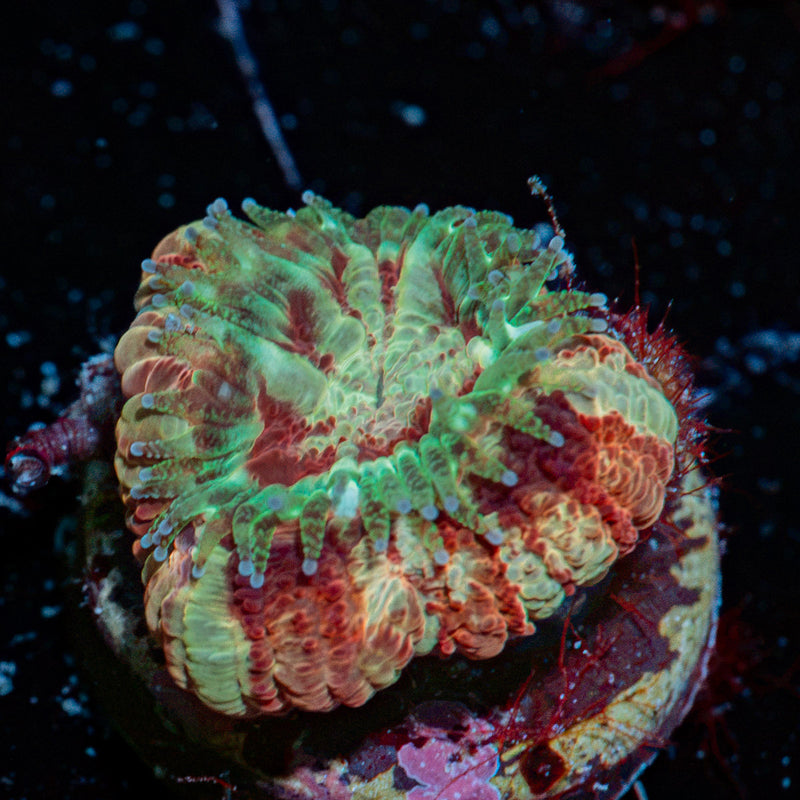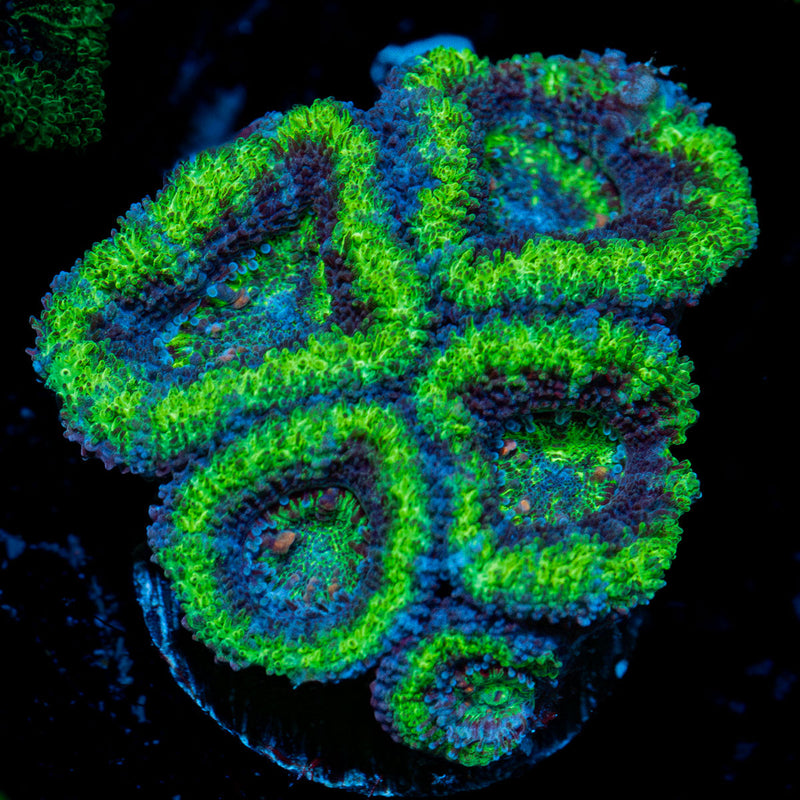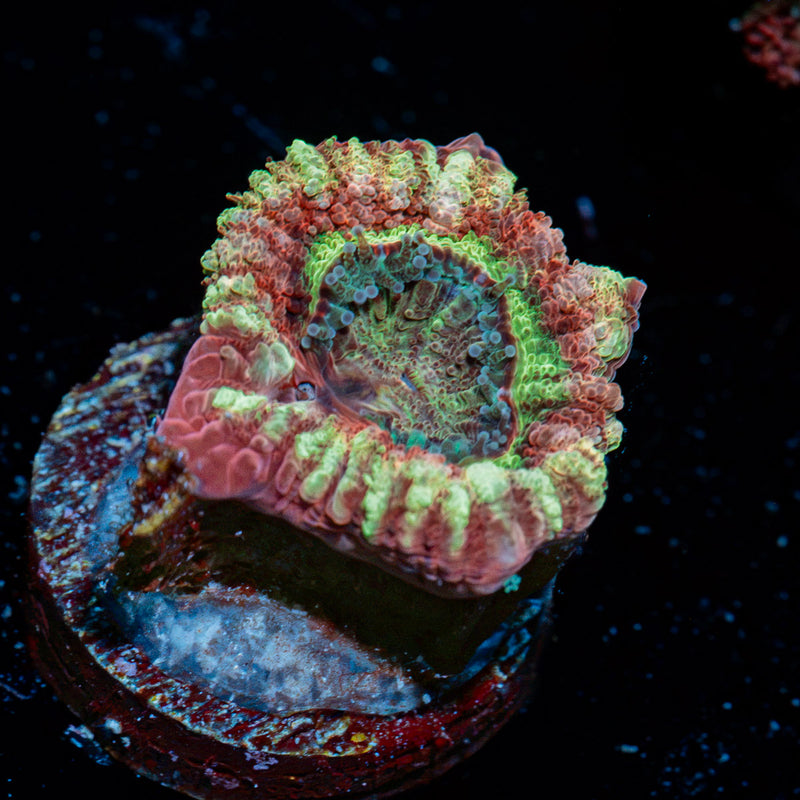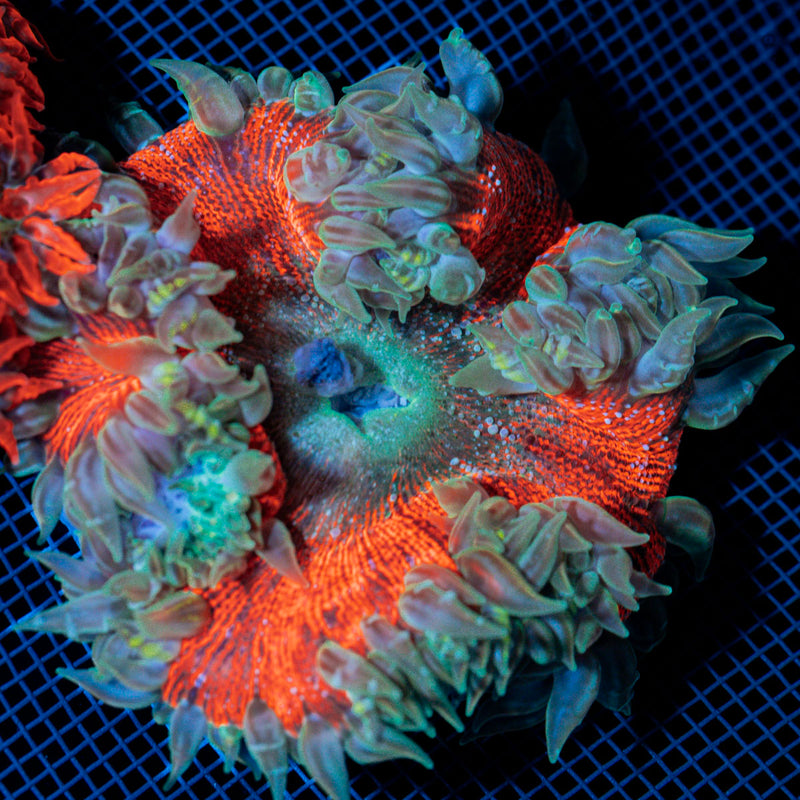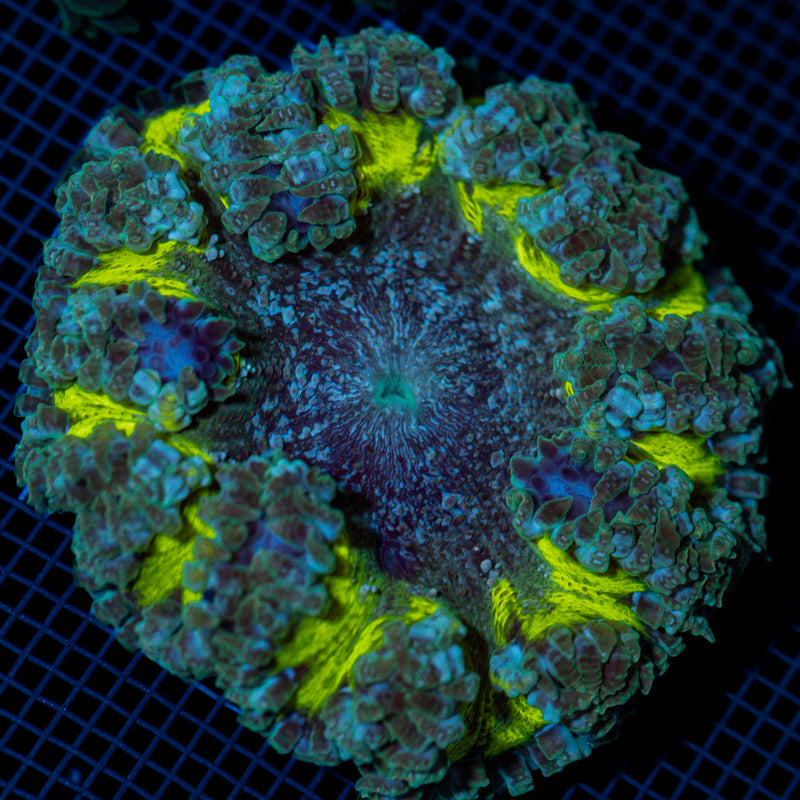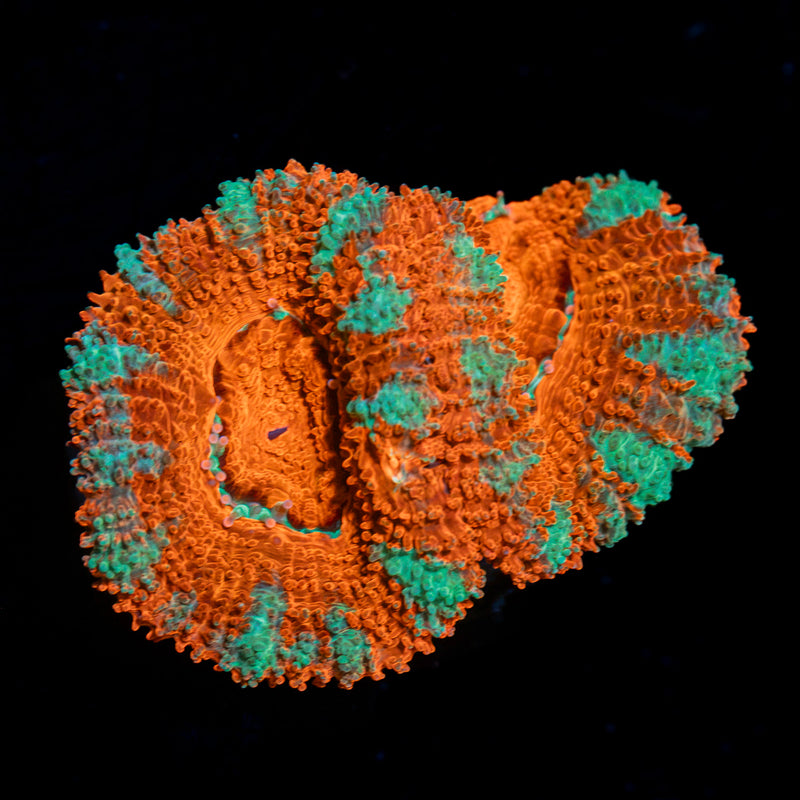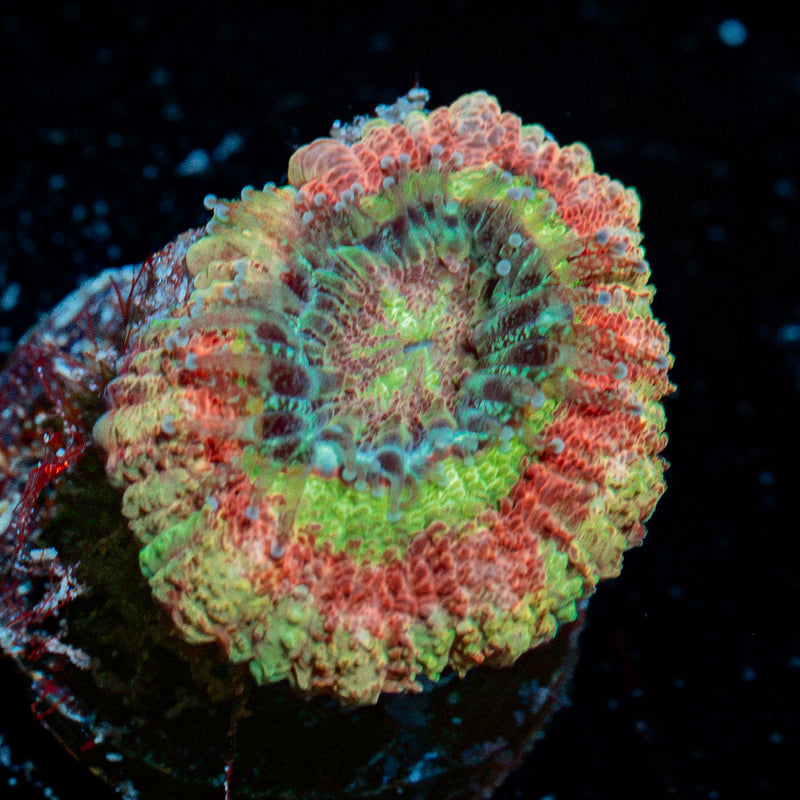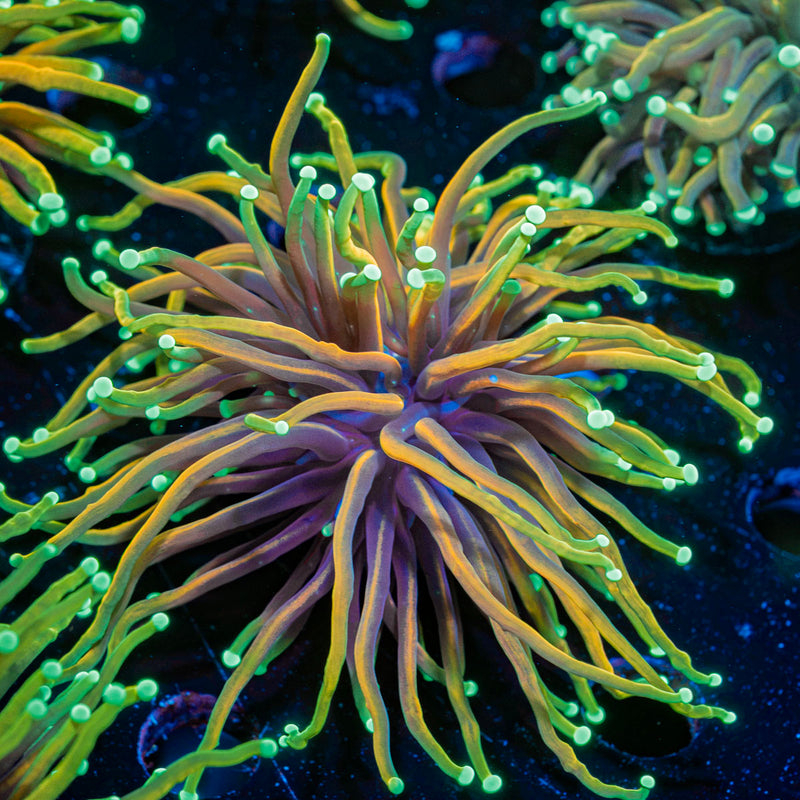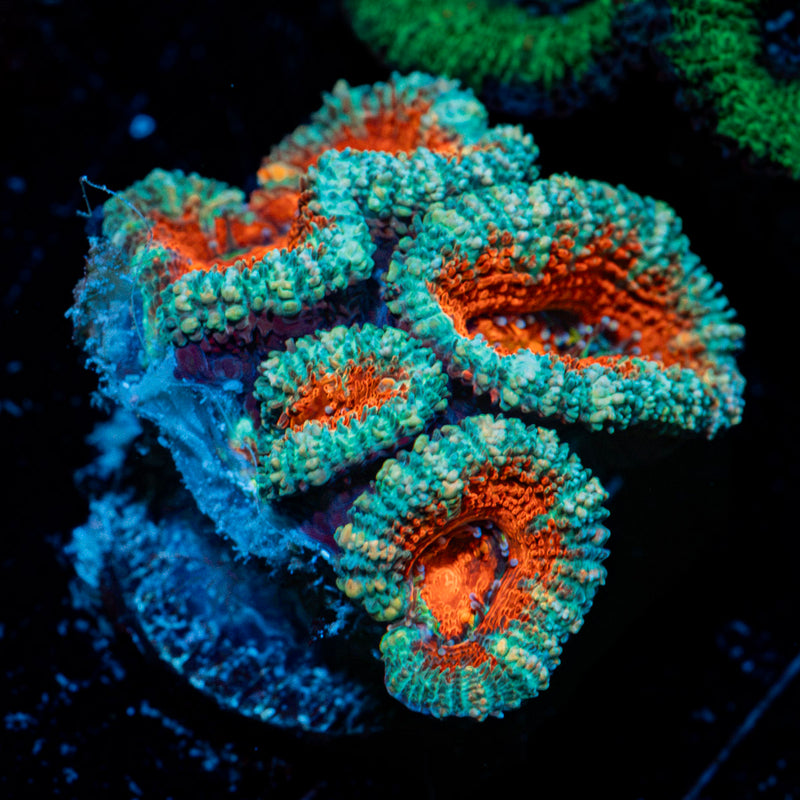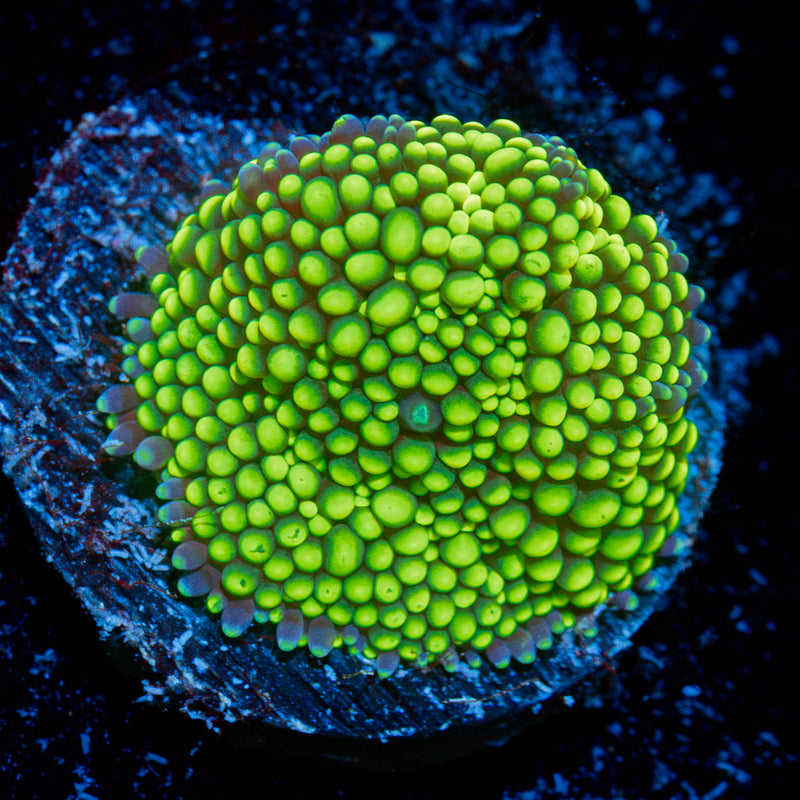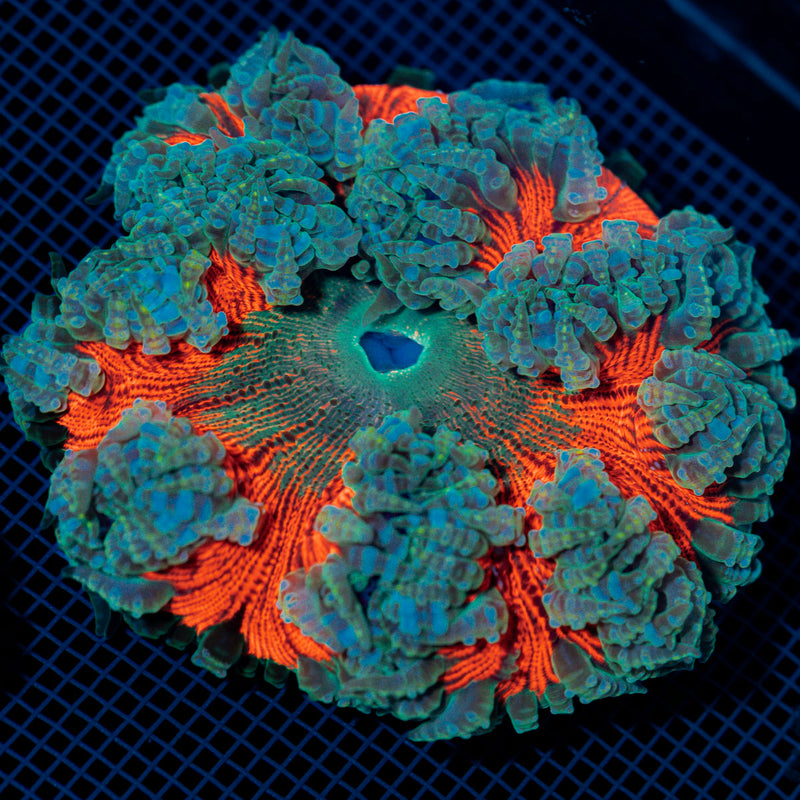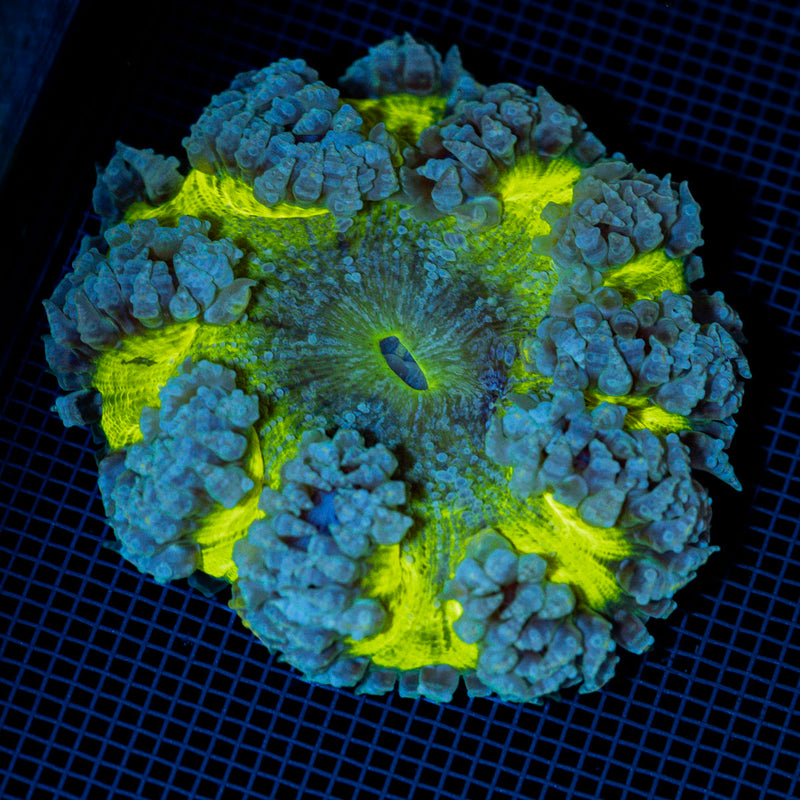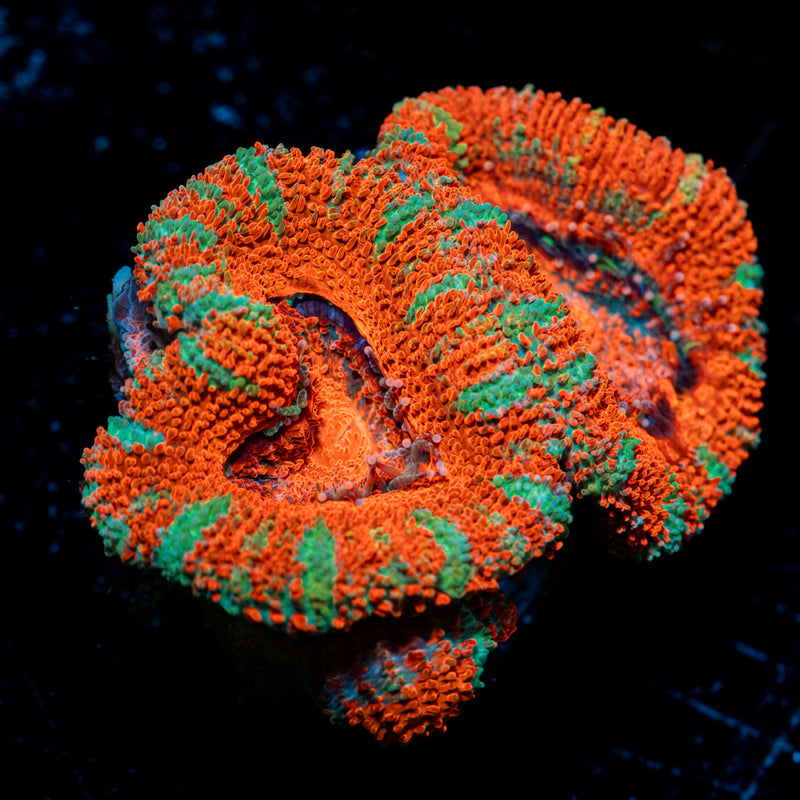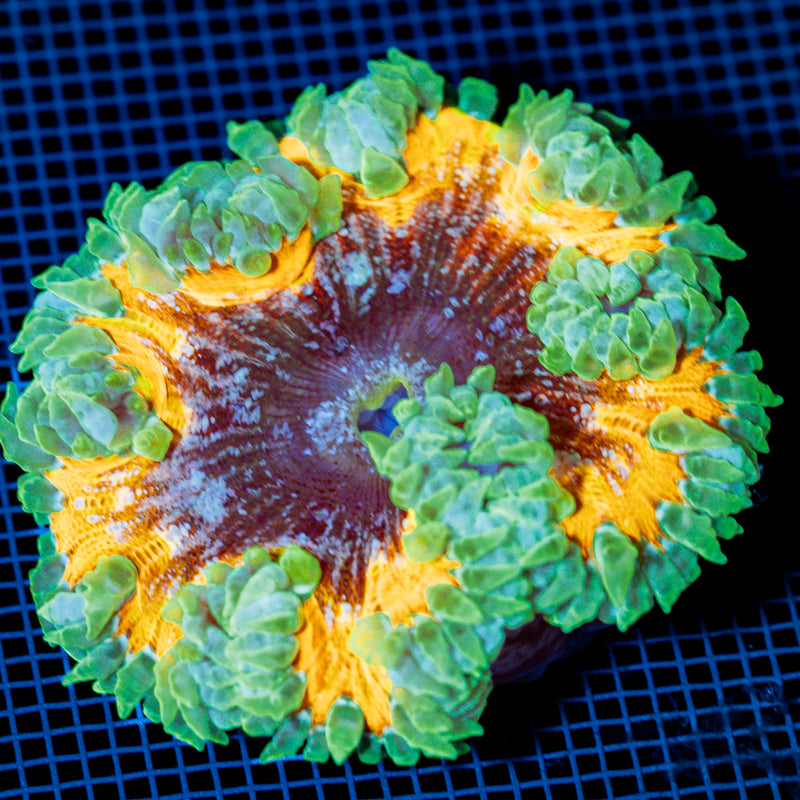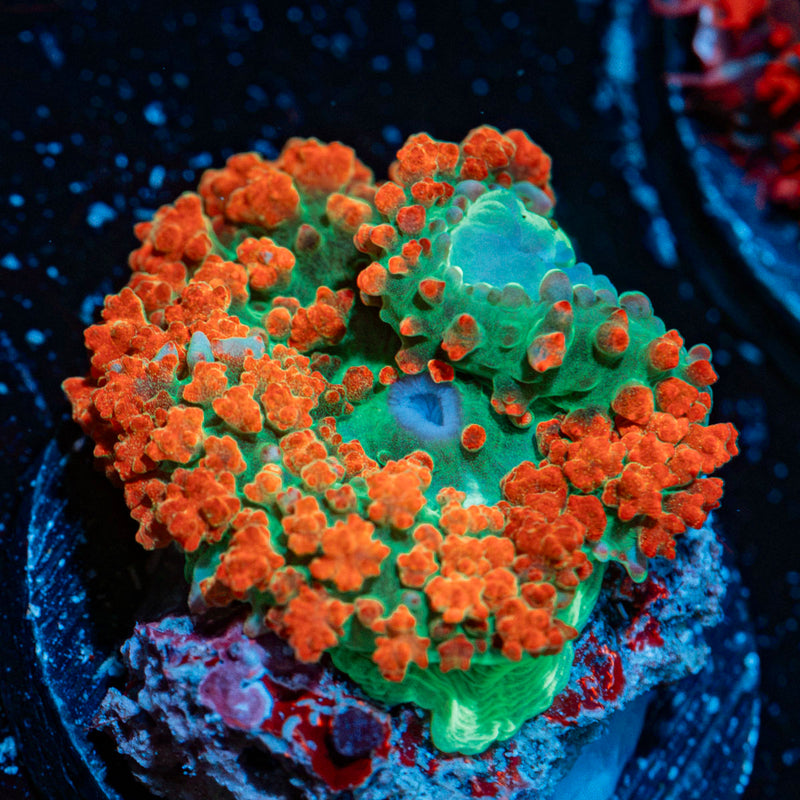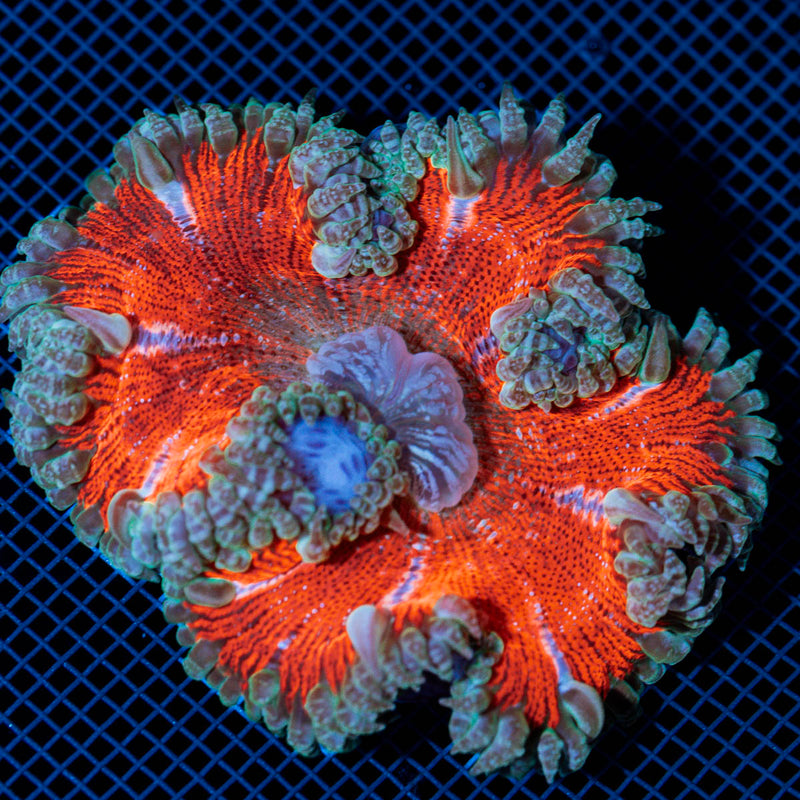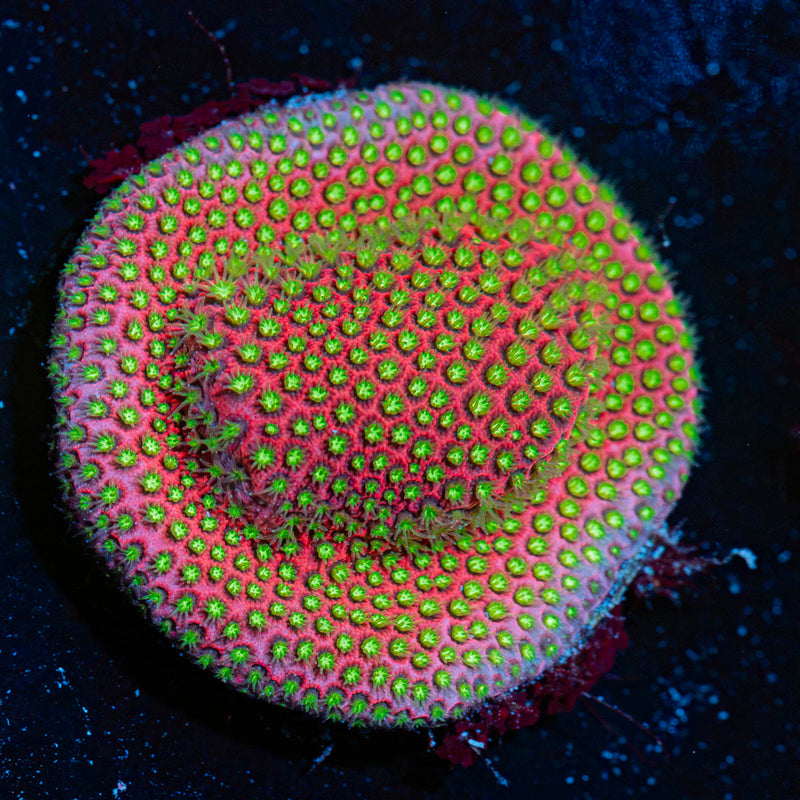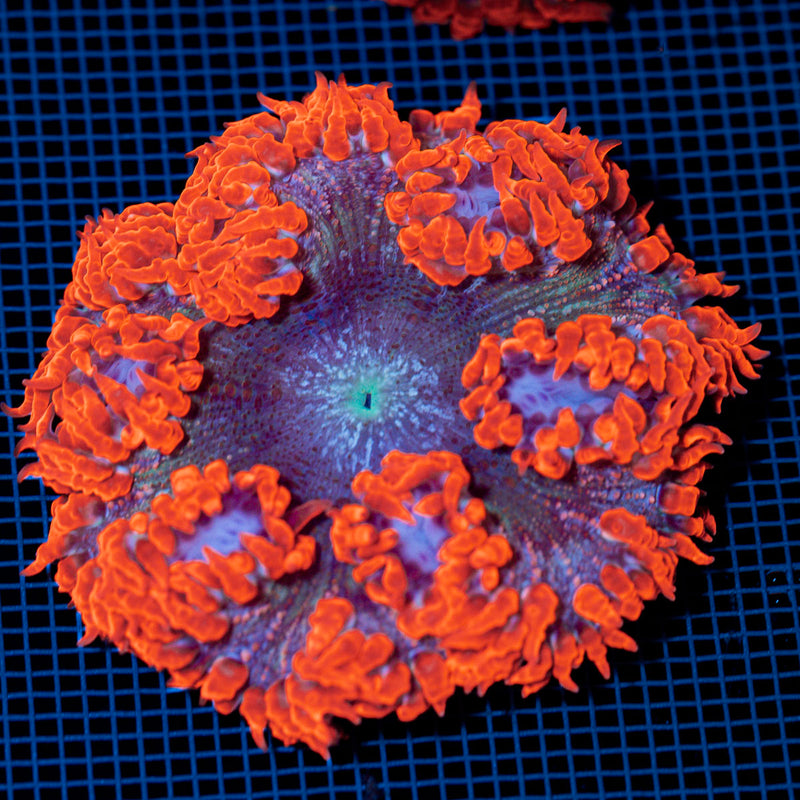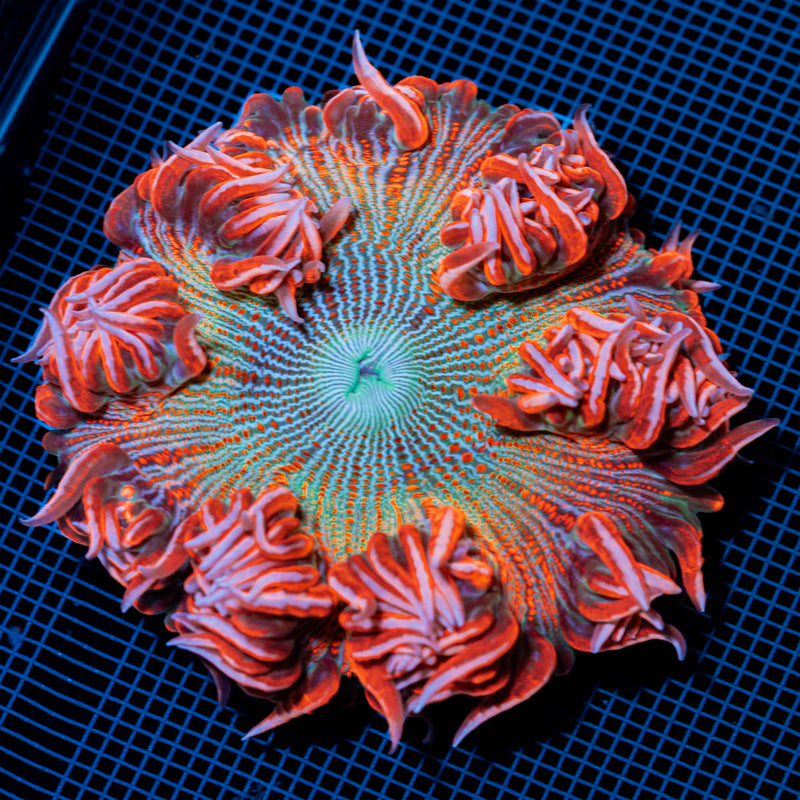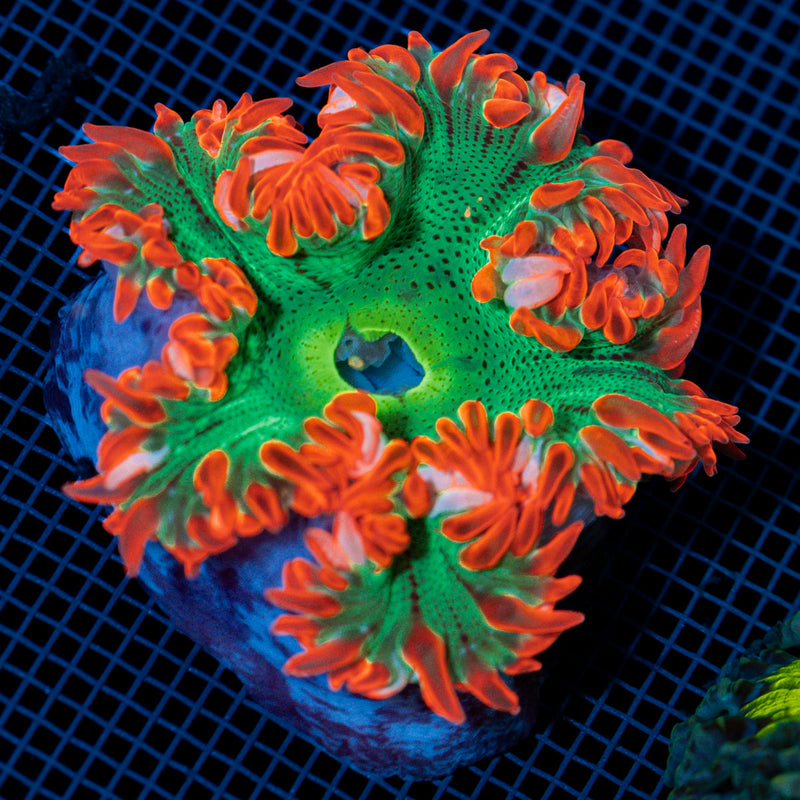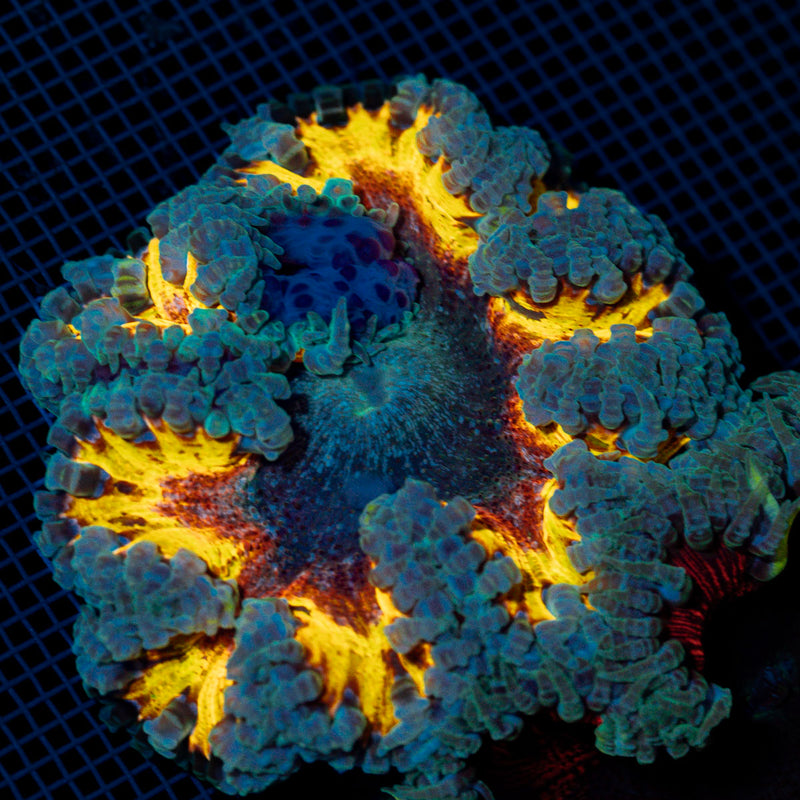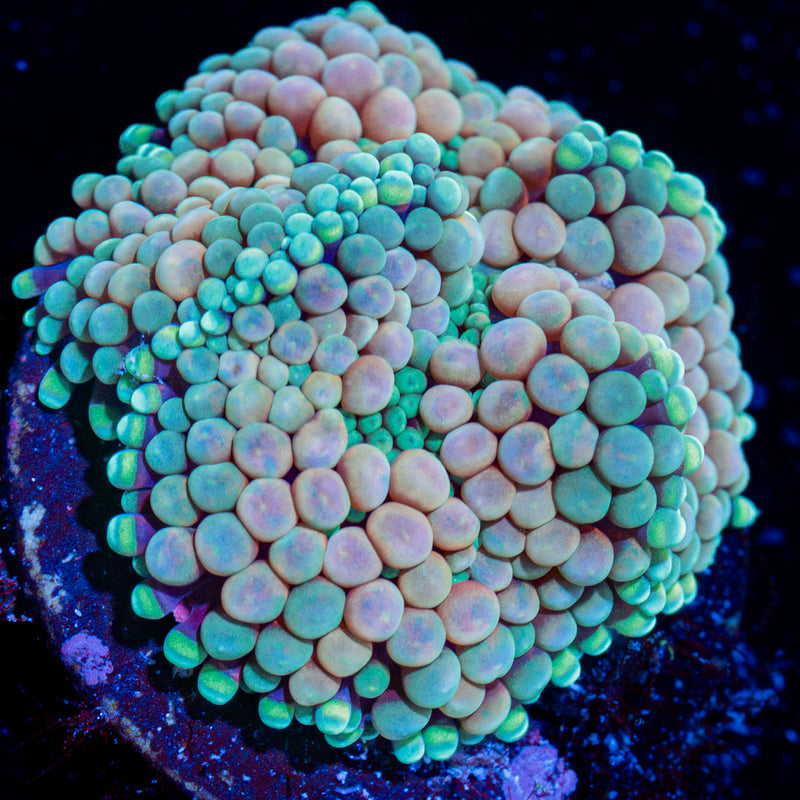
That new frag might look stunning in the bag - bright color, great polyp extension, and all the promise of becoming the next standout piece in your reef. But before it touches your display, you need to know how to dip new corals the right way. A simple coral dip can help reduce the risk of hitchhikers, irritation, and unwanted surprises that can spread through an otherwise healthy tank.
For most reef keepers, dipping is less about perfection and more about stacking the odds in your favor. A dip is not magic, and it is not a substitute for quarantine, but it is one of the easiest habits you can build into your coral routine. Whether you are adding a beginner-friendly mushroom, a colorful zoa frag, or a premium SPS piece, taking a few careful minutes up front can protect the living jewels already thriving in your system.
Why learning how to dip new corals matters
Corals can arrive with more than just beautiful color and healthy tissue. Even well-handled frags may carry pests, algae, eggs, or bits of detritus tucked into plugs, crevices, and branch points. Some problems are obvious right away. Others stay hidden until the coral settles into your tank and the issue starts spreading.
That is why dipping has become standard practice for so many hobbyists. It gives you a chance to inspect the coral closely, knock off common pests, and start acclimation with a little more confidence. For a display filled with valuable, vibrant corals, that extra layer of caution is worth it.
There is one important trade-off, though. Coral dips can be stressful if they are too strong, too long, or poorly matched to the coral type. Delicate species may react differently than hardy soft corals, and freshly shipped corals are already under some stress. The goal is not to blast the coral with the harshest treatment possible. The goal is a clean, measured process that reduces risk without causing unnecessary damage.
What you need before you dip
You do not need a complicated lab setup to dip corals well. A clean, organized workspace matters more than fancy gear. Most hobbyists can do this with tank water, a coral dip solution, gloves, eye protection, and two or three small containers.
The first container is for the dip itself. The second is for rinsing the coral in clean tank water before placement or quarantine. A third can be helpful if you want an extra rinse or a separate inspection stage. You will also want a turkey baster or small pipette to gently blow water across the frag during the dip. That motion often helps dislodge pests hiding in folds, under plugs, or between branches.
Always read the dip product directions before you start. Different coral dips use different active ingredients, exposure times, and mixing ratios. If the label says one concentration for general coral dipping, follow that instead of guessing. More is not better here.
How to dip new corals step by step
Start by floating and temperature acclimating the coral if needed, based on how you normally receive and handle livestock. Once you are ready to open the bag, take a good look at the coral under strong light. Check the tissue, plug, underside, and any shaded spots. You are looking for obvious pests, nuisance algae, damaged areas, or anything that seems out of place.
Next, prepare your dip container with water from your tank, not fresh mixed saltwater unless it closely matches your system. Stability matters. Add the coral dip at the exact recommended amount and mix it gently.
Place the coral into the dip and start a timer. Most dips call for only a few minutes. During that time, use the baster to gently move water around the coral every 30 to 60 seconds. You do not need to blast it. A steady, gentle flow is usually enough to coax out small hitchhikers.
Watch the coral while it sits in the solution. Some corals will slime up, retract, or close tightly. That can be normal. What you do not want is to leave the coral in longer than directed because you got distracted. Time matters.
When the dip is finished, transfer the coral into a rinse container filled with clean tank water. Swish it gently or use the baster one more time to wash away any leftover dip and loosened debris. After that, inspect the dip container itself. You may spot tiny pests, worms, pods, flatworms, or bits of material that came off during the process. Even if the coral looked perfect in the bag, this inspection can tell a very different story.
Coral types do not all respond the same way
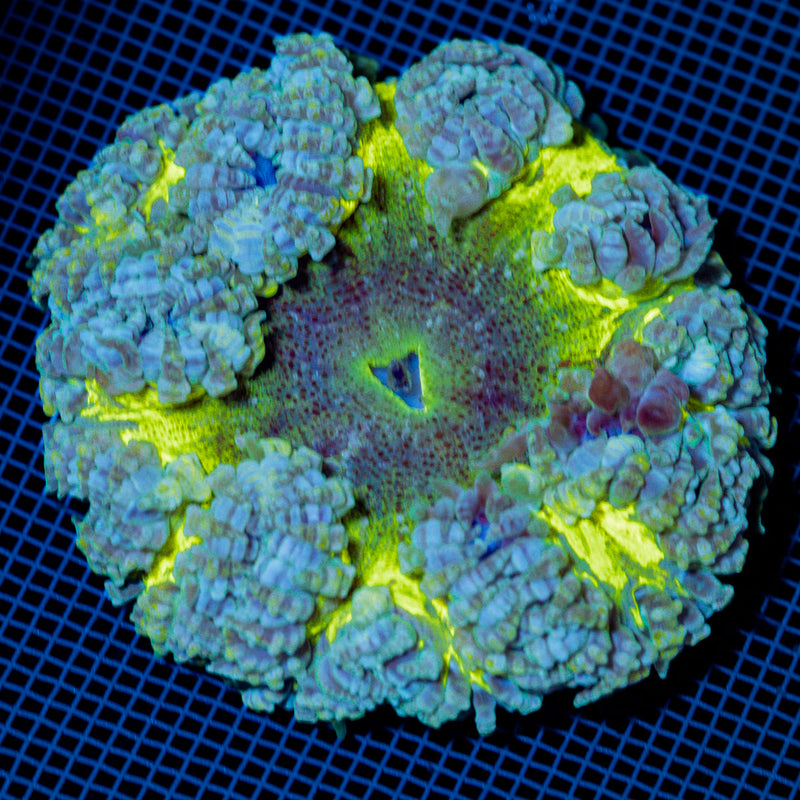
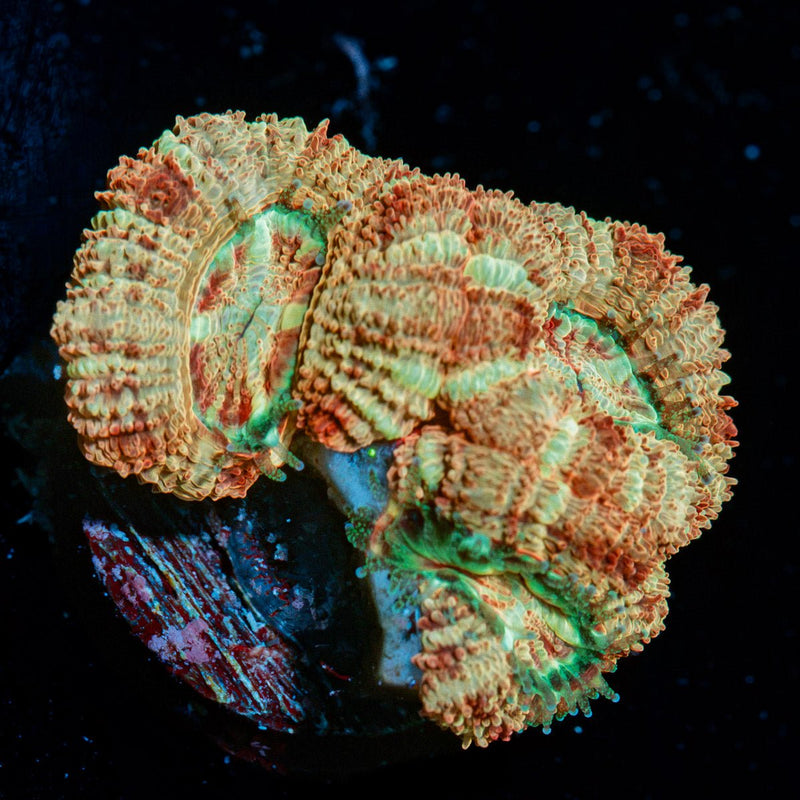
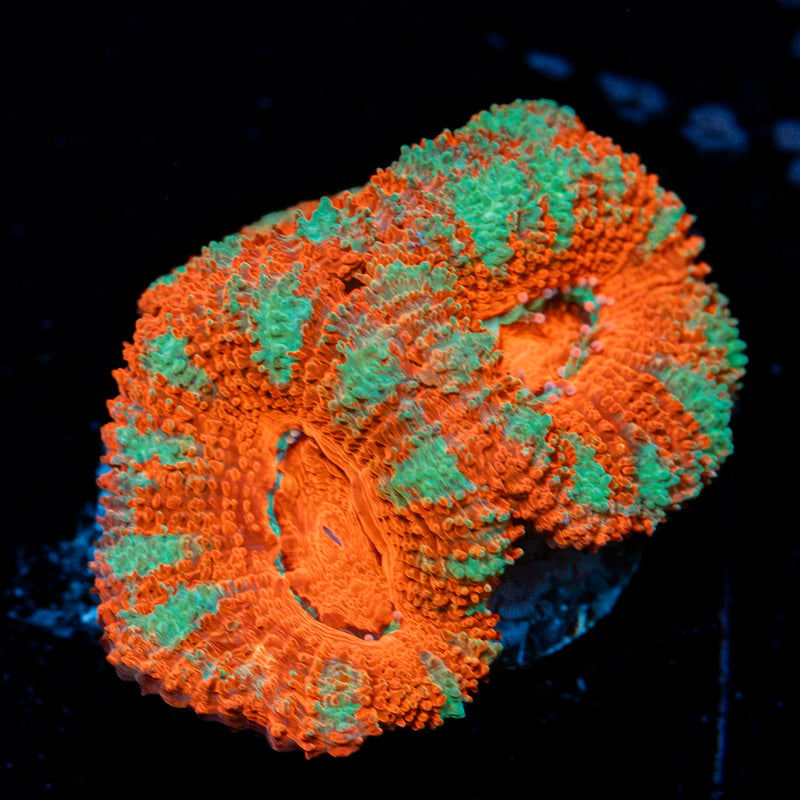
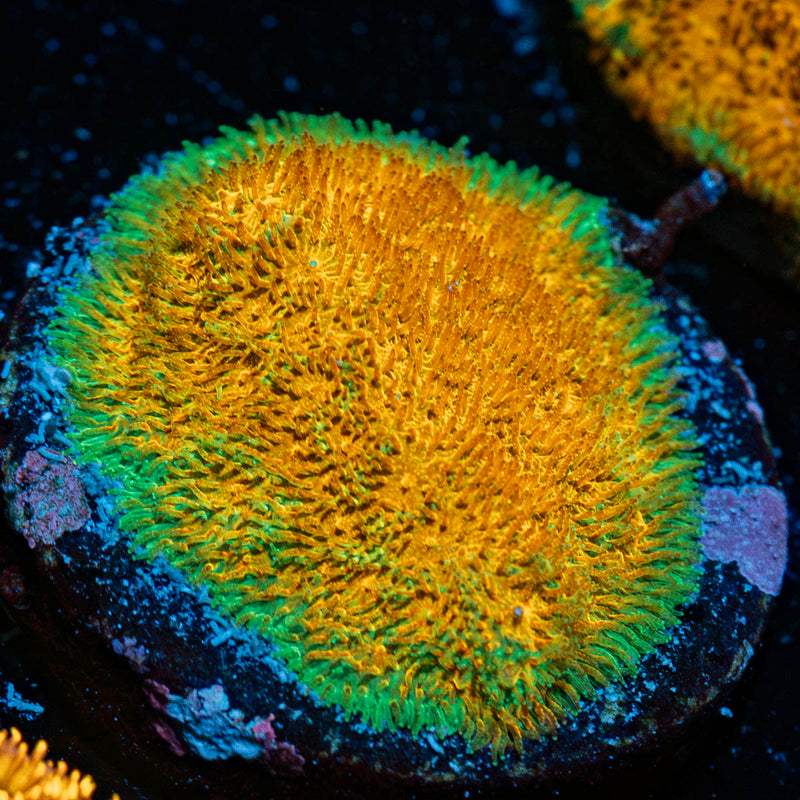
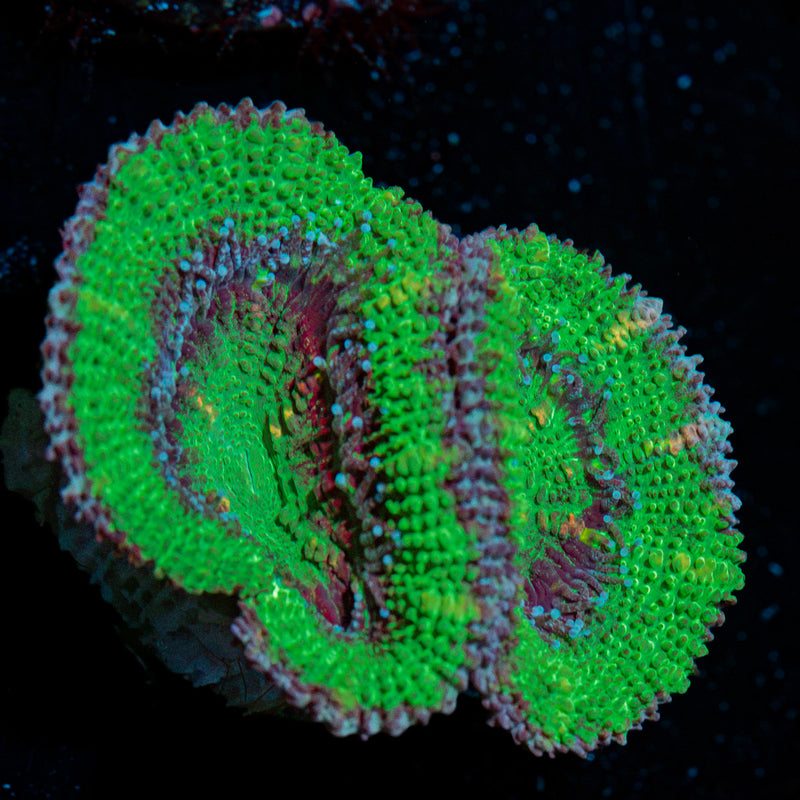
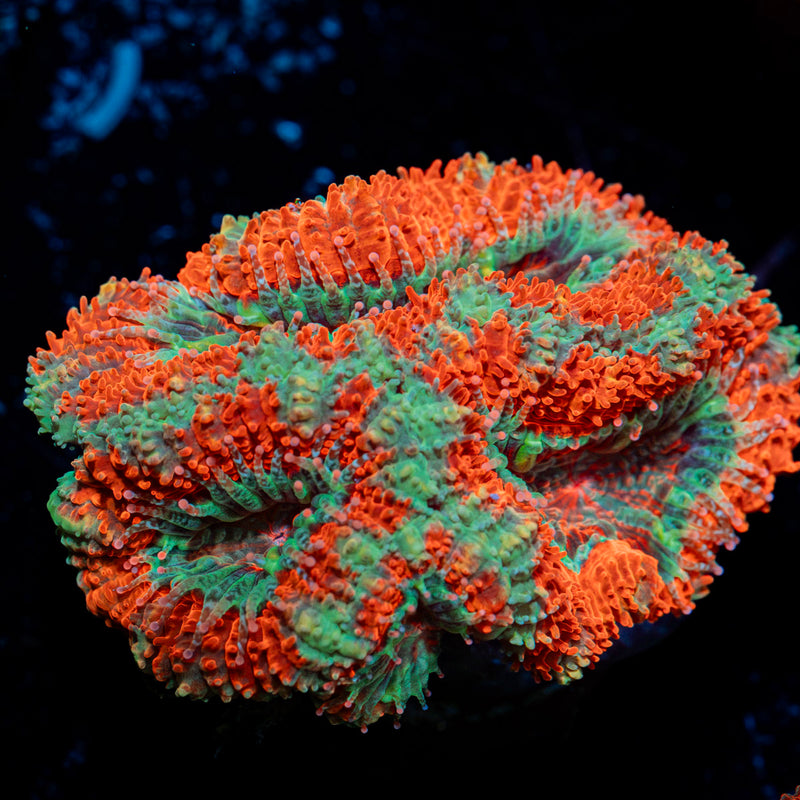
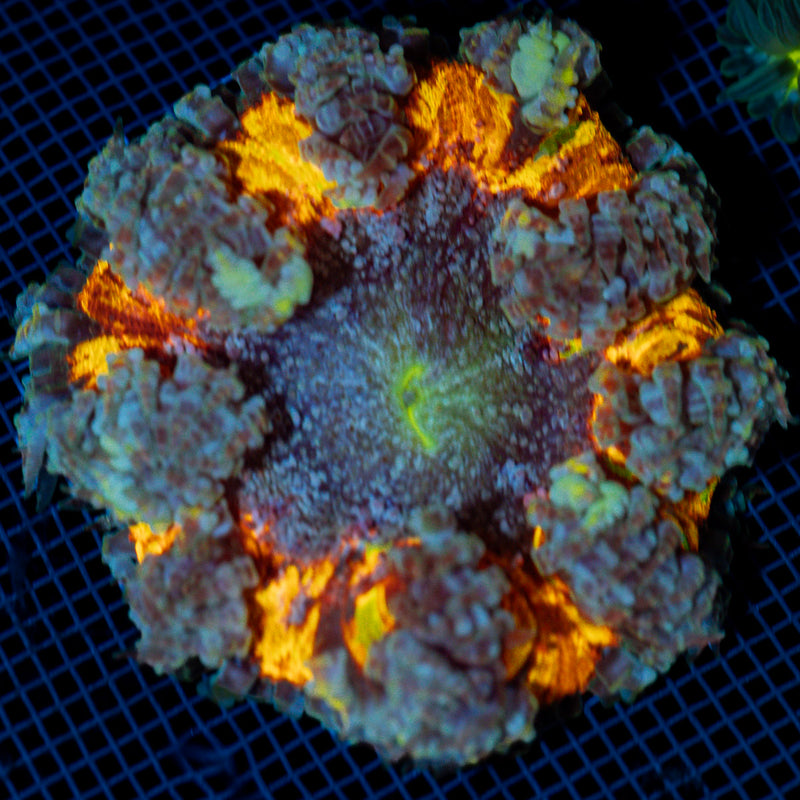
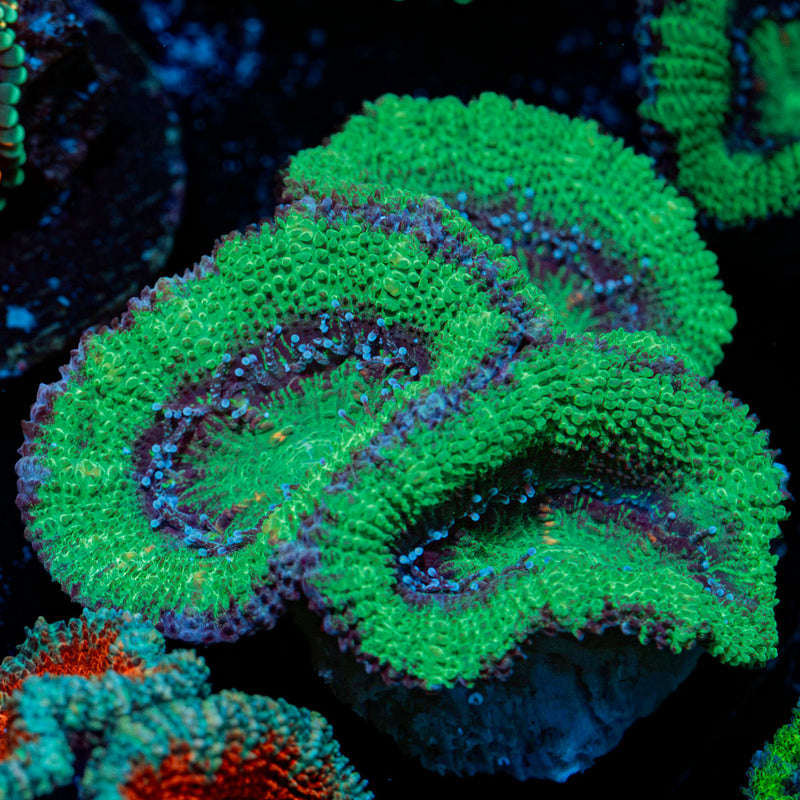
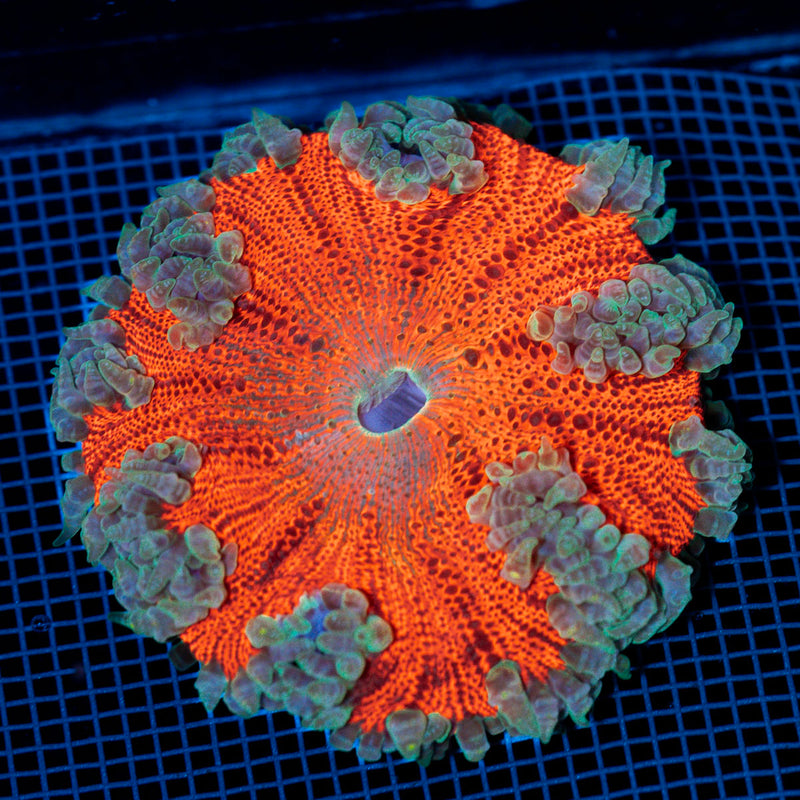
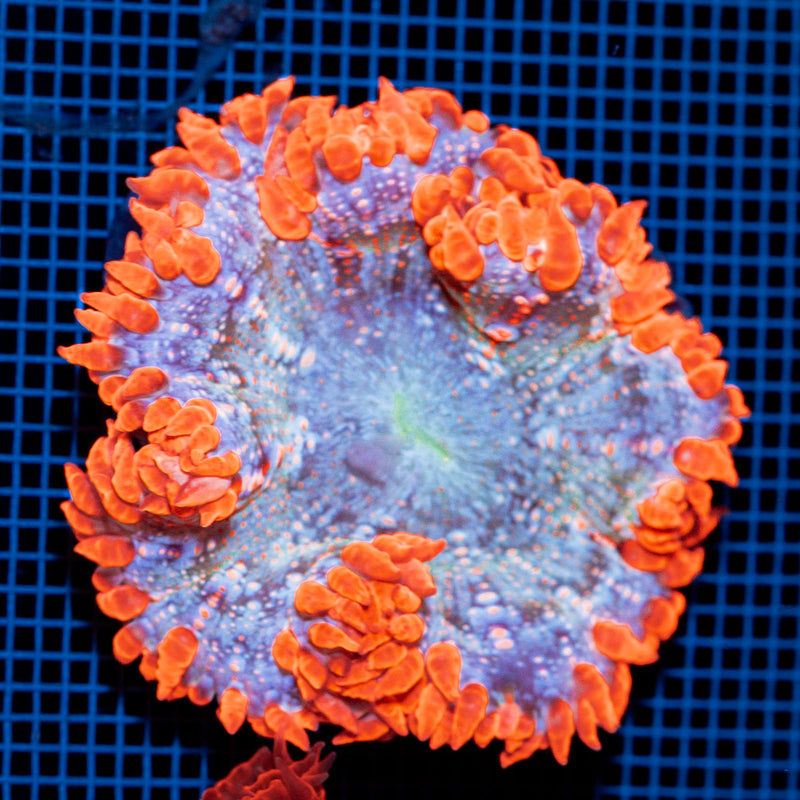
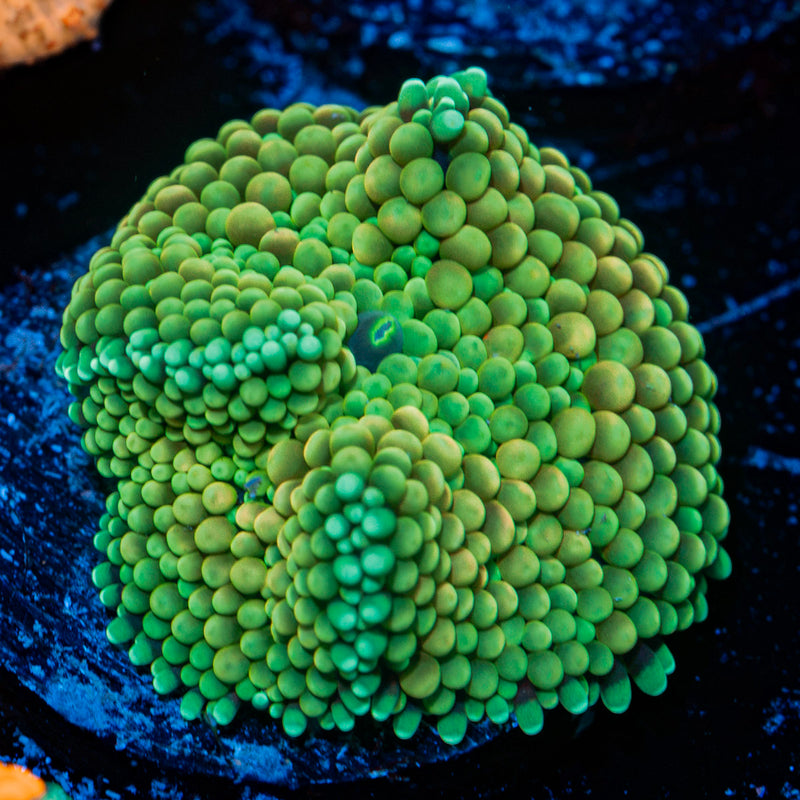
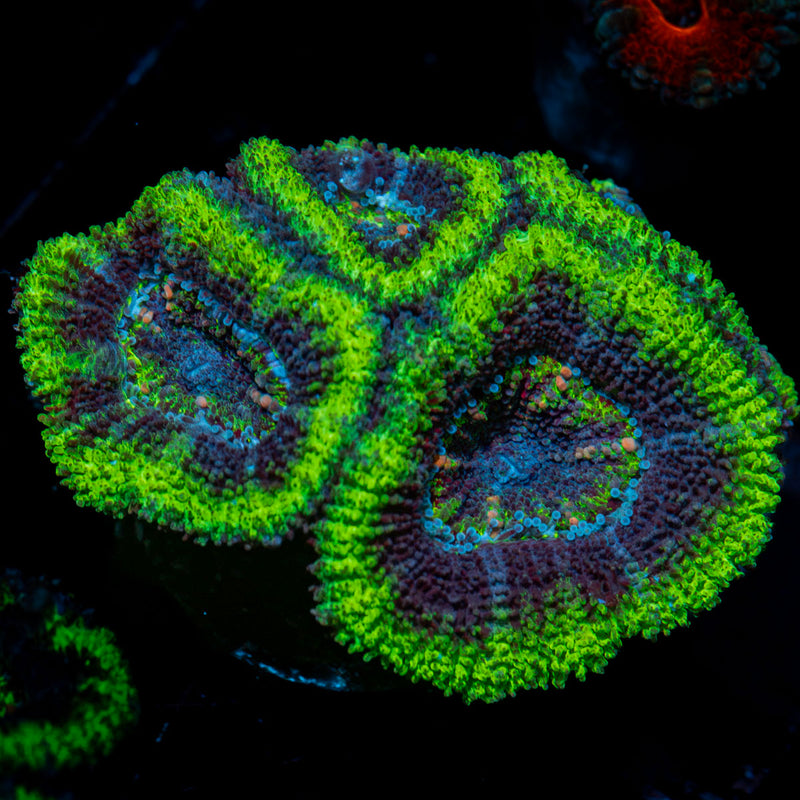
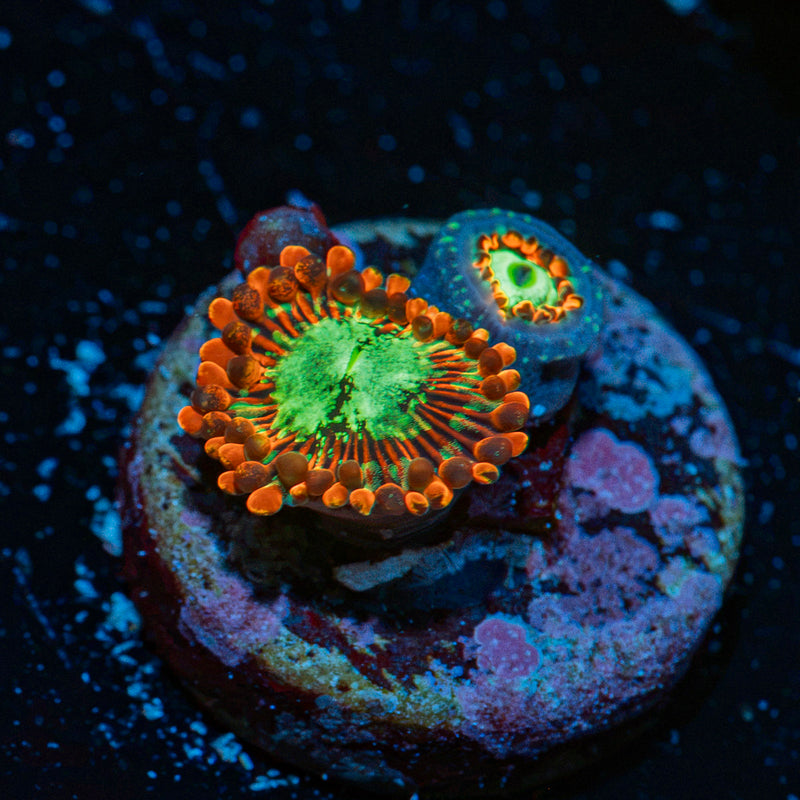
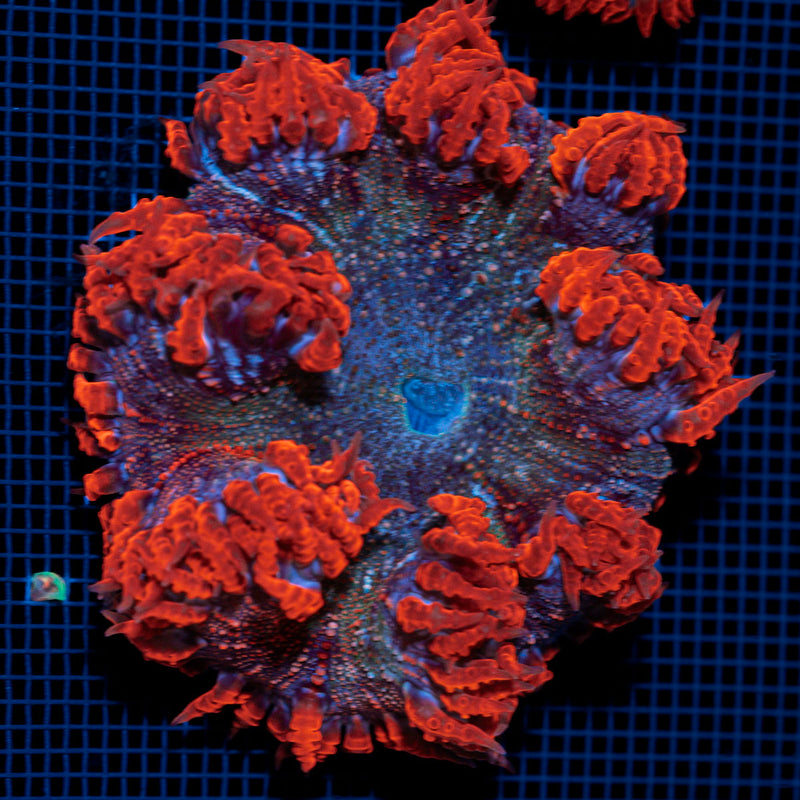
This is where a little nuance helps. Soft corals and zoanthids often tolerate dipping differently than fleshy LPS or sensitive SPS. A hardy mushroom may shrug off a standard dip with minimal reaction, while an acan or delicate Acropora frag may need a more careful hand and strict timing.
That does not mean some corals should never be dipped. It means you should respect the coral in front of you. If a frag arrives stressed from shipping, keep your process calm and controlled. If it is a species known to be touchy, avoid improvising with stronger concentrations or longer baths.
Freshly cut frags can be another gray area. If you know a coral was recently fragged and the cut area is still healing, aggressive dipping may be harder on it. In those situations, many reef keepers stay especially close to manufacturer instructions and handle the frag as gently as possible.
Dipping is helpful, but quarantine is better
If you want the most cautious answer to how to dip new corals, it is this: dip first, then quarantine if you can. A dip can remove or expose many common pests, but it does not reliably solve every problem. Eggs, hidden organisms, and certain nuisance issues can still make it through.
A quarantine system gives you time to watch for trouble before a new coral joins your display. That matters even more if you keep high-value SPS, collector zoas, or a densely stocked mixed reef where one pest issue can become a major headache. For beginners, a dip is a strong first step. For more advanced hobbyists, a dip plus quarantine is often the gold standard.
If quarantine is not realistic for your setup, dipping is still far better than skipping the process entirely. Just understand the limitation. You are reducing risk, not eliminating it.
Common mistakes when dipping new corals
The biggest mistake is rushing because the coral looks healthy. A clean-looking frag can still carry hidden pests. The second common mistake is mixing the dip too strong or leaving the coral in too long. That can do more harm than the pests you were trying to avoid.
Another issue is using water that does not match your tank well enough. Big swings in salinity, temperature, or pH can pile stress on top of stress. Forgetting to rinse the coral after the dip is another easy miss. You do not want residual dip solution going straight into your tank.
Finally, many hobbyists focus only on the coral flesh and ignore the plug. The plug is often where nuisance algae, vermetids, eggs, and other unwanted guests hide. In some cases, reef keepers even remove the frag from the original plug and remount it to reduce risk further. That approach can help, but it also adds handling stress, so it depends on the coral and your comfort level.
After the dip, place new corals gently
Once the coral has been dipped and rinsed, resist the urge to put it immediately in the brightest, highest-flow spot in the tank. Even healthy corals benefit from a thoughtful introduction. Start with lower to moderate light if needed, especially for new arrivals that have already been through shipping and handling.
Watch for normal settling behavior versus real distress. Closed polyps, some slime, and temporary retraction can be expected. Tissue recession, excessive mucus, or ongoing failure to open may mean the coral needs closer attention. A calm start gives that new frag a better chance to settle in and show the color and extension you were excited to bring home in the first place.
At Riptide Aquaculture, that first impression matters because every coral should arrive looking like it belongs in a vibrant reef, not like a gamble. Dipping is one of the simplest ways to protect that investment and keep your tank moving in the right direction.
A great reef is built one careful decision at a time, and this is one of the easiest ones to get right. Give every new coral a clean start, stay consistent with your process, and your display will thank you for it.