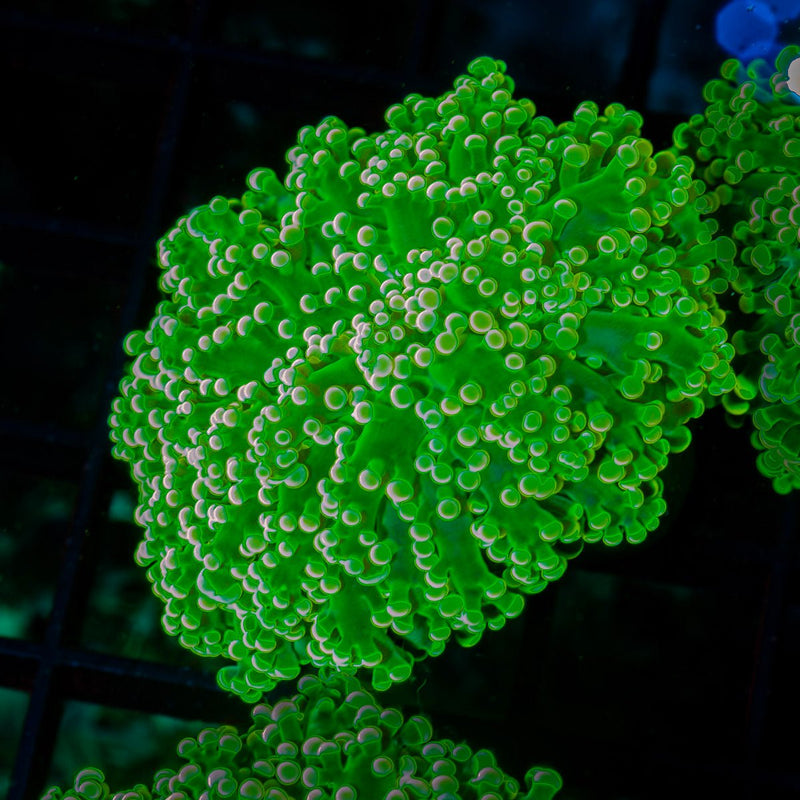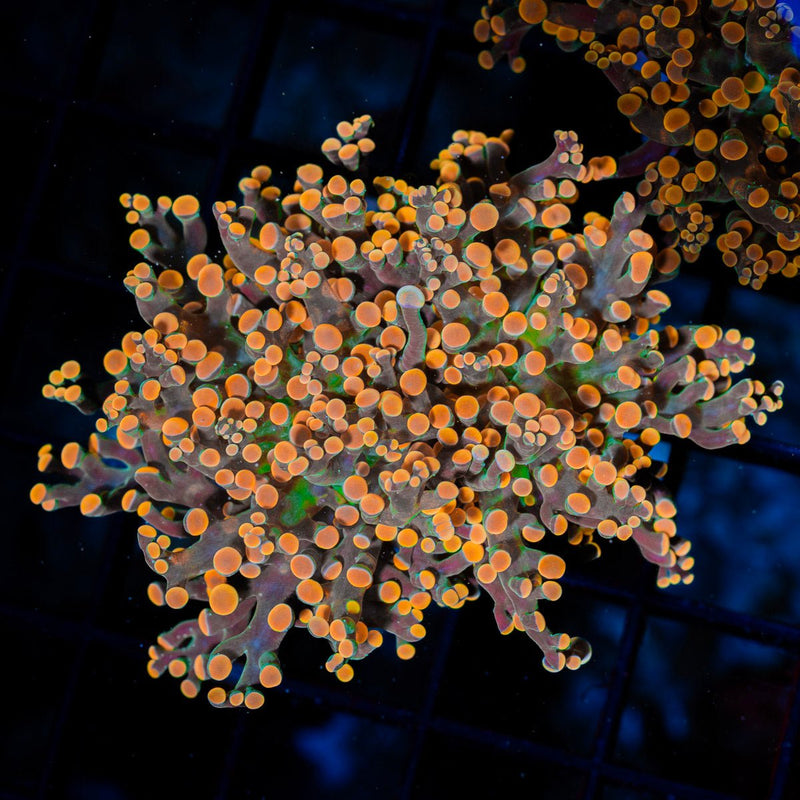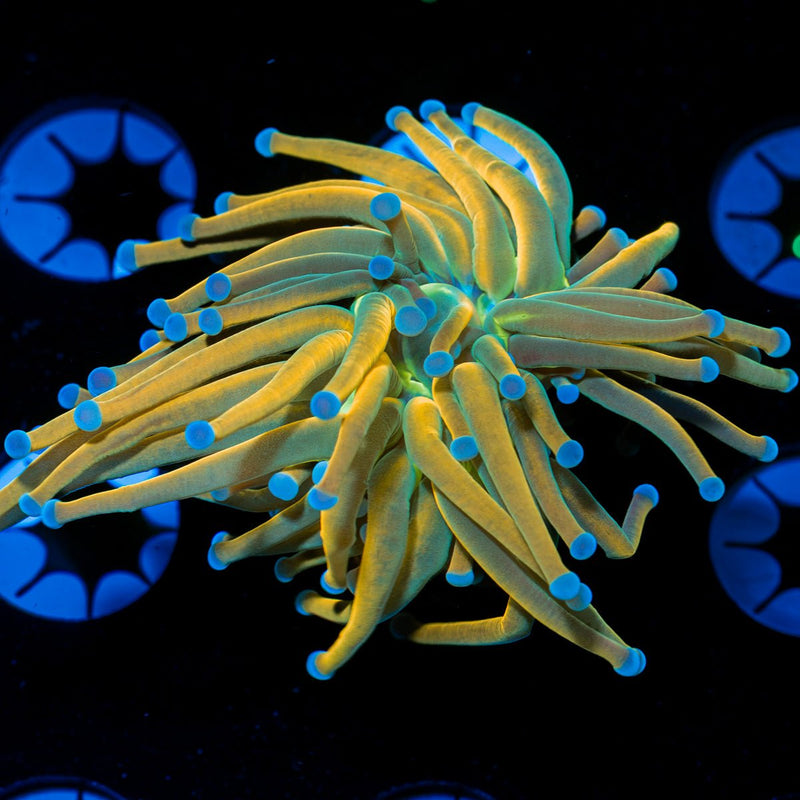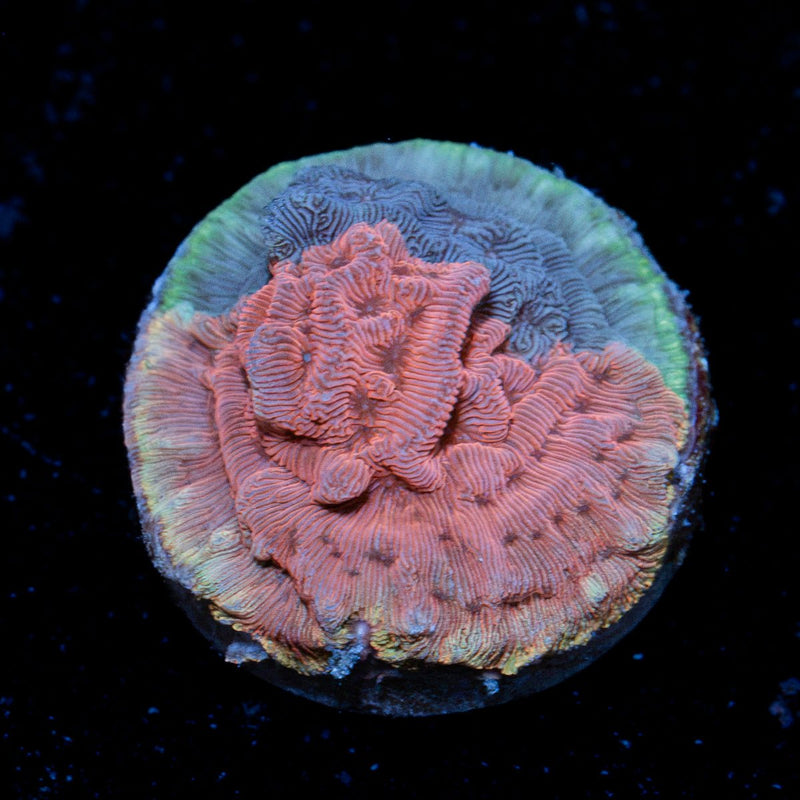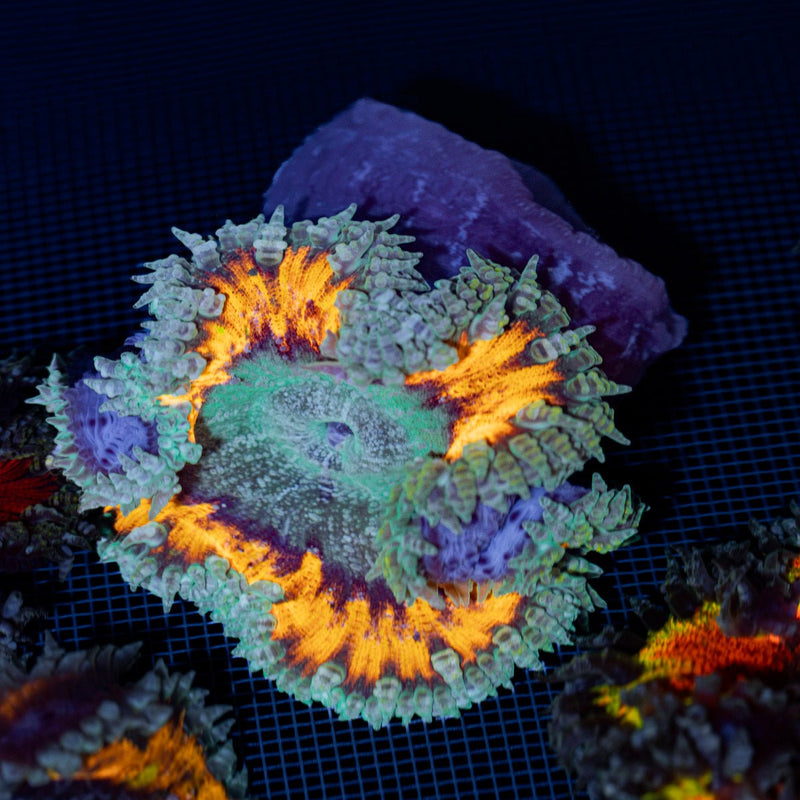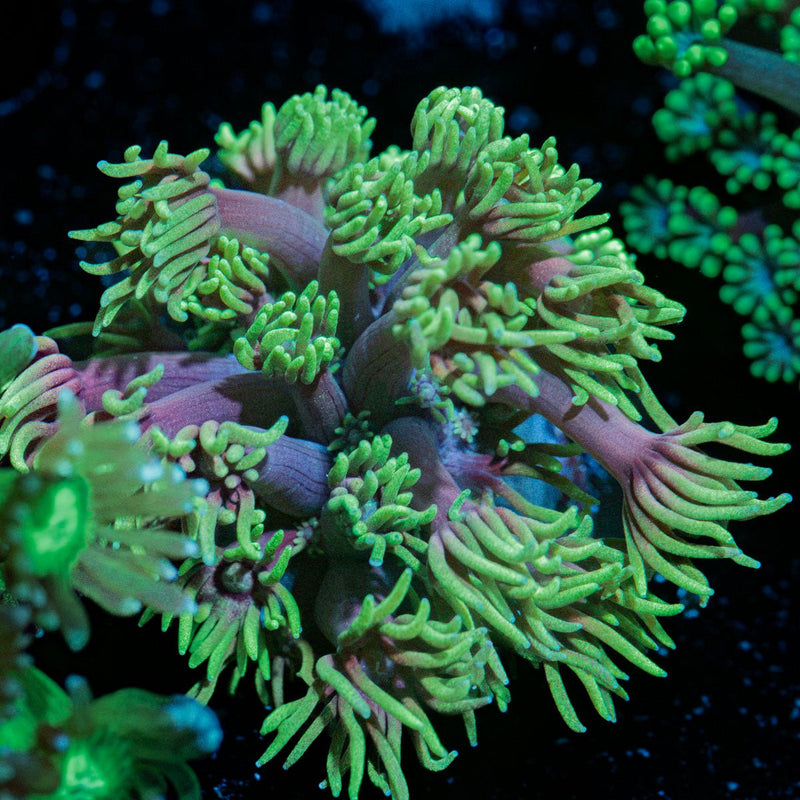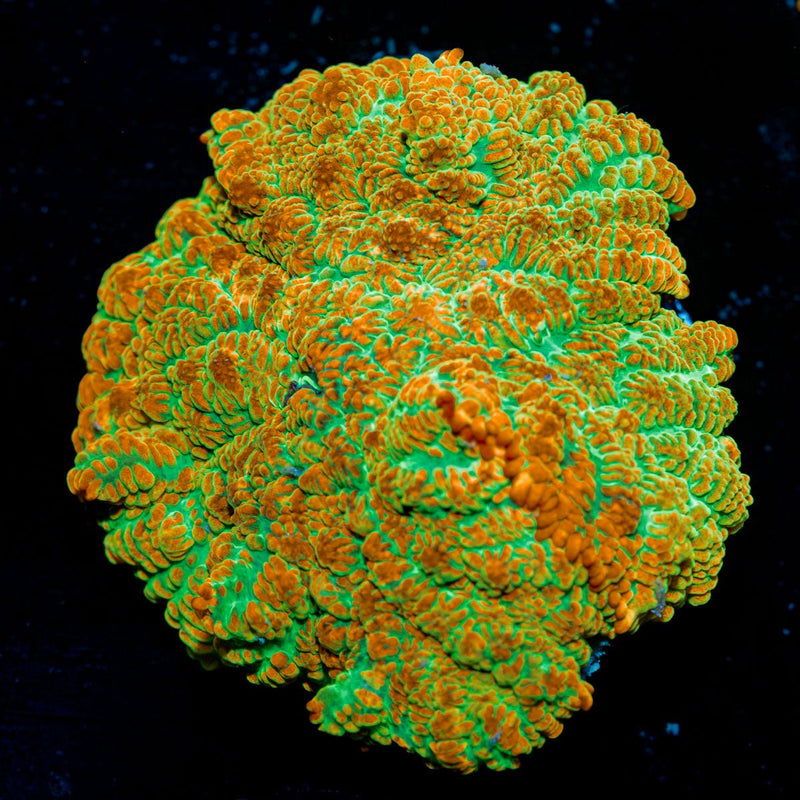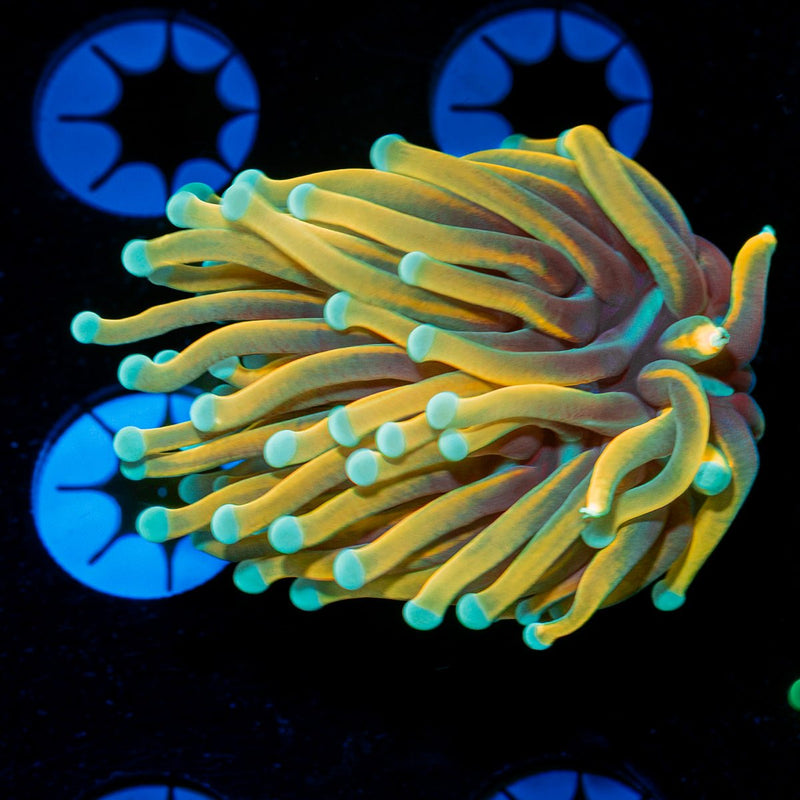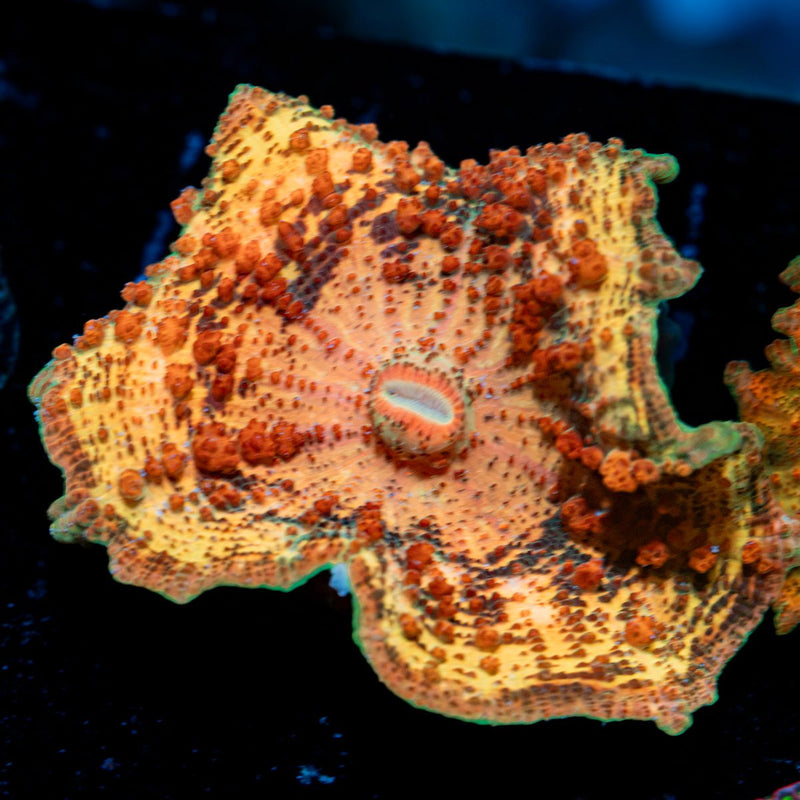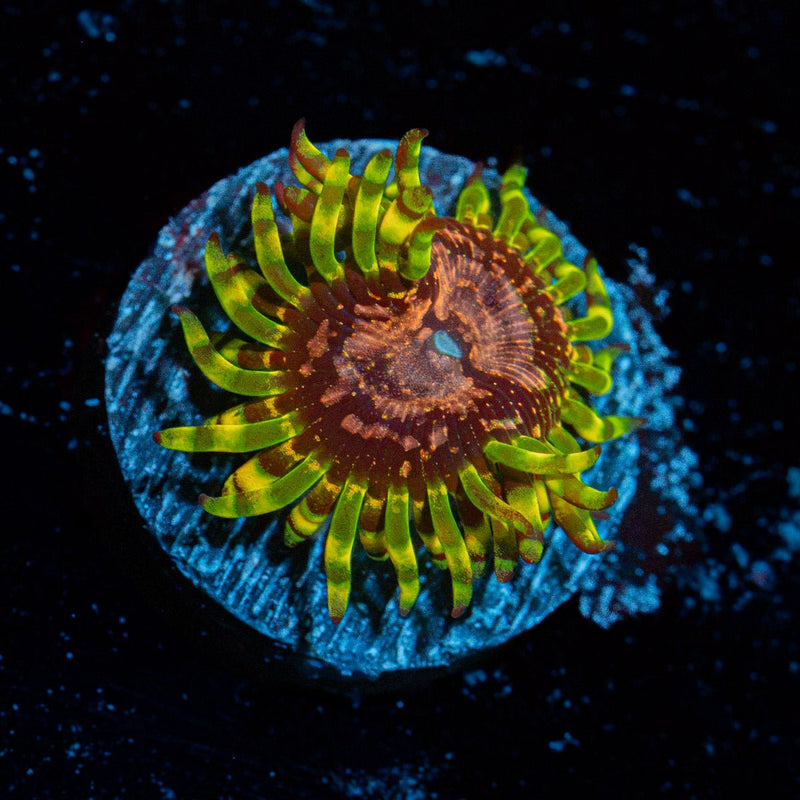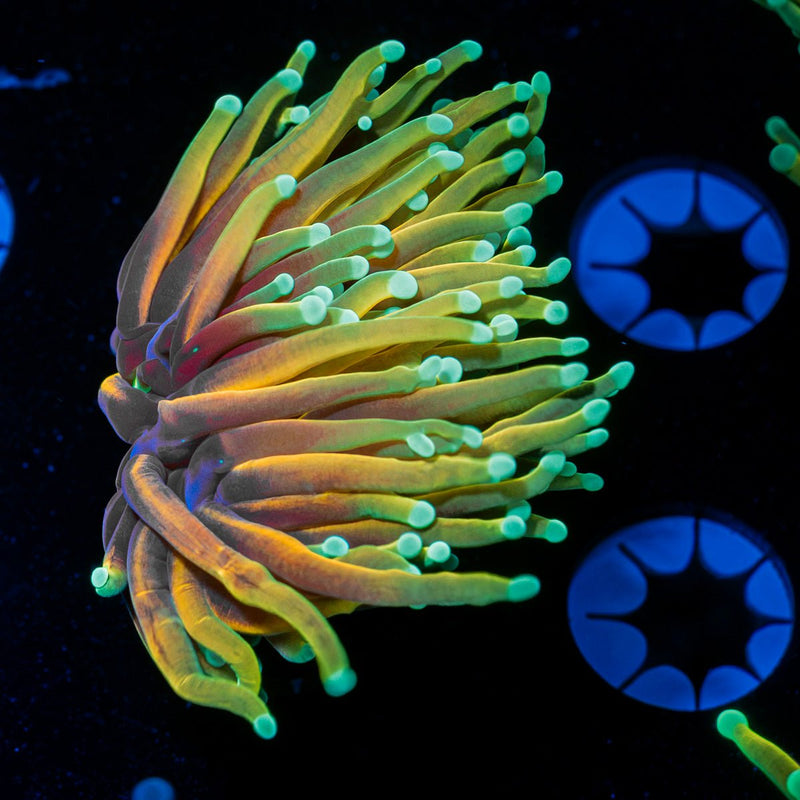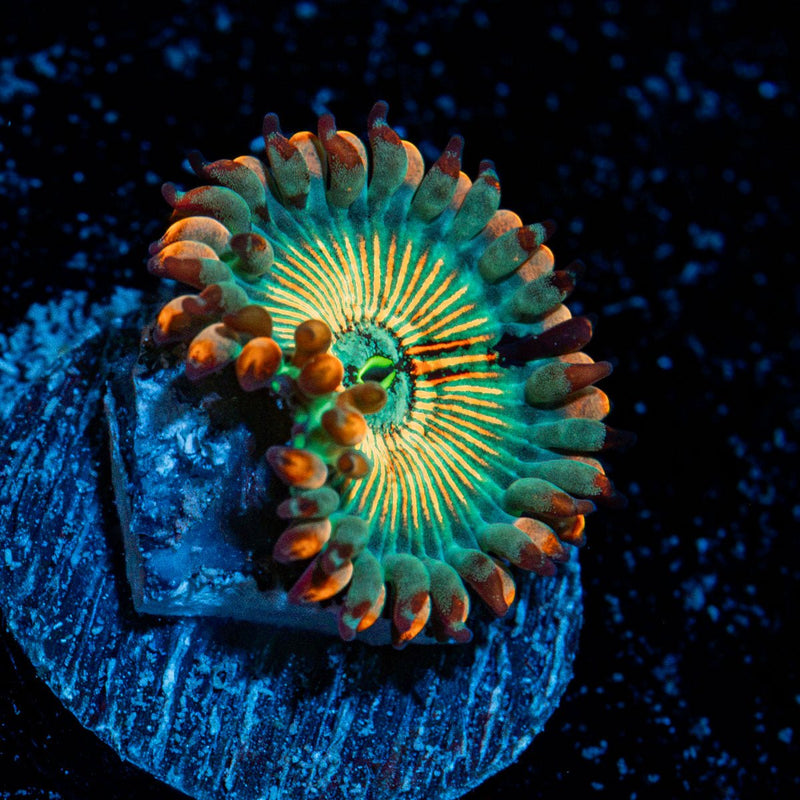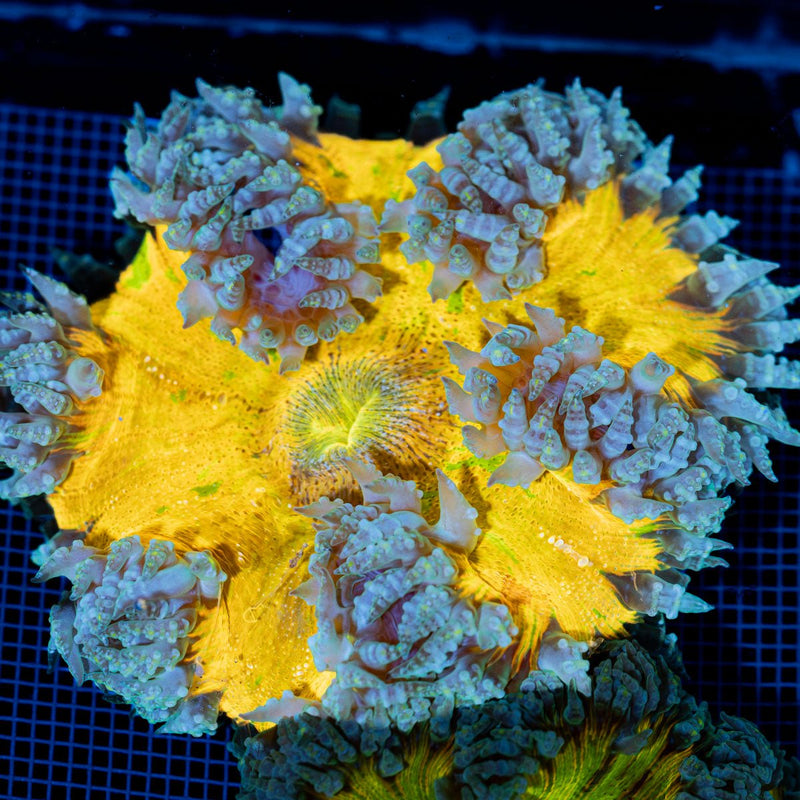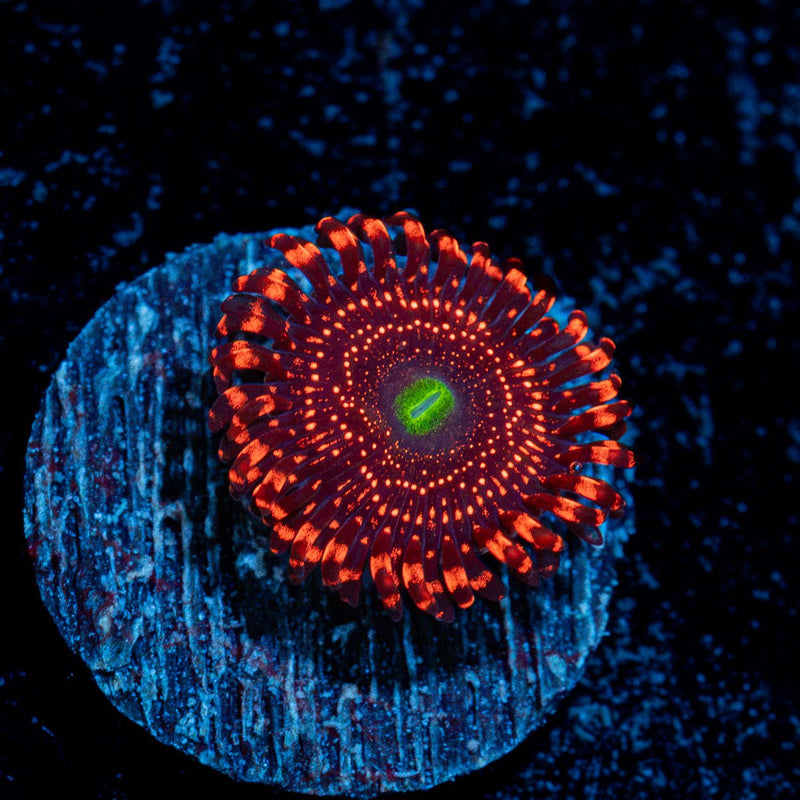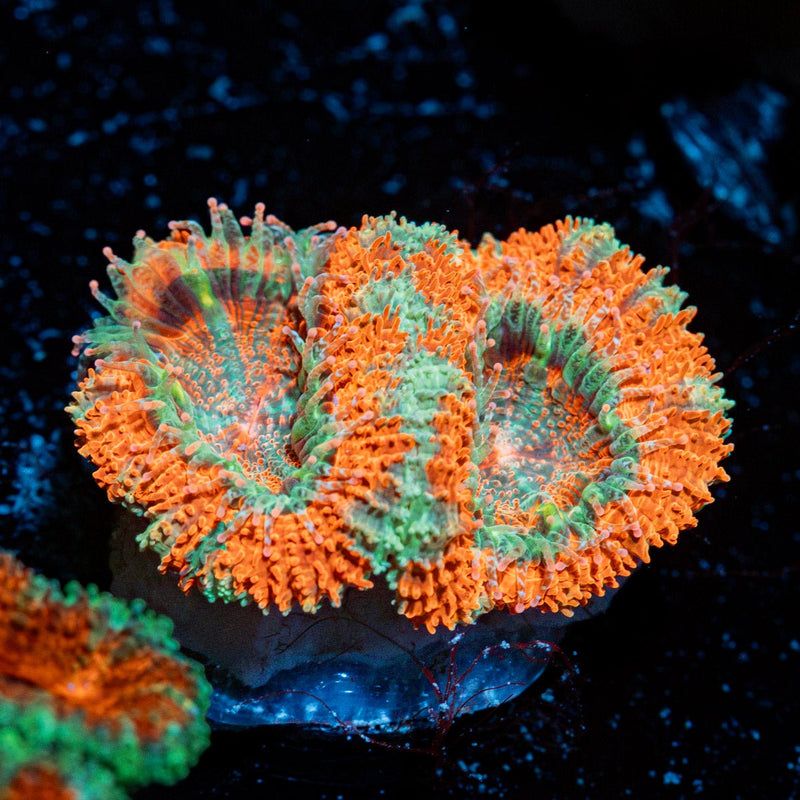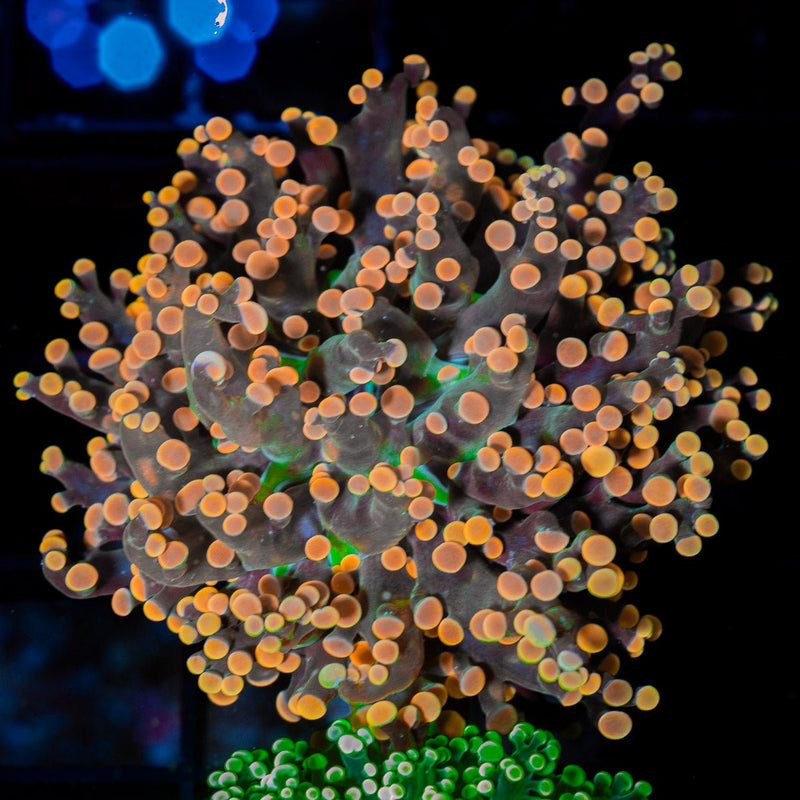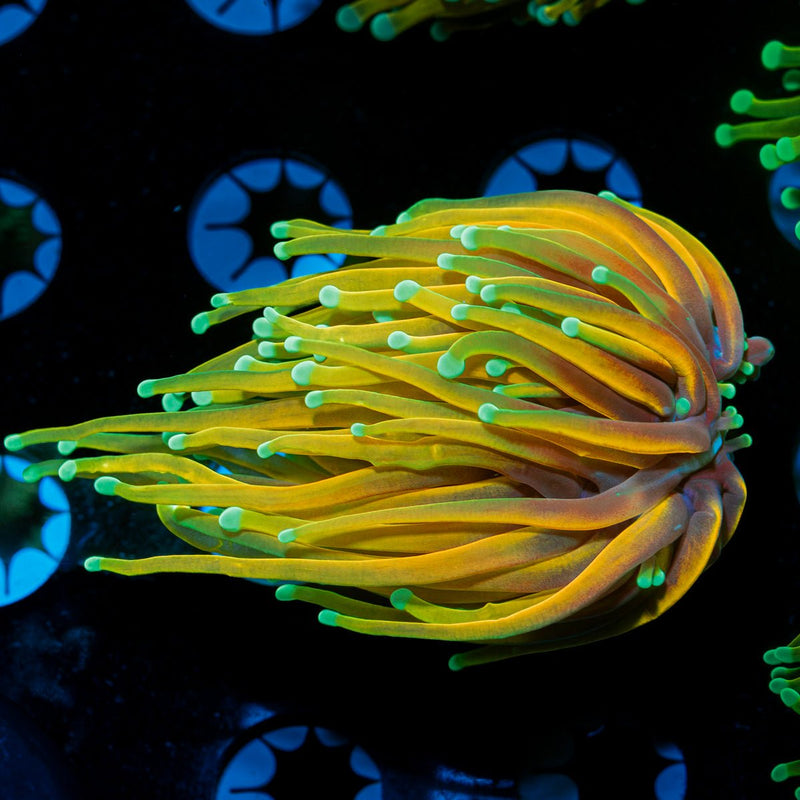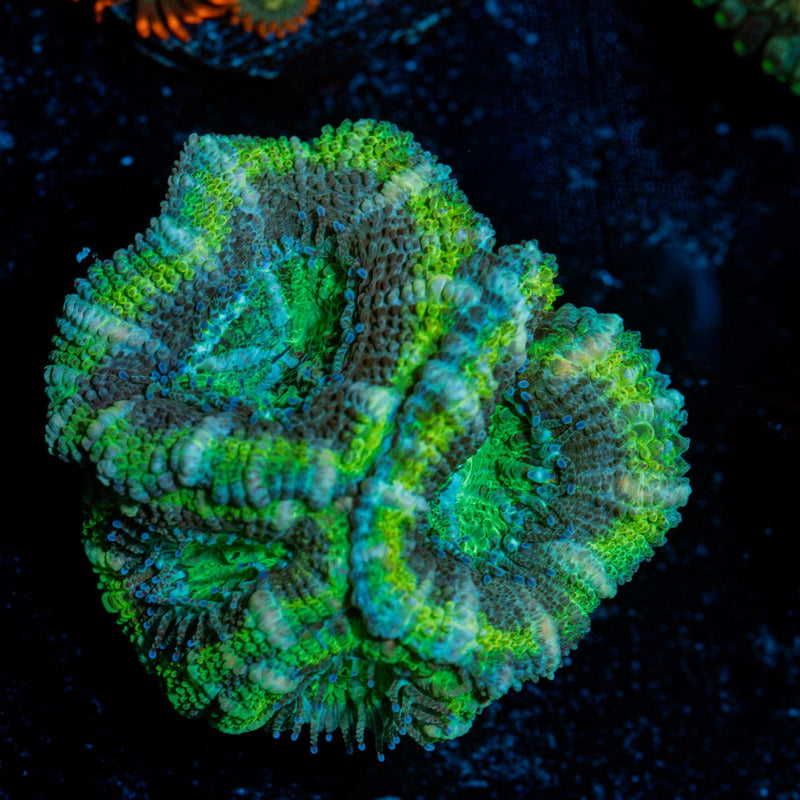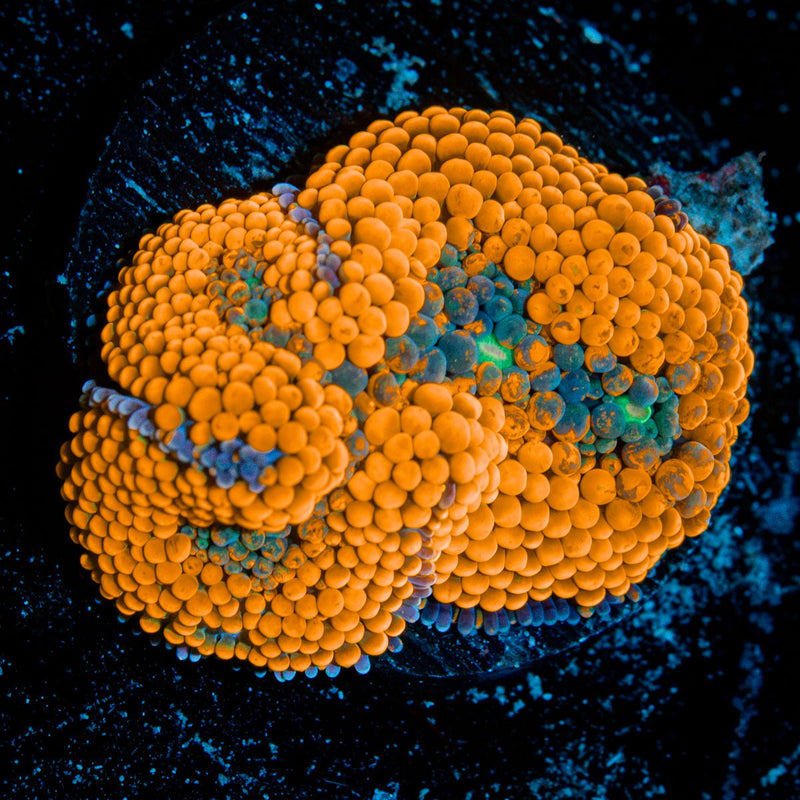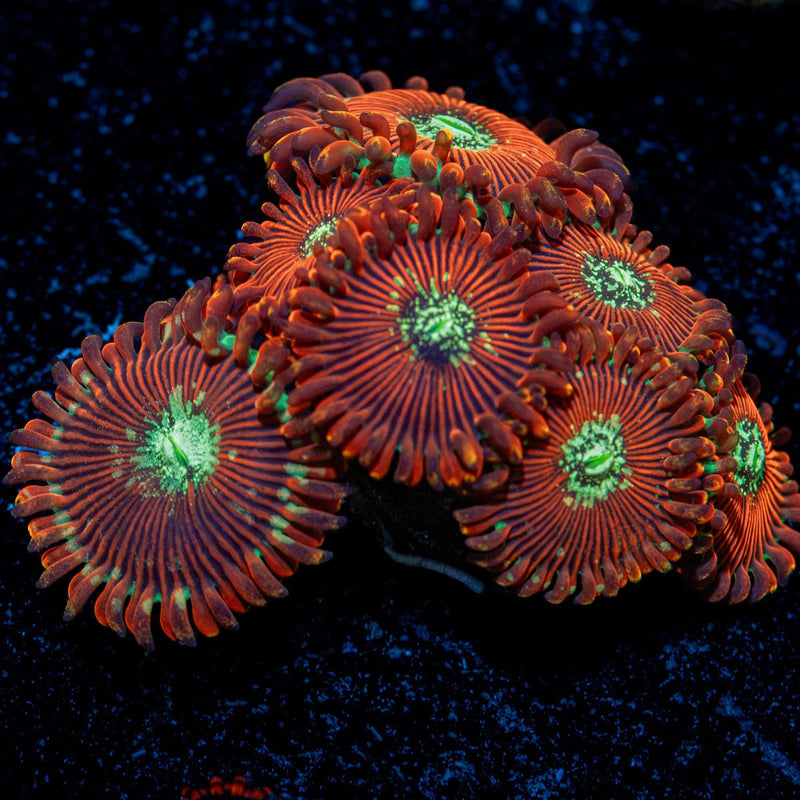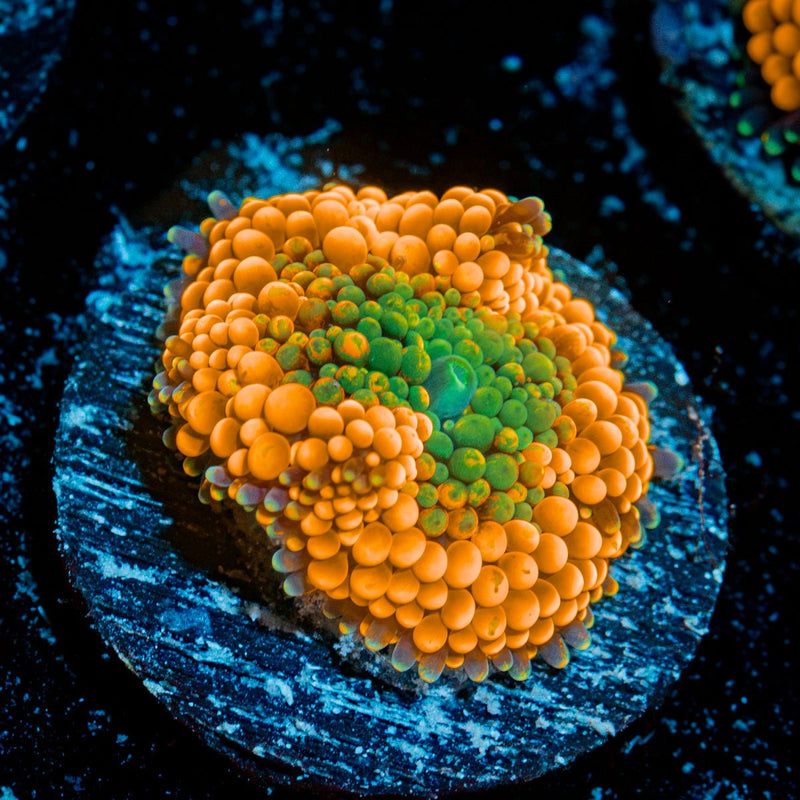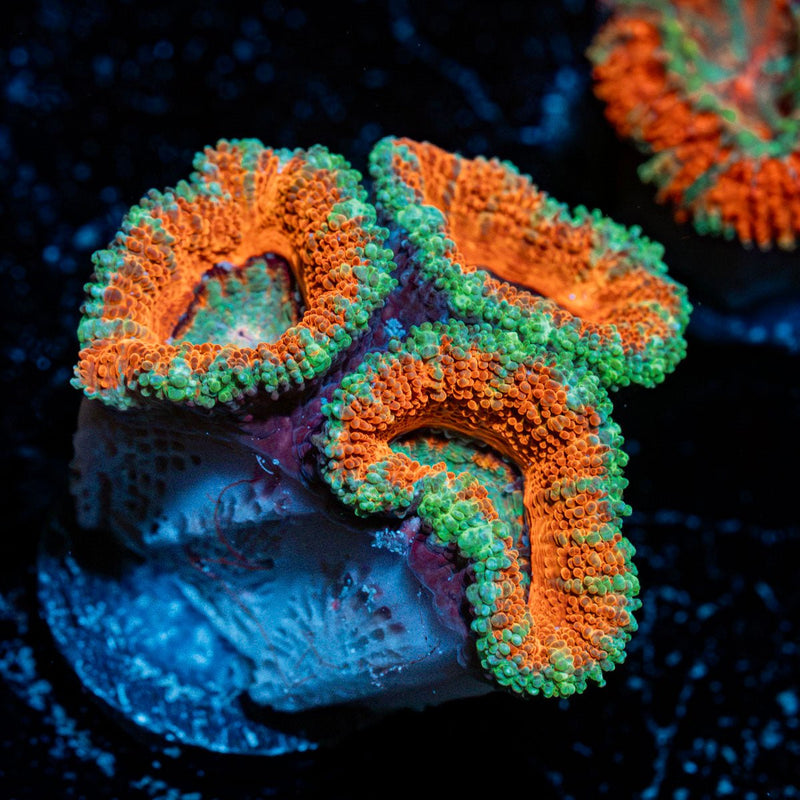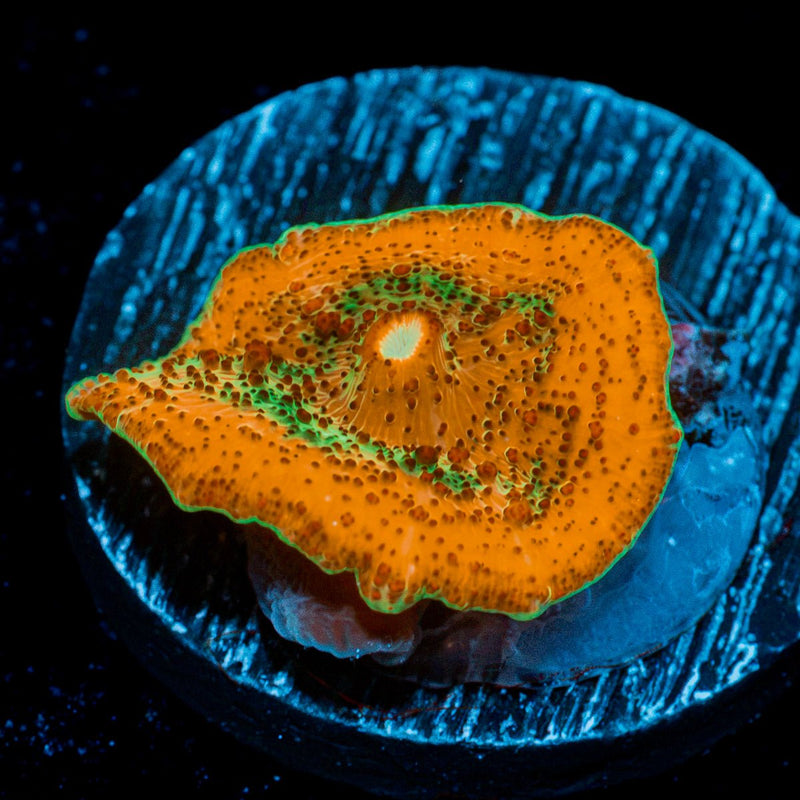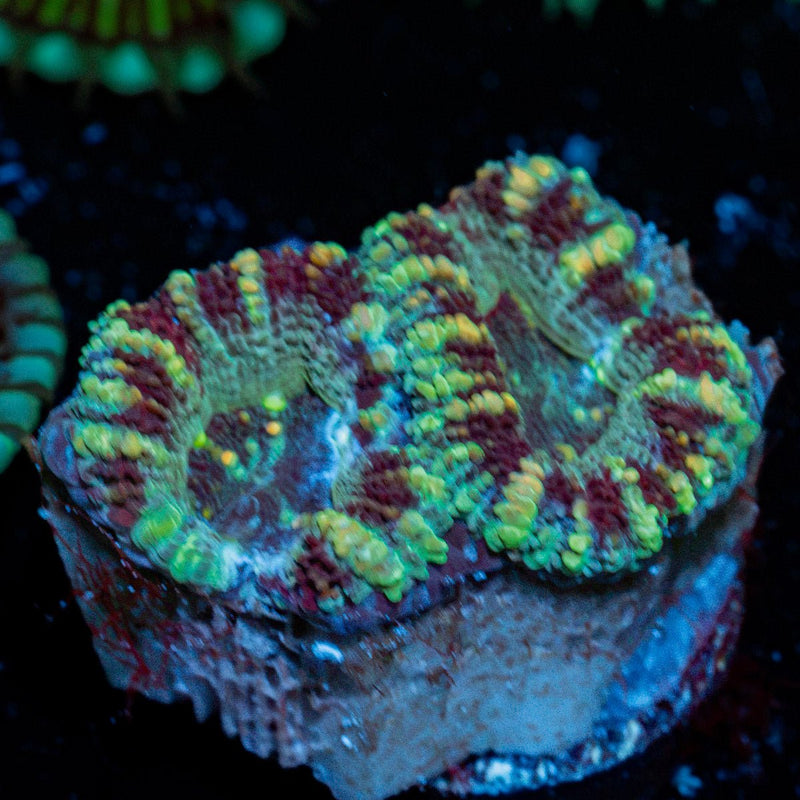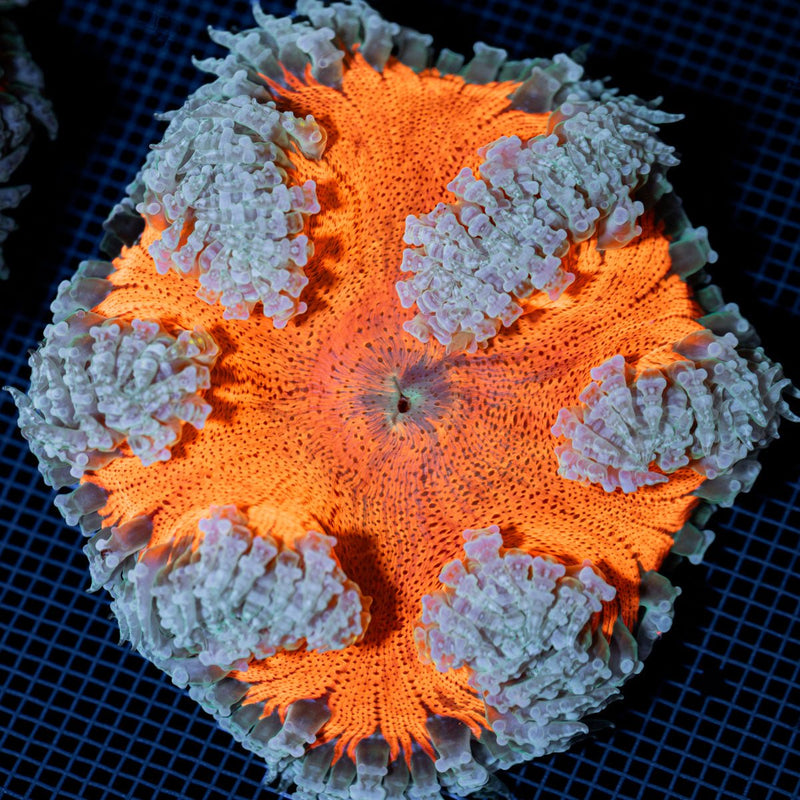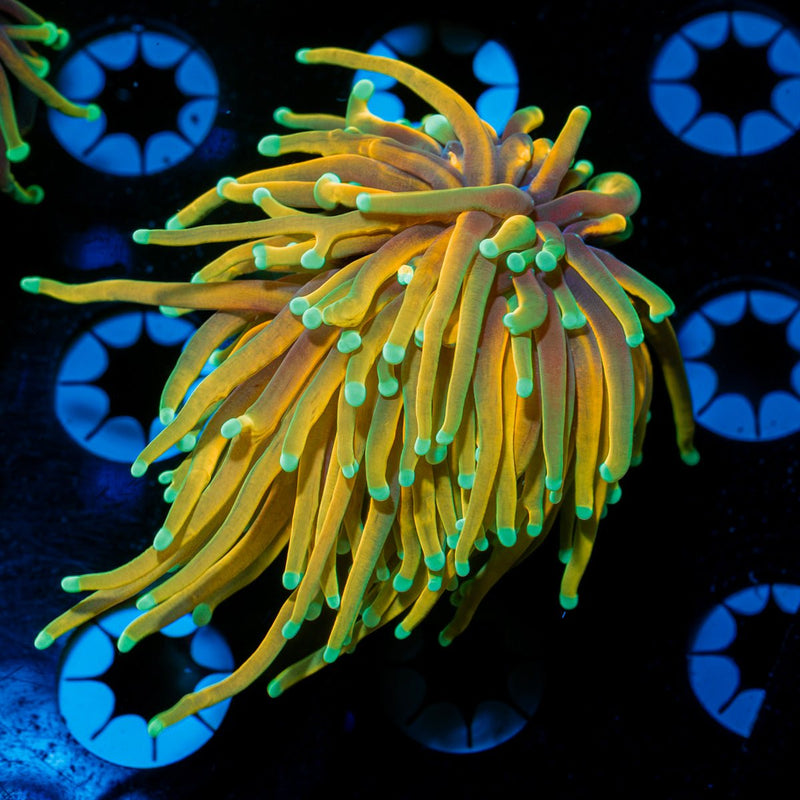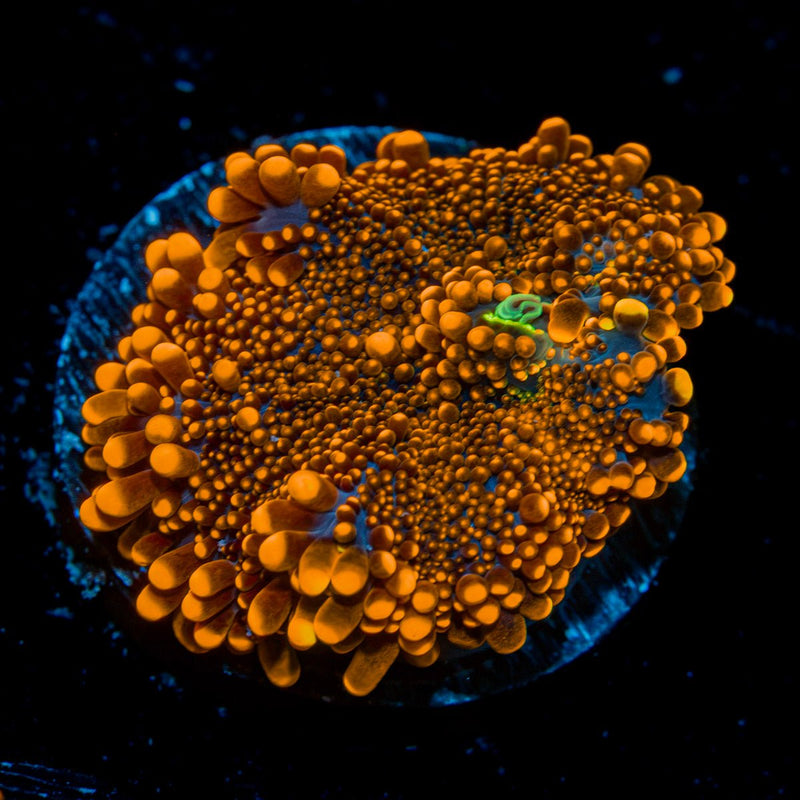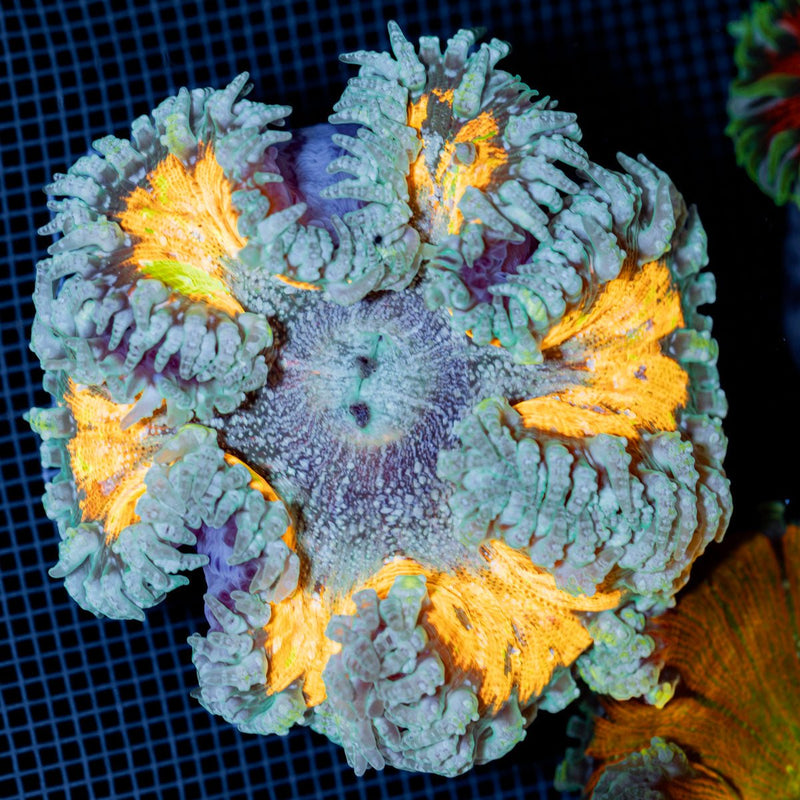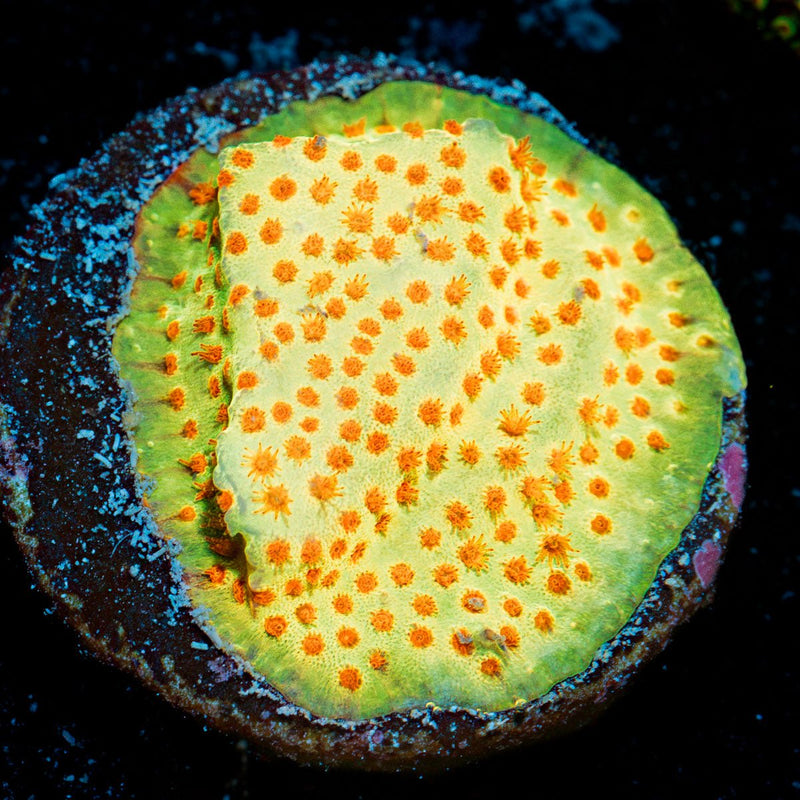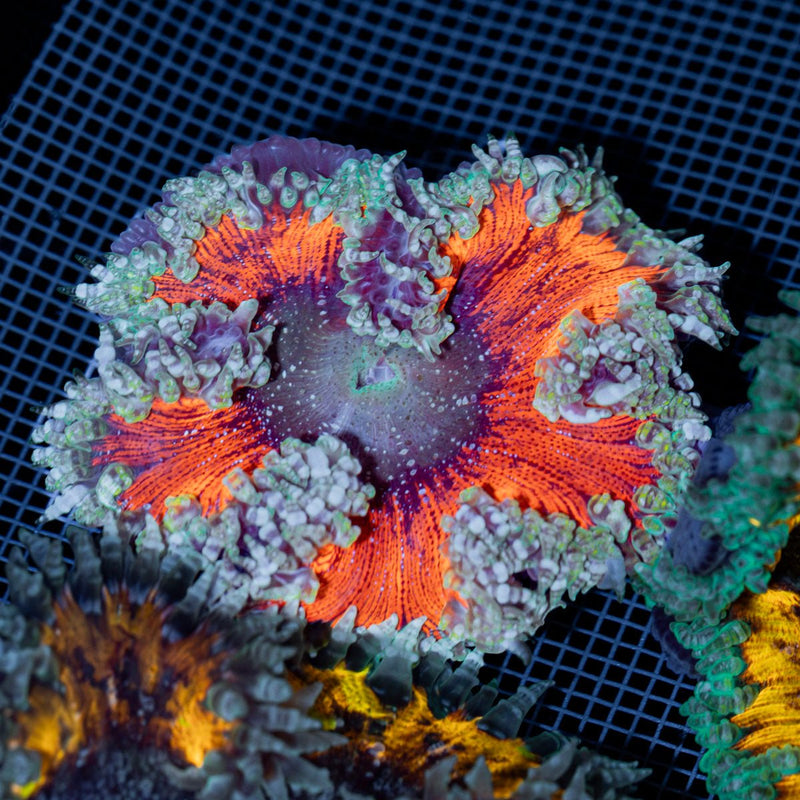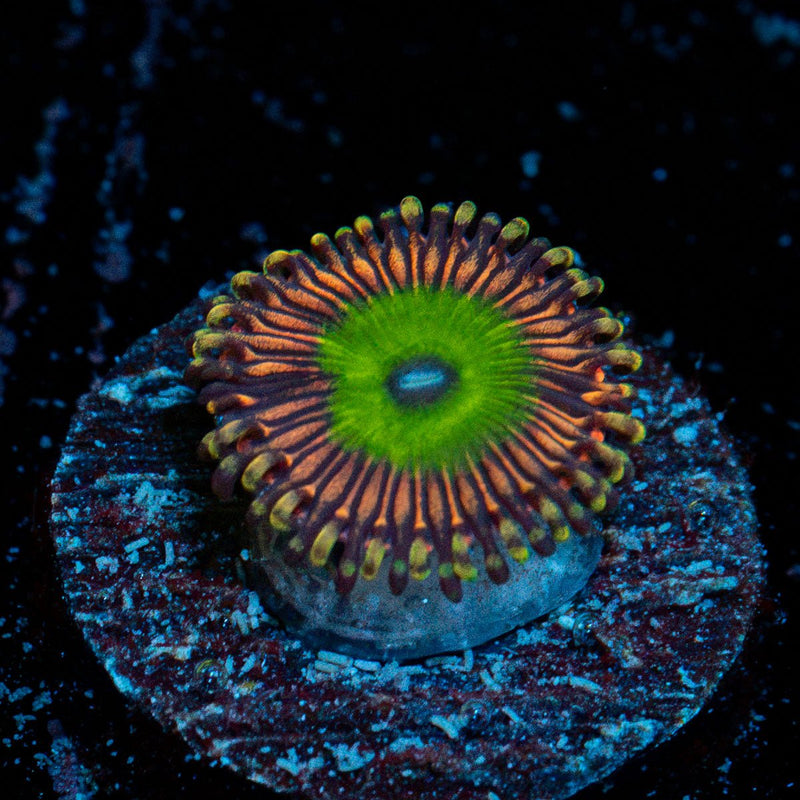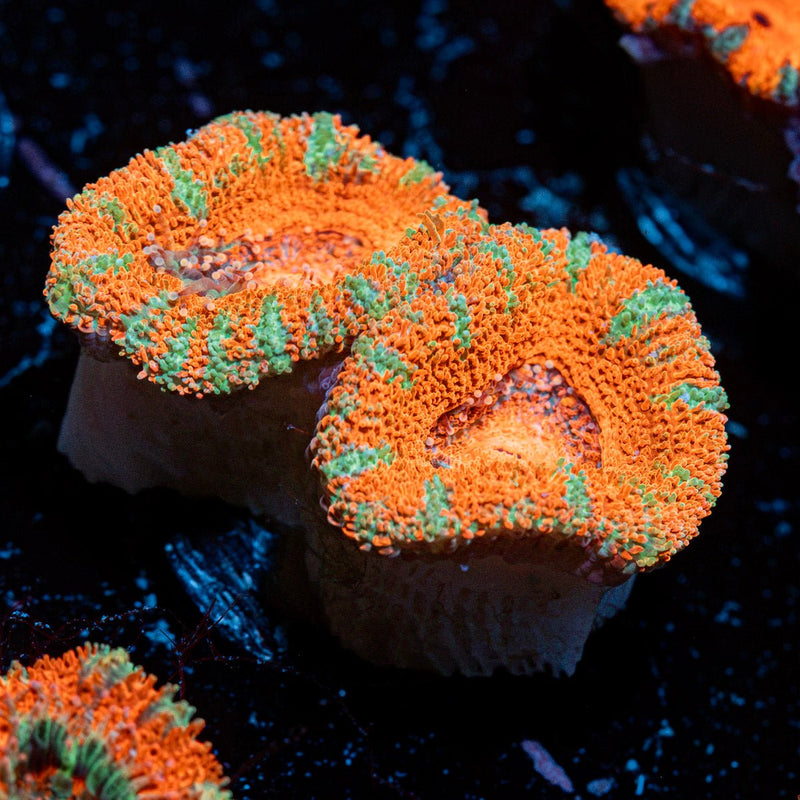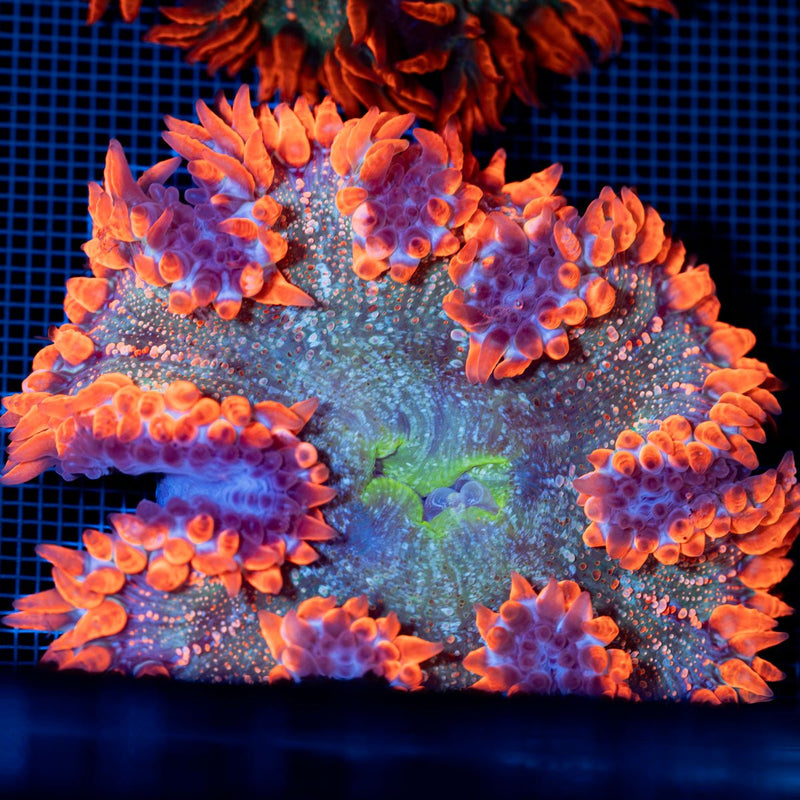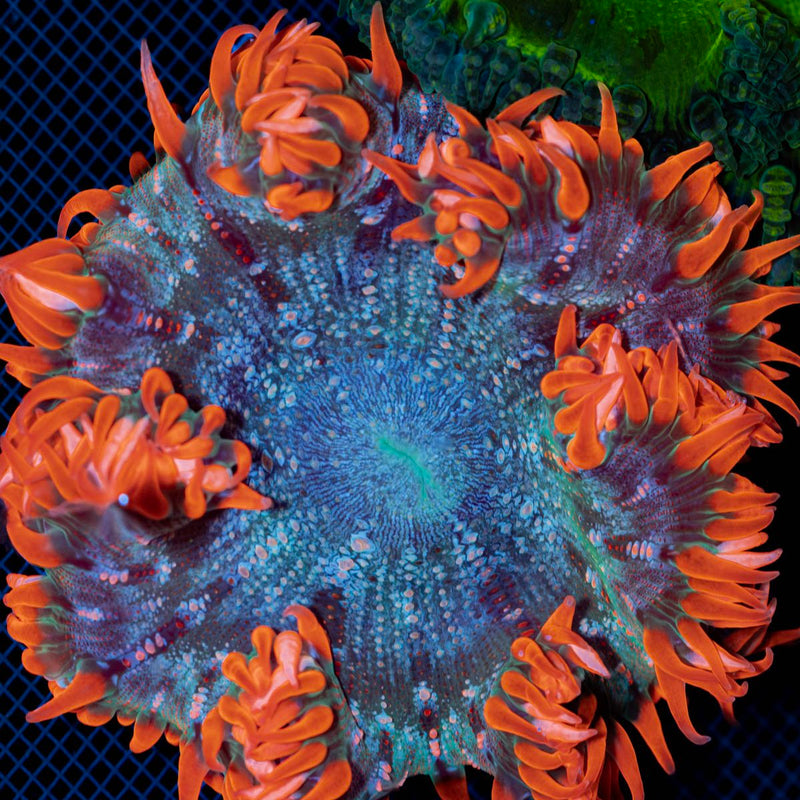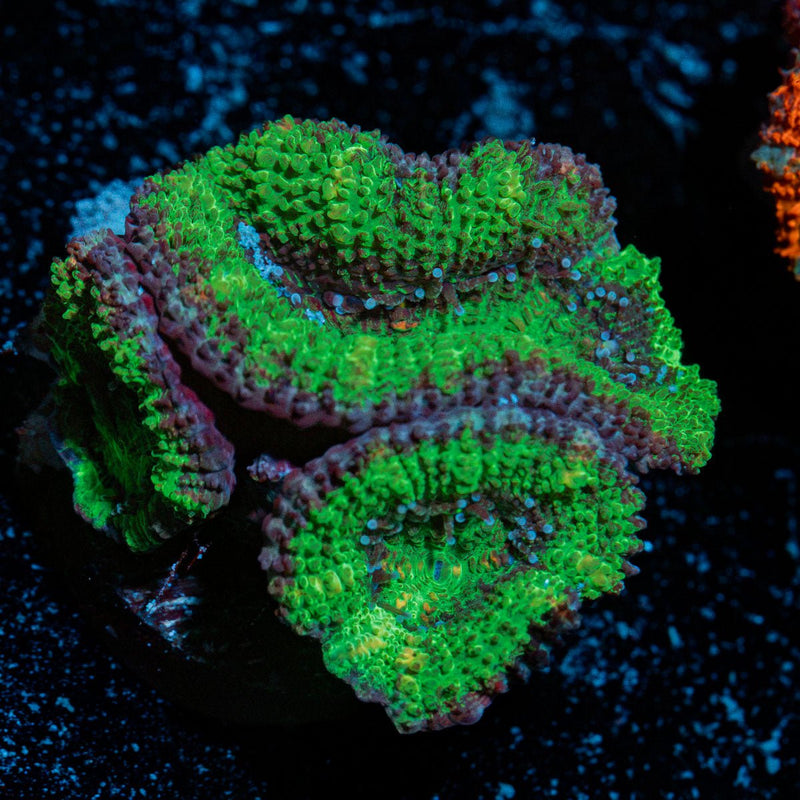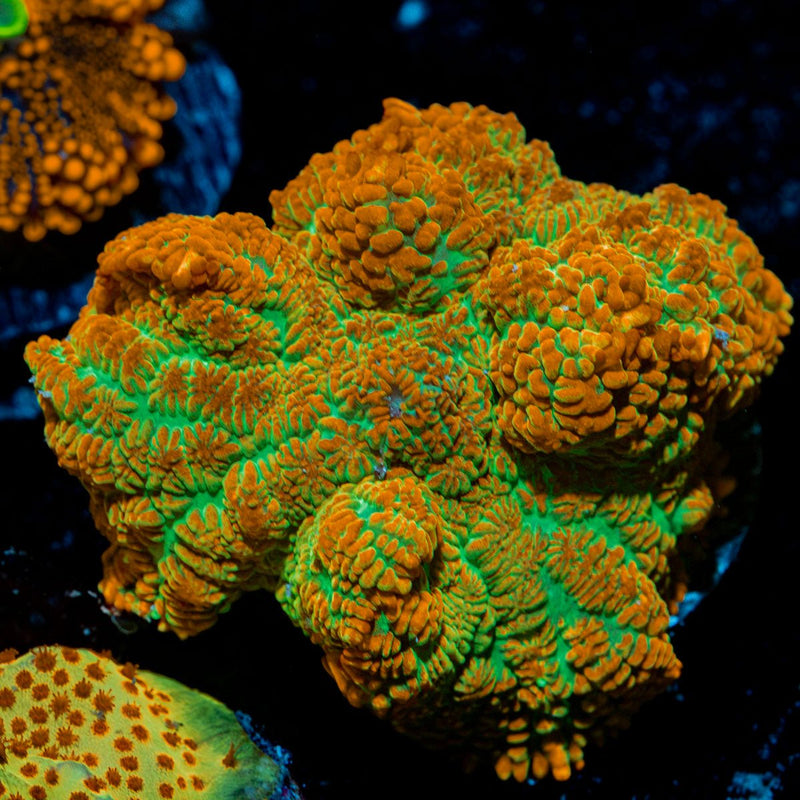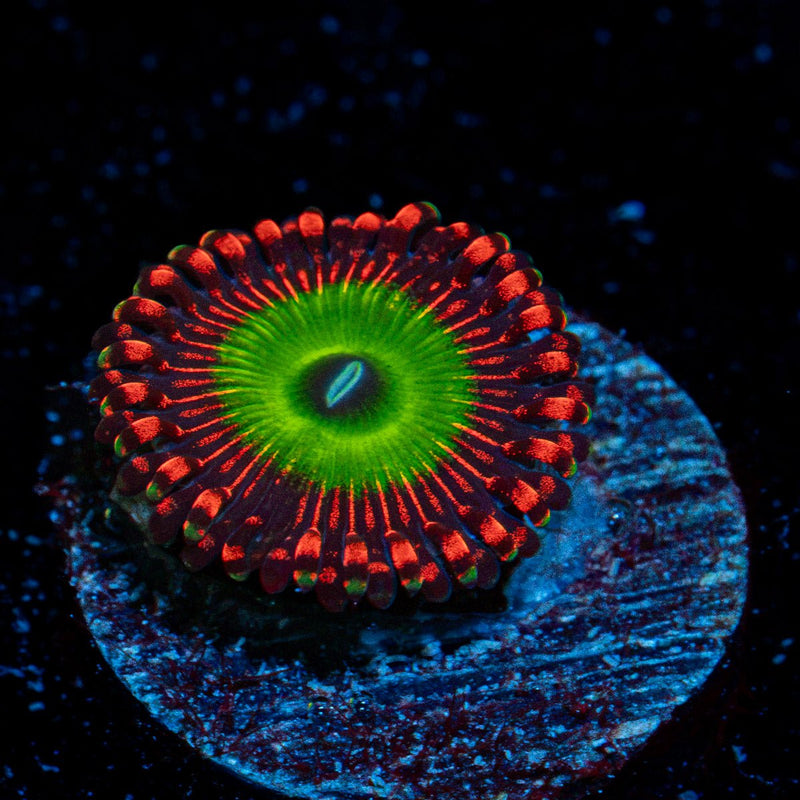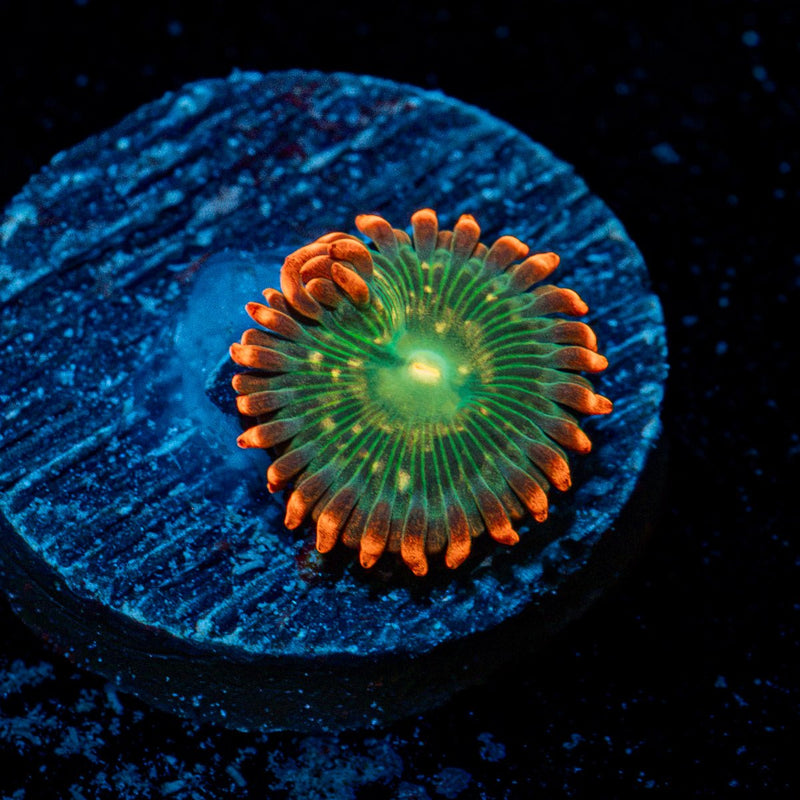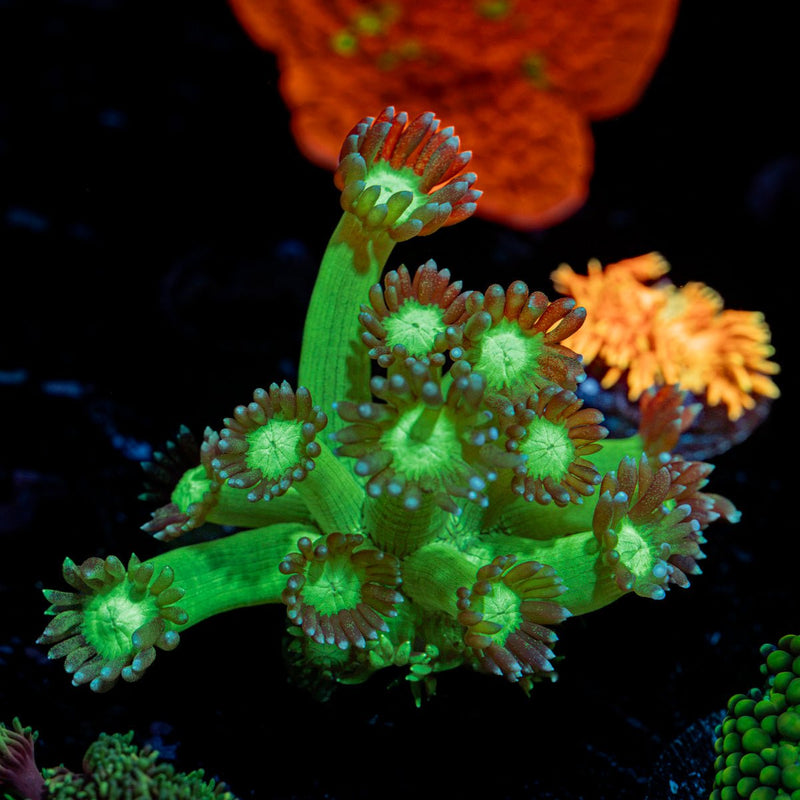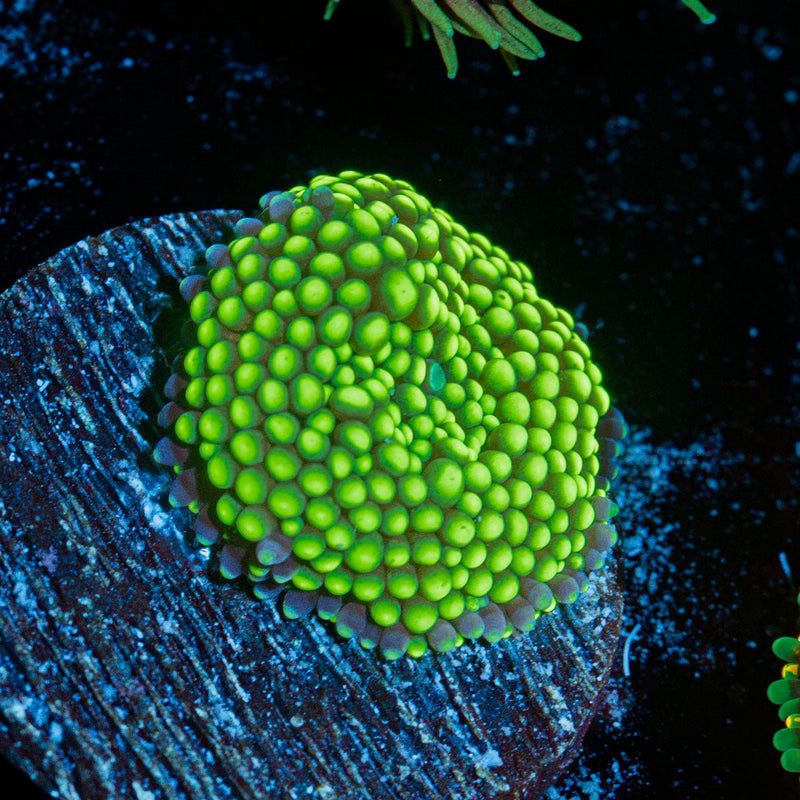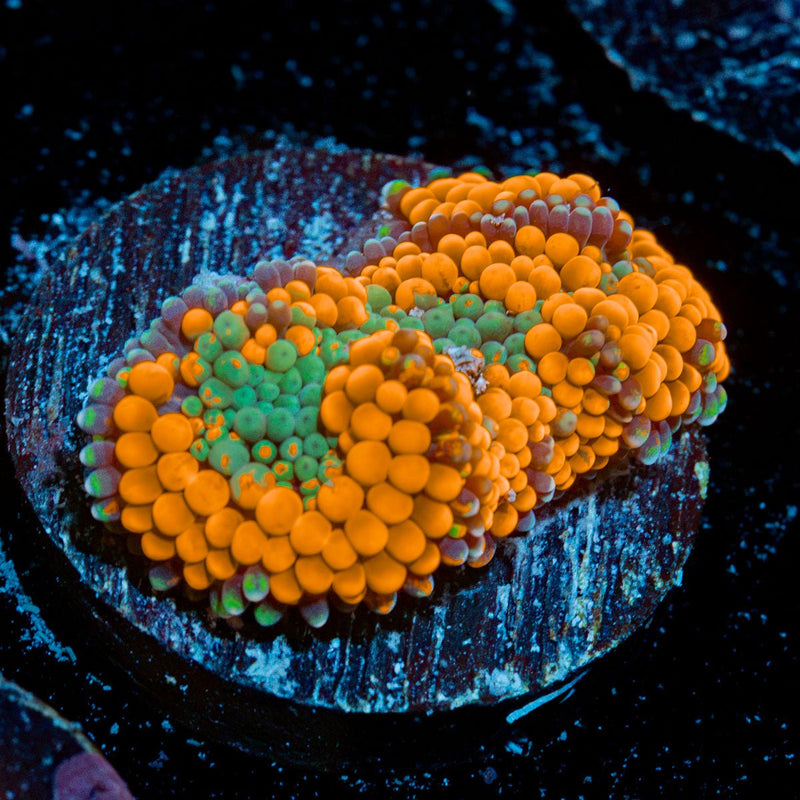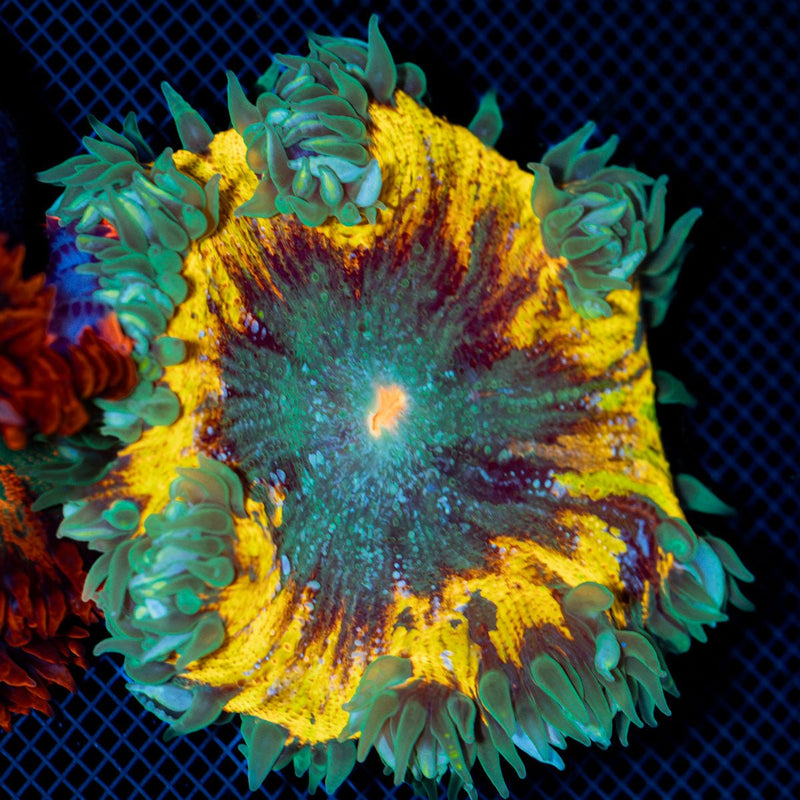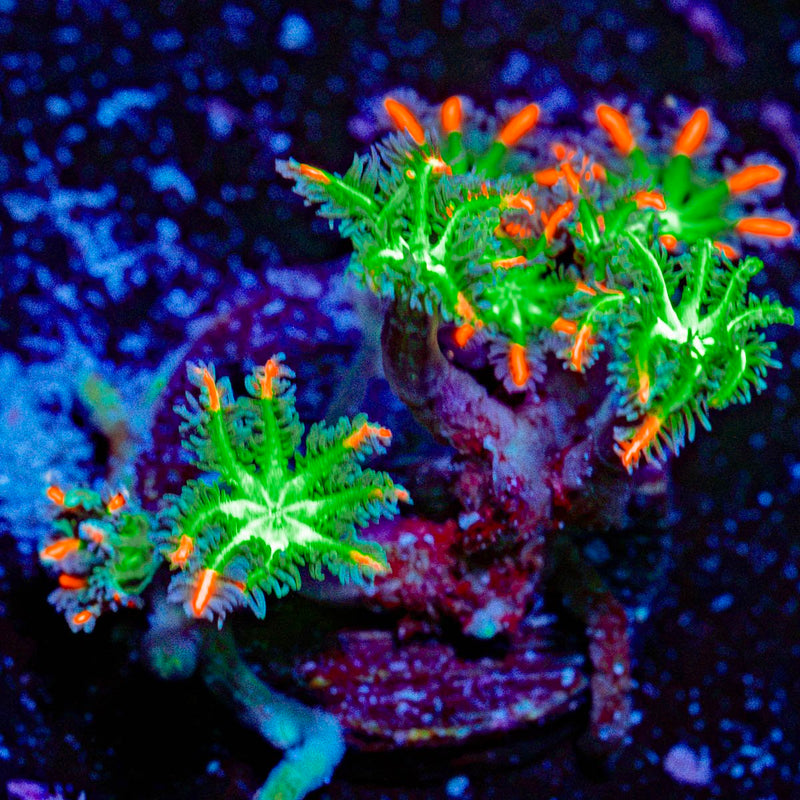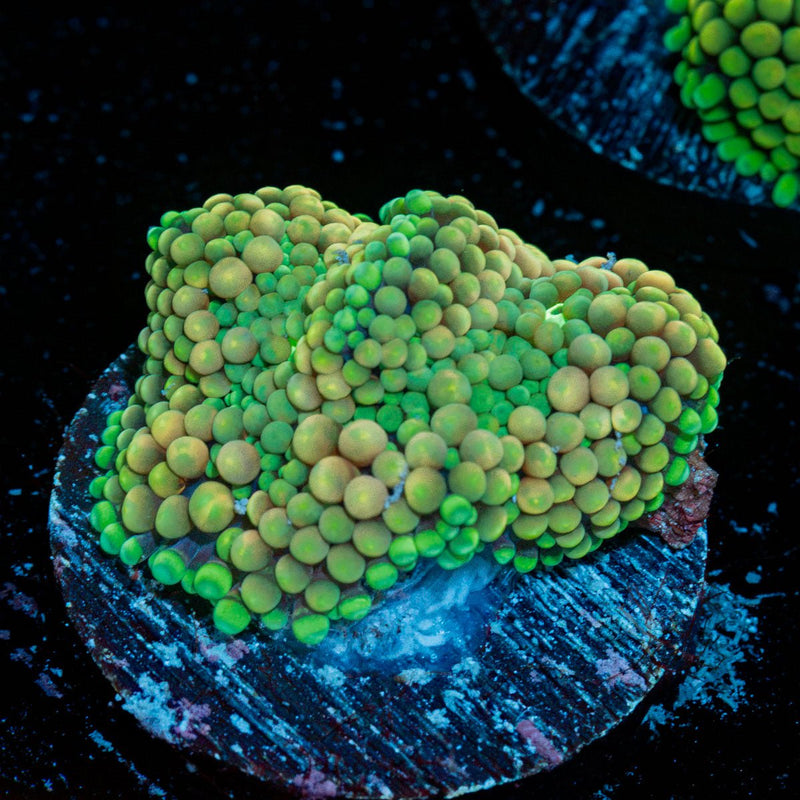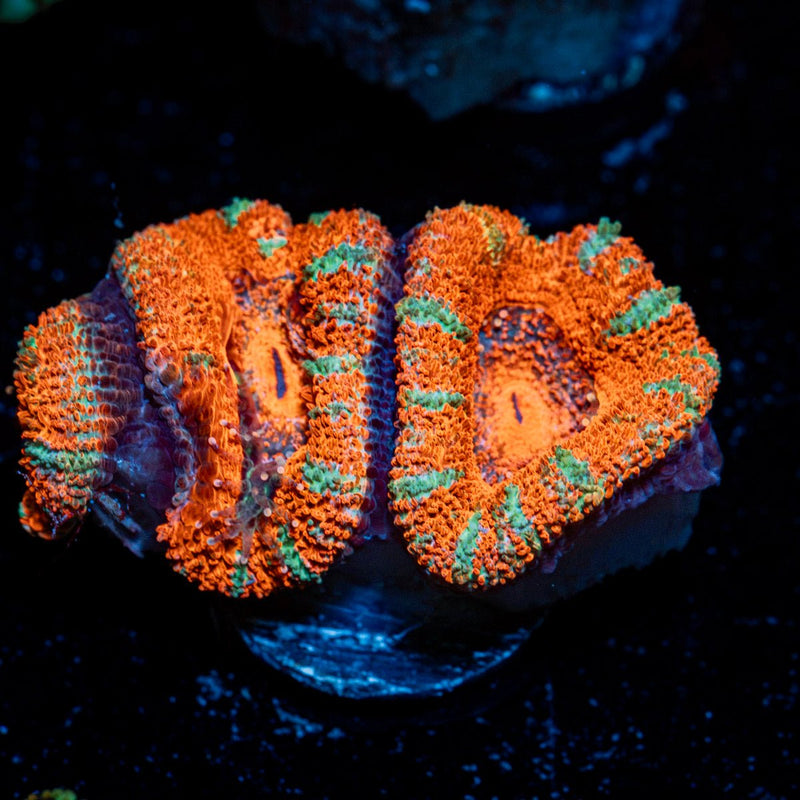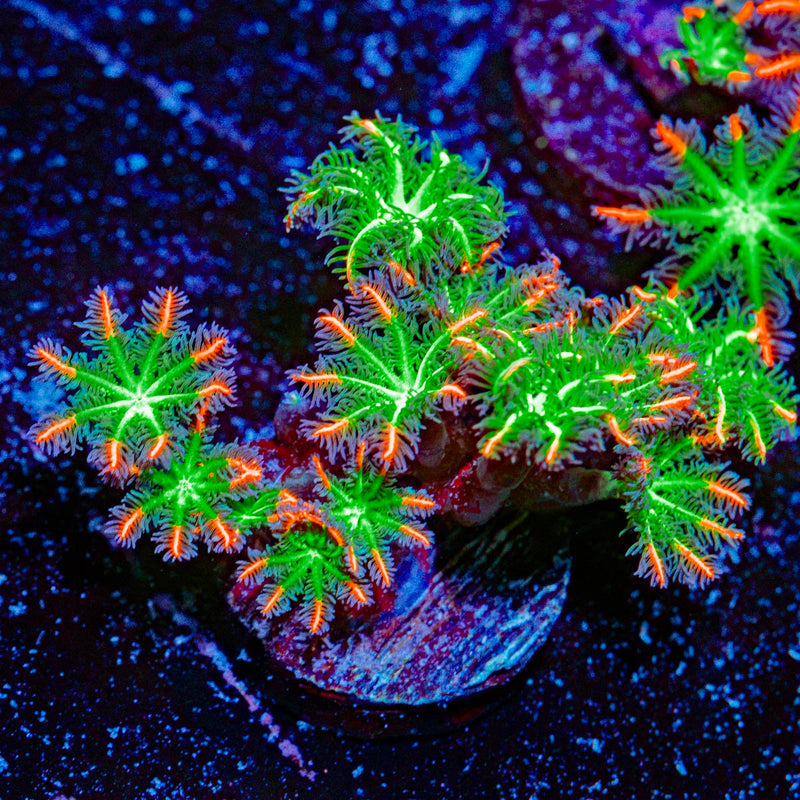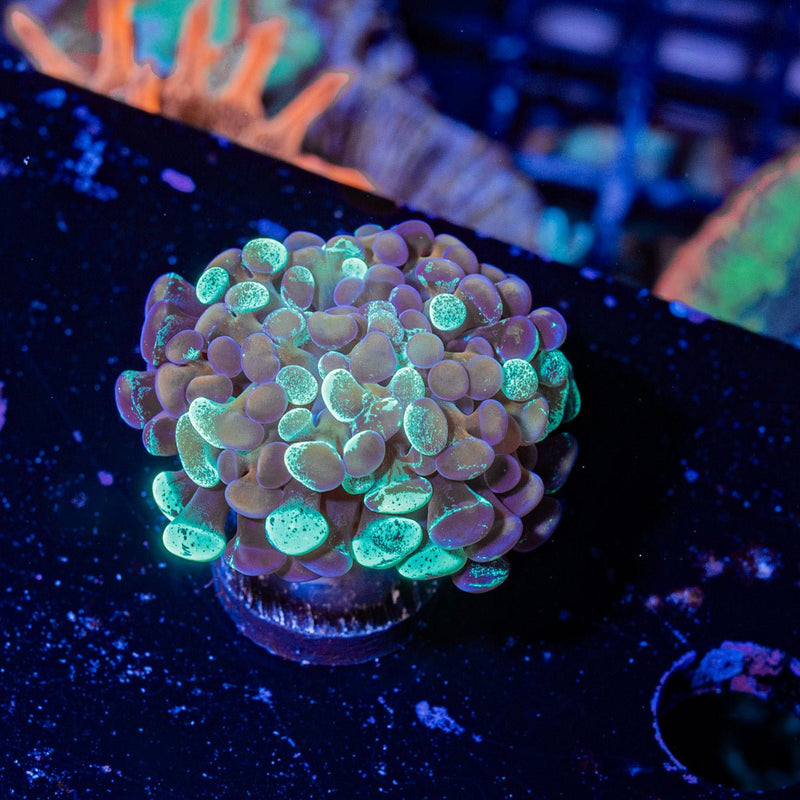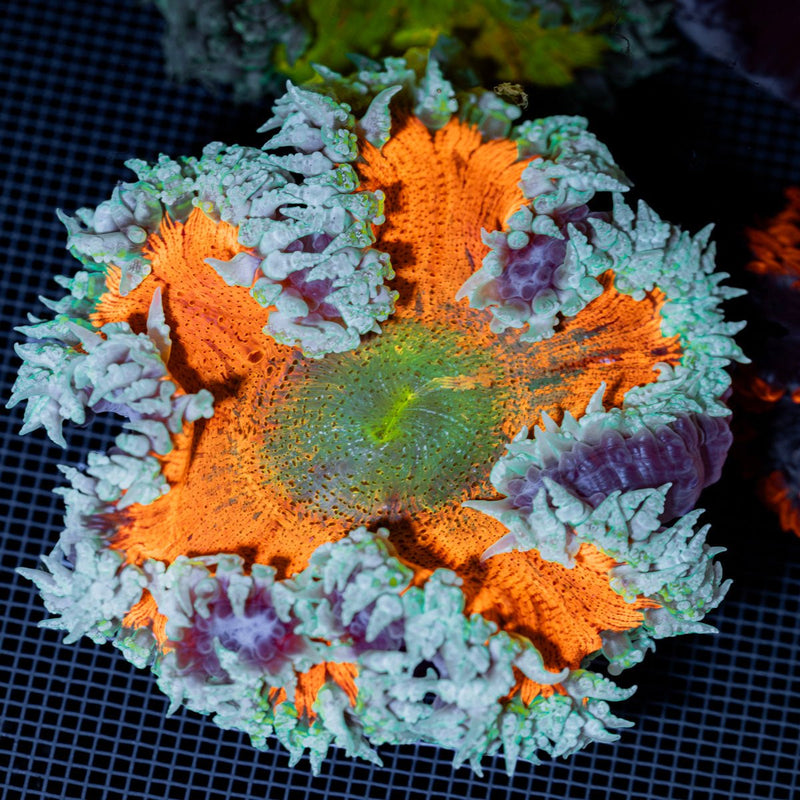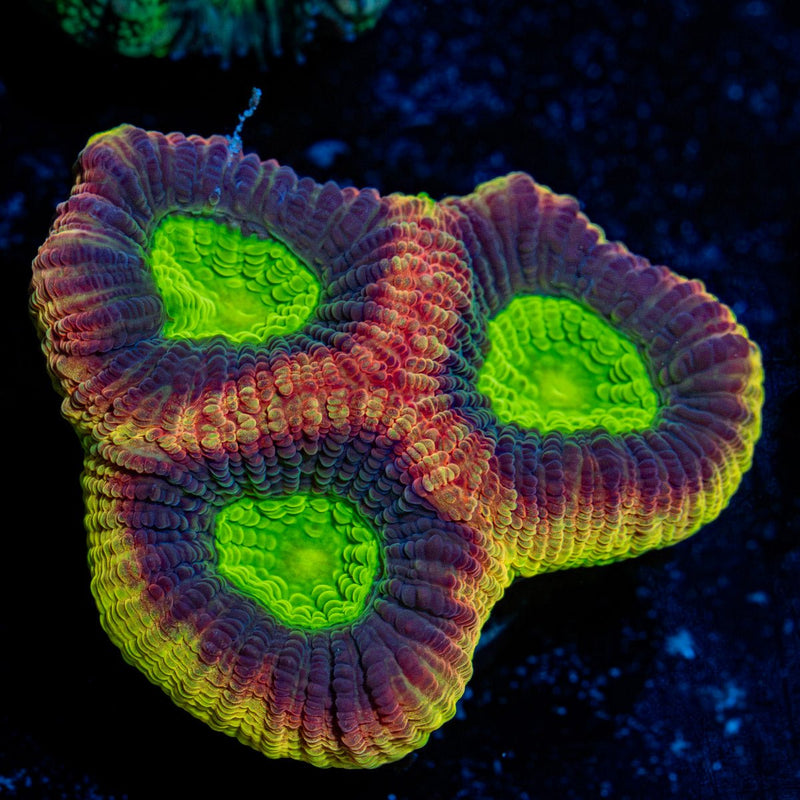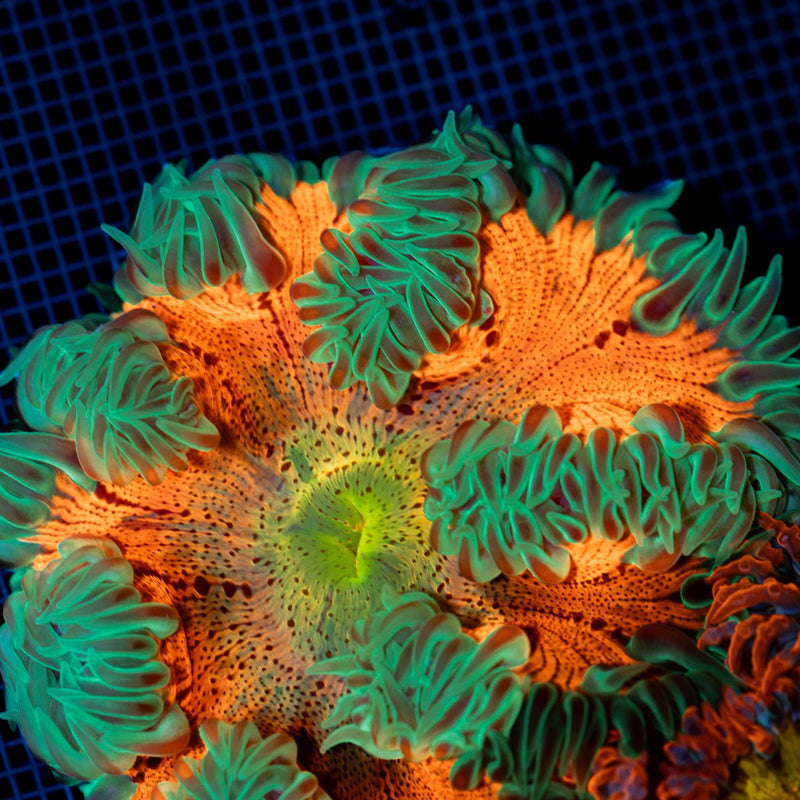
A new coral frag can look perfect under blue lights and still bring an unwanted hitchhiker into your display. That is why learning how to quarantine new corals is one of the smartest habits a reef keeper can build. A simple, stable quarantine process protects the colorful living jewels already thriving in your tank while giving each new addition time to recover from shipping, acclimate, and show its true condition.
Quarantine does not need to be complicated or clinical. It does need to be deliberate. The goal is to create a separate, easy-to-observe space where you can inspect, dip, and monitor new corals before they join your established reef.
Why quarantine new corals?
Aquacultured corals are a strong choice for reef keepers because they are grown in captivity and accustomed to aquarium life. Still, any coral entering a system can carry hitchhikers on its plug, skeleton, tissue, or shipping water. Some are merely annoying, while others can become a serious problem once they reach a mature display full of prized SPS, LPS, zoanthids, or mushrooms.
Common concerns include flatworms, nudibranchs, red bugs, vermetid snails, algae, aiptasia, bryopsis, and eggs that may not be visible at first glance. A dip can remove many mobile pests, but it will not reliably eliminate every egg or solve every issue. Observation is what makes quarantine valuable.
There is also a fish-health consideration. Corals themselves do not get marine ich or velvet, but wet coral plugs, bags, and water can potentially transfer stages of fish parasites. If your priority is preventing fish disease from entering a reef tank, a longer fishless holding period is the safer approach.
Build a simple coral quarantine system
A coral quarantine tank does not have to match the beauty or scale of your display. A small glass aquarium, all-in-one tank, or food-safe container can work well when it provides stable temperature, salinity, circulation, and appropriate lighting.
For many hobbyists, a 10- to 20-gallon setup is enough for a small incoming order. Larger systems make sense if you regularly buy showpiece colonies, larger LPS, anemones, or multiple frags at once. The best size is the one you can keep stable and inspect easily.
Your basic setup should include a heater, thermometer, gentle but consistent water movement, and a reef-capable light. A small powerhead or air-driven sponge filter can provide circulation and oxygenation. Use a cycled sponge filter, established biological media, or carefully monitored water changes to manage nutrients and ammonia.
Keep quarantine equipment separate from the display. That means dedicated tweezers, coral cutters, frag racks, buckets, towels, and test tools whenever possible. Sharing equipment can defeat the entire purpose of isolation.
Match the display tank where it matters
New corals handle quarantine best when water parameters are close to the conditions they will experience later. Aim for stable reef salinity, typically around 1.025 to 1.026 specific gravity, with a temperature around 77 to 79 degrees Fahrenheit. Keep alkalinity, calcium, and magnesium steady rather than chasing exact numbers every day.
Lighting should begin conservatively. Shipping and handling are stressful, and even vibrant, healthy frags can bleach if placed immediately under intense PAR. Start lower than your display light level, then gradually increase intensity as the coral opens, colors up, and shows consistent extension.
Acclimate before you dip
When your shipment arrives, inspect each bag before opening it. Look for excessive cloudiness, loose tissue, unusual odor, damaged skeletons, or pests visible in the water. Photographing a coral at arrival can be helpful if you need to track changes over the next several weeks.
Temperature acclimation comes first. Float sealed bags in the quarantine tank or a temperature-controlled container for about 15 to 20 minutes. Then transfer the coral to a clean acclimation container using water from the shipping bag only as needed. Avoid adding shipping water to your quarantine tank or display.
For most aquacultured frags, a long drip acclimation is not always necessary and can expose the coral to declining shipping-water quality. A short, measured adjustment to your quarantine water is usually more practical. Once temperature and salinity are reasonably matched, move on to the coral dip.
Dip every coral, but understand the limits
A coral dip is a first line of defense, not a guarantee. Choose a reputable dip designed for the type of coral you are treating, and follow the label directions exactly for dose, duration, water volume, and rinse procedure. Different products have different strengths, and more concentrated does not mean more effective or safer.
Prepare the dip using water from your quarantine system, not the display. After the treatment period, rinse the coral in a second container of clean quarantine water before placing it on the frag rack. Inspect the dip container under bright white light. Flatworms, amphipods, bristleworms, tiny snails, and other hitchhikers are often much easier to spot there than on the coral itself.
Some corals are more sensitive than others. Fleshy LPS, delicate mushrooms, certain zoanthids, and stressed anemones may need gentler handling or a product specifically suited to them. When in doubt, prioritize the coral's health and follow the dip manufacturer's coral-specific guidance.
Do not forget the plug. If a frag is mounted on a bulky, algae-covered, or suspicious plug, removing it and remounting the coral on a clean plug can reduce the places where pests and eggs hide. This is not always appropriate for every coral, especially a freshly cut or poorly encrusted frag, so use judgment rather than forcing the issue.
How long should corals stay in quarantine?
For pest observation alone, two to four weeks is a practical minimum for many reef keepers. That window gives the coral time to settle in and gives you repeated opportunities to inspect for eggs, bite marks, tissue loss, algae, or pests that survived the first dip.
A longer quarantine is wiser for high-value Acropora, Millepora, chalices, zoanthids, and any coral from an unknown source. Some pests have life cycles that make a single inspection unreliable. Repeating dips on an appropriate schedule, while watching closely between treatments, can be more effective than assuming one dip handled everything.
If you are also quarantining to minimize the risk of fish parasites arriving in wet material, think in months rather than weeks. Many experienced hobbyists use a fishless coral holding period of 45 days or longer, while some choose 76 days for a more conservative approach. The right duration depends on your risk tolerance, the value of the fish already in your display, and whether you can maintain stable coral conditions for that long.
What to watch for each day
Observation is where a quarantine tank earns its space. Check corals under both blue and white light. Blue lighting makes fluorescent color pop, but white light is much better for spotting bite marks, patches of missing tissue, flatworms, algae, and tiny egg spirals.
Watch SPS for reduced polyp extension, pale patches, tissue recession, or suspicious bite marks. Inspect zoanthids for tiny nudibranchs and curled egg strands. Examine LPS for brown jelly-like tissue breakdown, damaged mouths, or rapid recession. Any coral that suddenly changes should be isolated within the quarantine system if possible and assessed before treating the entire group.
Test water regularly, especially in a small system. Quarantine tanks can swing quickly because there is less water volume, fewer established organisms, and often a changing coral load. Stable parameters, clean water, and moderate flow solve more problems than aggressive treatment.
When it is ready for the display
A coral is ready to graduate when it has completed your chosen observation period, shows healthy tissue and normal behavior, has no visible pests, and has remained stable through any planned dip schedule. Acclimate it to the display's lighting and flow just as carefully as you acclimated it to quarantine.
Place it in a lower-light or lower-flow area first when appropriate, especially for a new SPS frag or a coral coming from gentler quarantine lighting. Give it room to adjust before moving it toward its permanent home.
A thoughtful quarantine routine may feel like a pause when a stunning new frag arrives, but it is really how you protect the reef you have worked hard to grow. Give each coral that quiet settling-in period, and the next time it opens fully in your display, you can enjoy the color with far more confidence.